Warmoth “N4” Part III

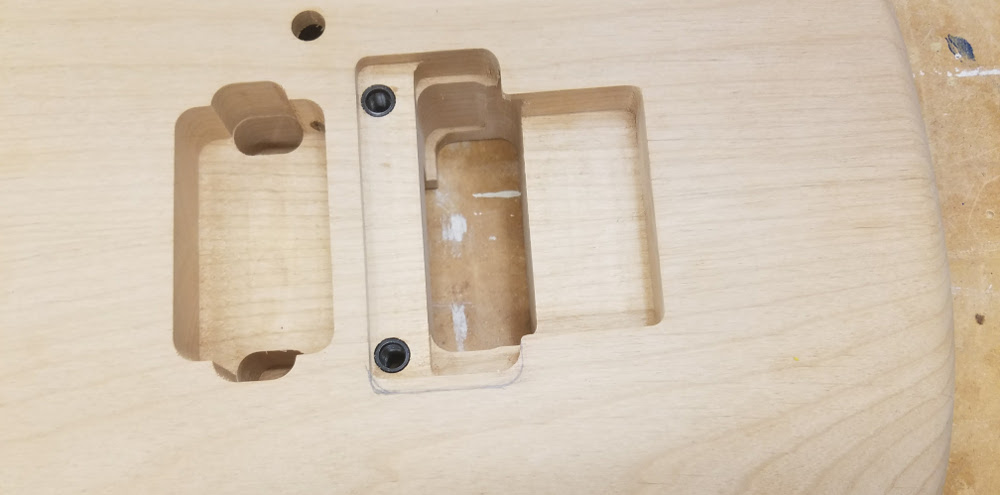
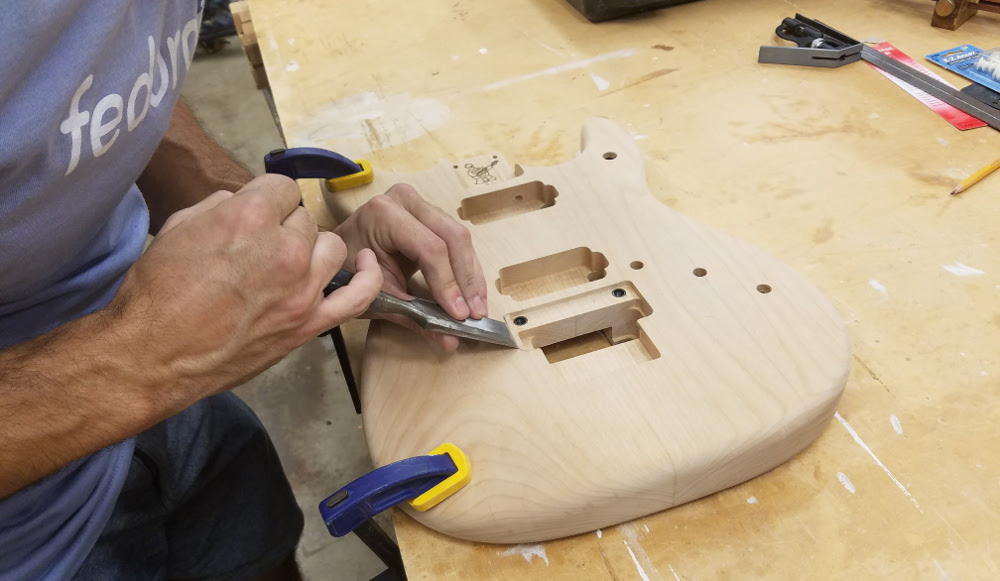
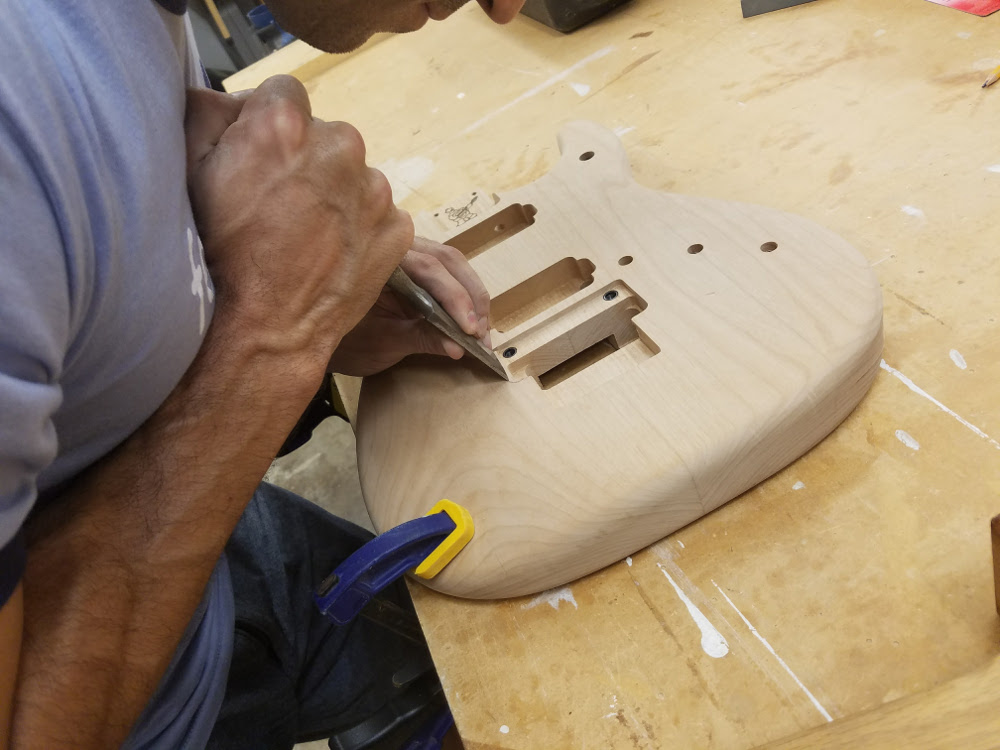
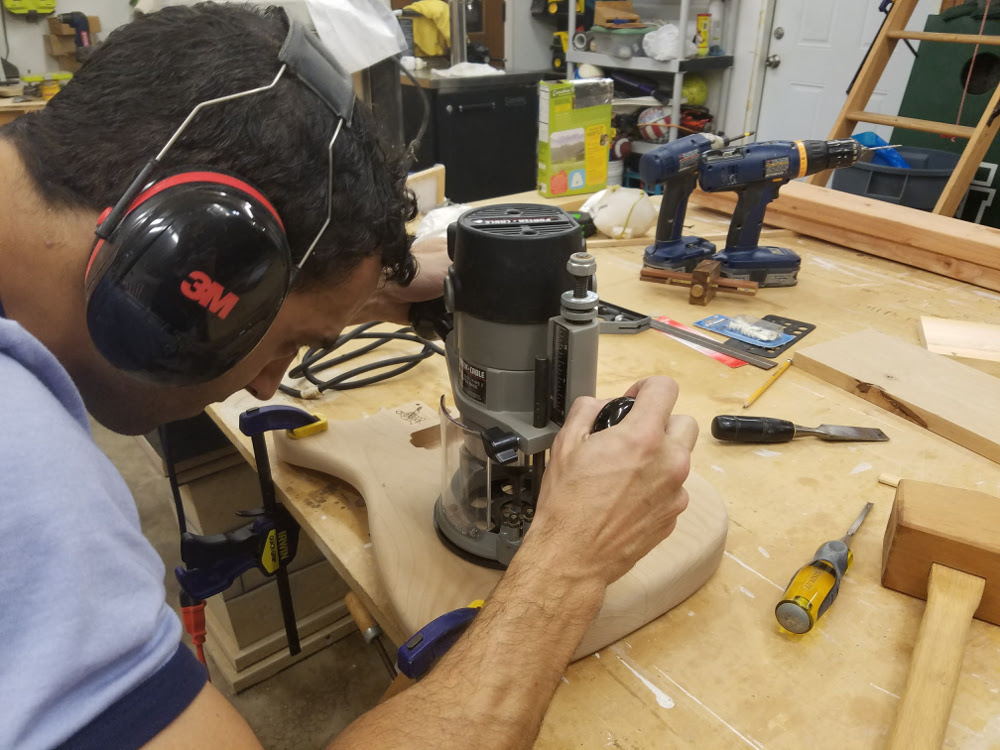
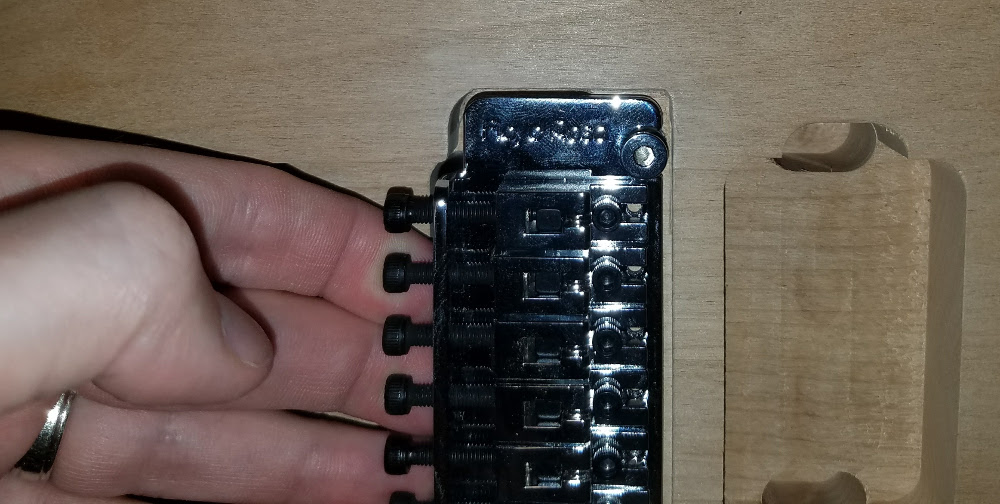
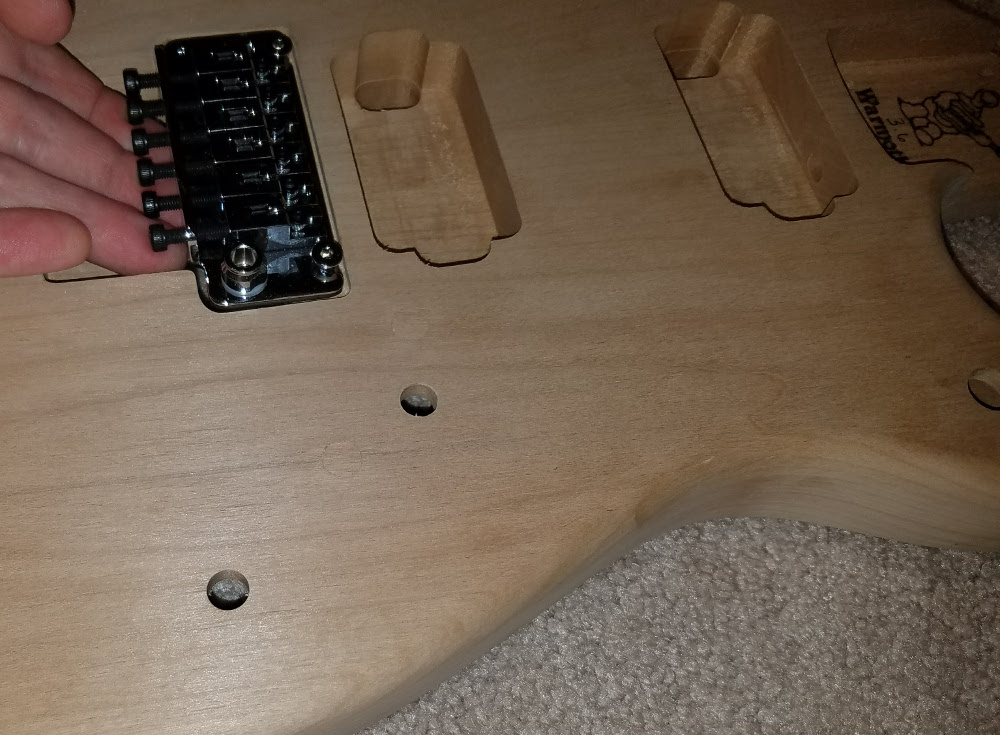
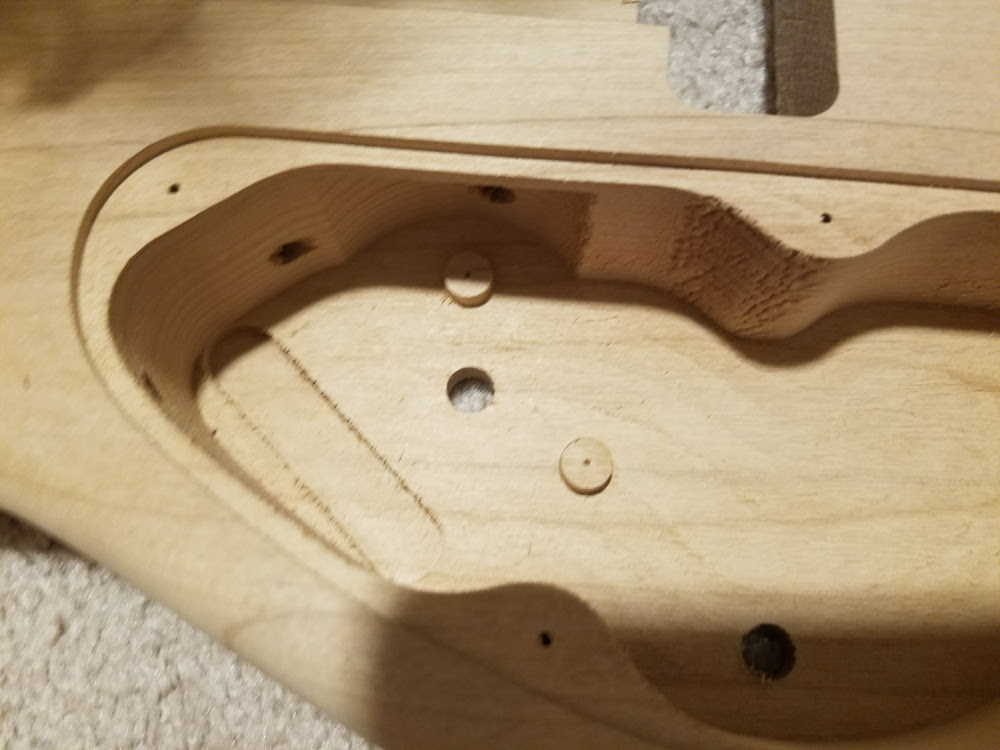
Part II of this series explored how the bridge route would need to widened to fit  my bridge. I do not have the skills or tools to make this happen, but luckily I work with someone who does!

Just look at this workshop!

Measure once and cut twice. No wait that’s backwards.

We started by drawing the desired route. Getting the curves right was the hardest part, but wasn’t too difficult.
My buddy Patrick decided to use a chisel to remove most of the wood. This ended up working really well.

After the majority of the wood was removed, a router was carefully used to match the curve in the corner. It worked really well.
The end result looks great. We also plugged the vol and tone holes so the final guitar can have a master tone and volume. Yes, you can see the plugs if you’re looking for them, but it doesn’t bother me a bit. I wanted to move the volume farther from the bridge pickup and where we drilled it worked really well.
Yay. Now the bridge fits!
A quick shot of the bridge fitting and the plugs are visible.
A view of the plugs from the control cavity.
I plan to use a cup style jack, but they won’t sit flush on a corner like this without some help. A simple fix I came up with years ago is to widen the edge of the hole a bit and the jack will seat much better.
There! Now it fits like it should.

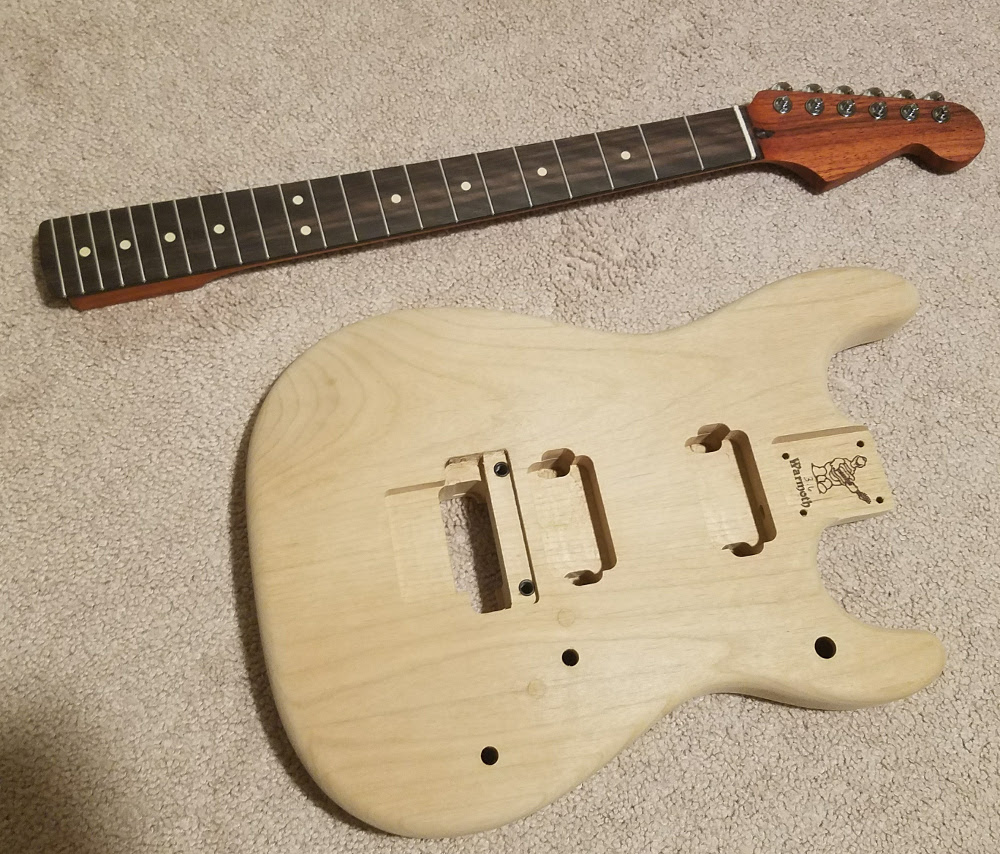
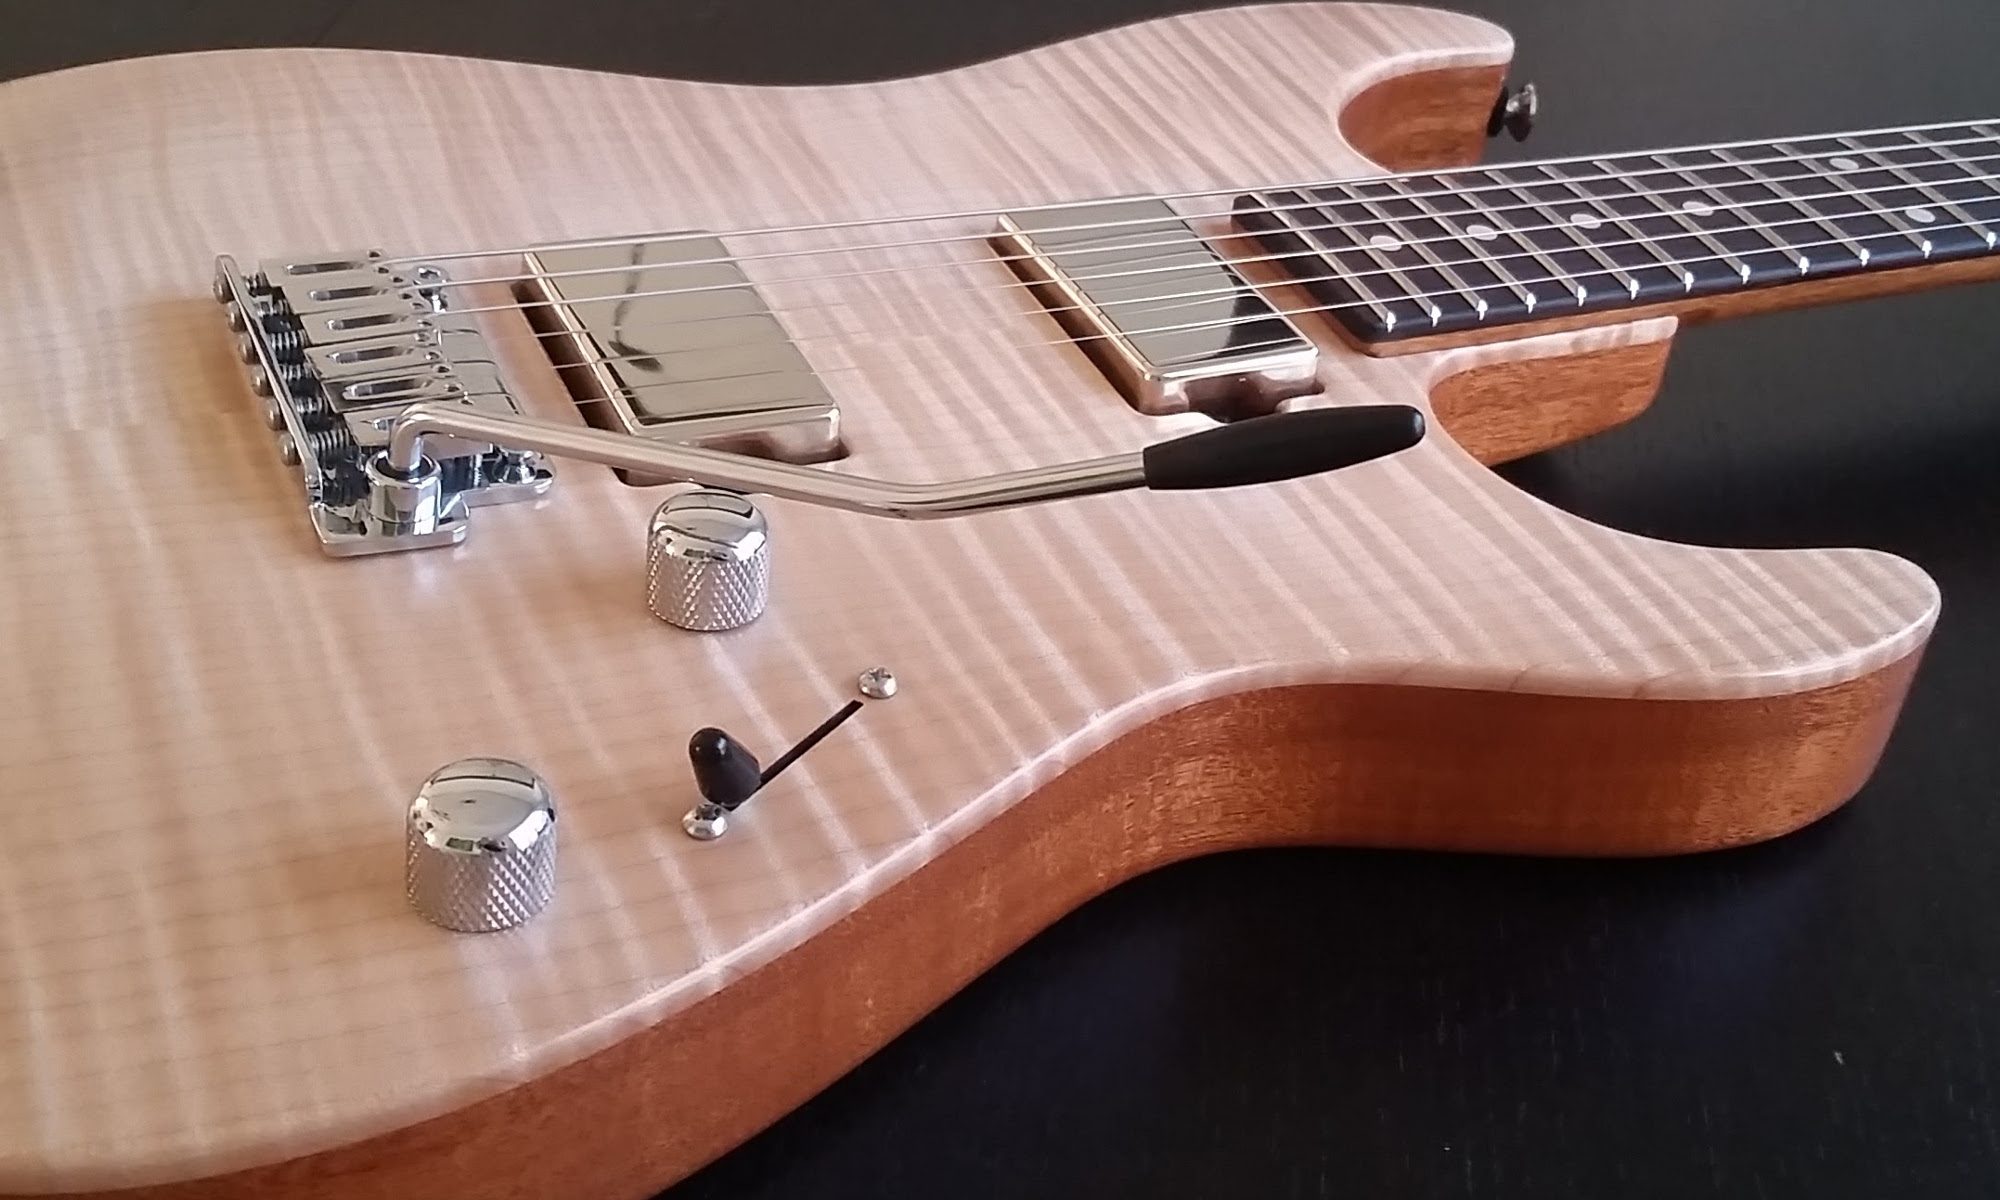
Now the guitar is ready to finish!


Leave a Reply

Your email address will not be published. Required fields are marked *

This site uses Akismet to reduce spam. Learn how your comment data is processed.