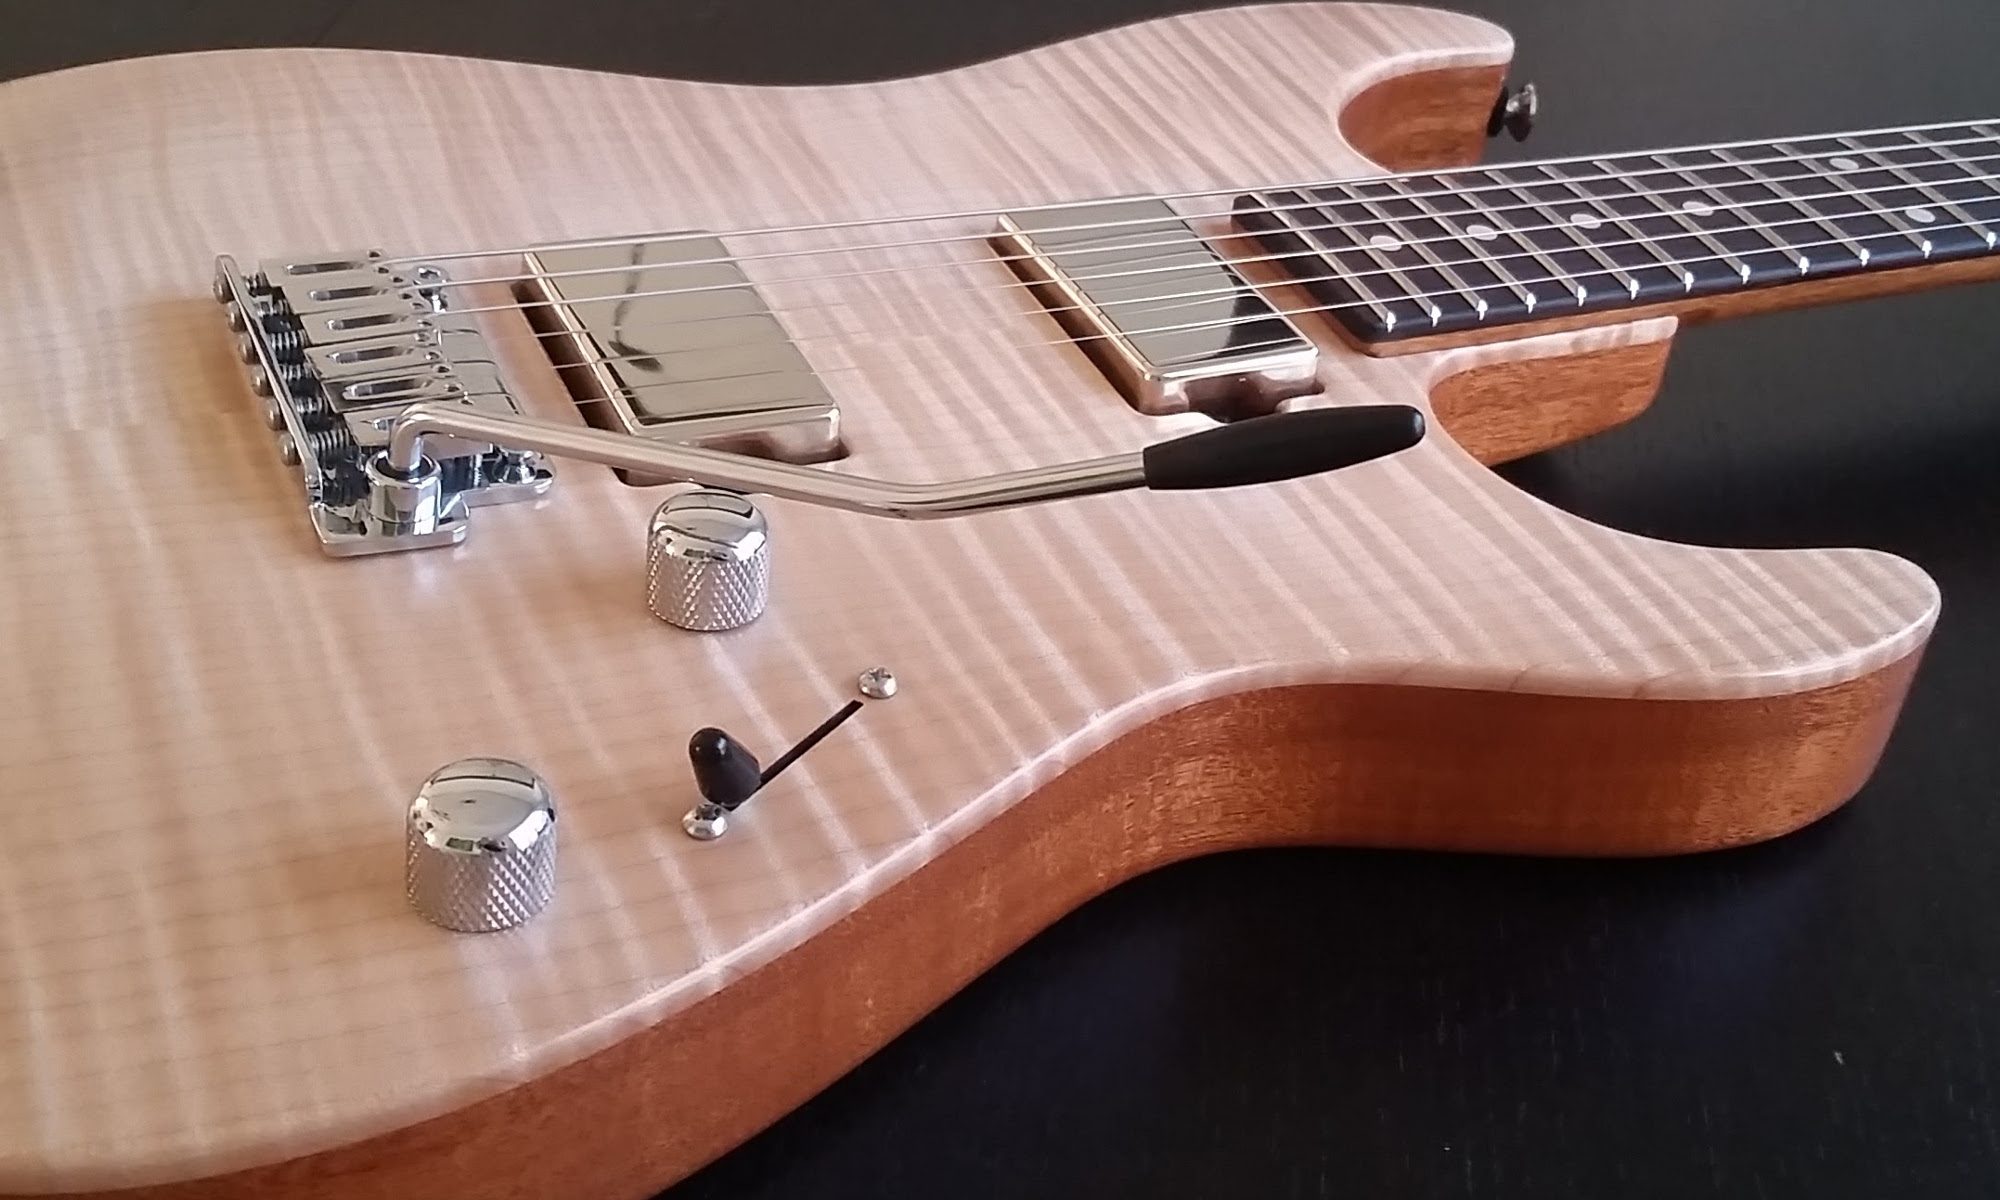

I put this bass together in 2009, and I can’t believe that was almost a decade ago. It’s been a great bass and I primarily use it for recording. Historically the action has been on the high side with this instrument. This is a bit of a trade-off, but the upside is the strings take advantage of the extra room and the notes ring out like crazy on this bass. So all in all, it’s been a joy to own and play.
This was the second Warmoth project I completed and I’ve learned a lot since then. I was never happy with the finish I did on the neck. I went down the Tru-oil path originally, but somehow I got it in my head that I should go with a thicker finish to help ensure the neck would hold up to the string tension. ….in hind sight, this was an absurd idea and should never be attempted. This resulted in a gummy feeling on the back of the neck and there were also some drip marks on the fretboard from when I hung it to dry. While the finish left a lot to desire, it did work fine and hold up for almost a decade, but I finally got the end of my rope and decided to do something about it.
I enjoy watching Ben Eller’s channel on YouTube. A couple years ago he did a really nice video on refinishing necks, and I highly recommend watching this if you think you might need/want a refinish.
Everything he said in this video seemed to match up w/ with my experiences around what to and not to do. I got some more Birchwood Casey Gunstock Oil and Gunstock Wax and I also got a few componenets to redo the wiring as well. Might as well take care of both while the instrument is under the knife.
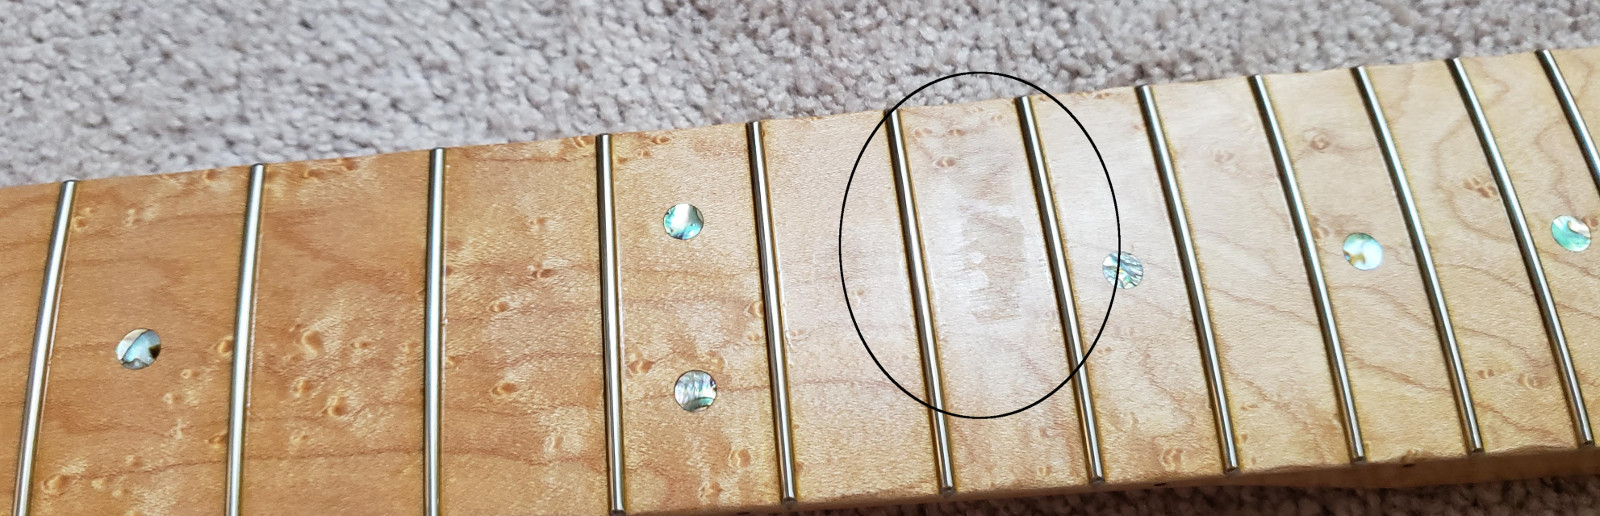
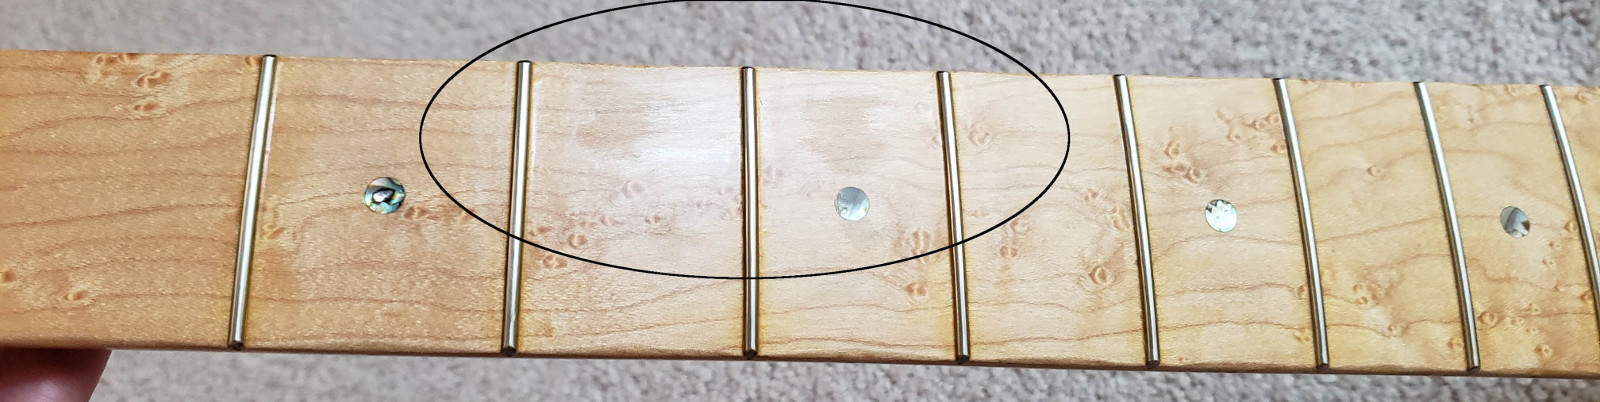
It was really interesting to see where the finish had worn off in a few places on the fretboard.
Sanding off the finish and getting down to the bare wood didn’t take too long. I did the whole thing using 320 grit paper and I did a number passes after wetting the wood with a damp paper towel. This is something that Ben goes into detail on in the video above. I did some wet sanding on the last alder body I put together and it feels amazing. I definitely wanted to do the same here.
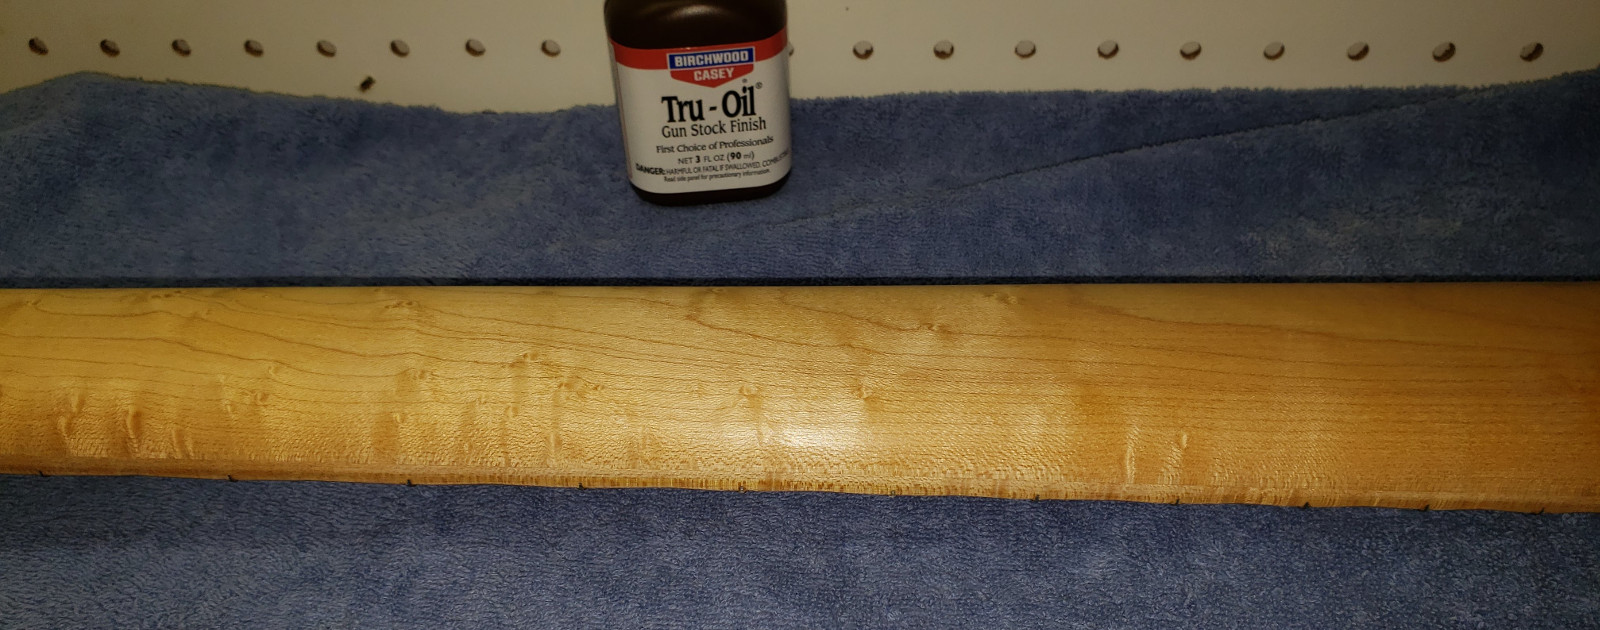
I didn’t take a picture of every step along the way, but this one is either no finish or a single coat. The contrast between the headstock color and the neck should give some idea of just how much oil is was used on the first time around.
I did five coats and several passes with 0000 steel wool after coats 3, 4, & 5. I also sanded off the run marks to the best of my ability on the fretboard and added 2 or 3 coats on that side as well.
The new finish feels wonderful. It’s almost raw, but in a good way. Also, I love how the Tru-oil makes the grain really pop. I like it so much that I’m going to repeat the same process on my strat and tele.


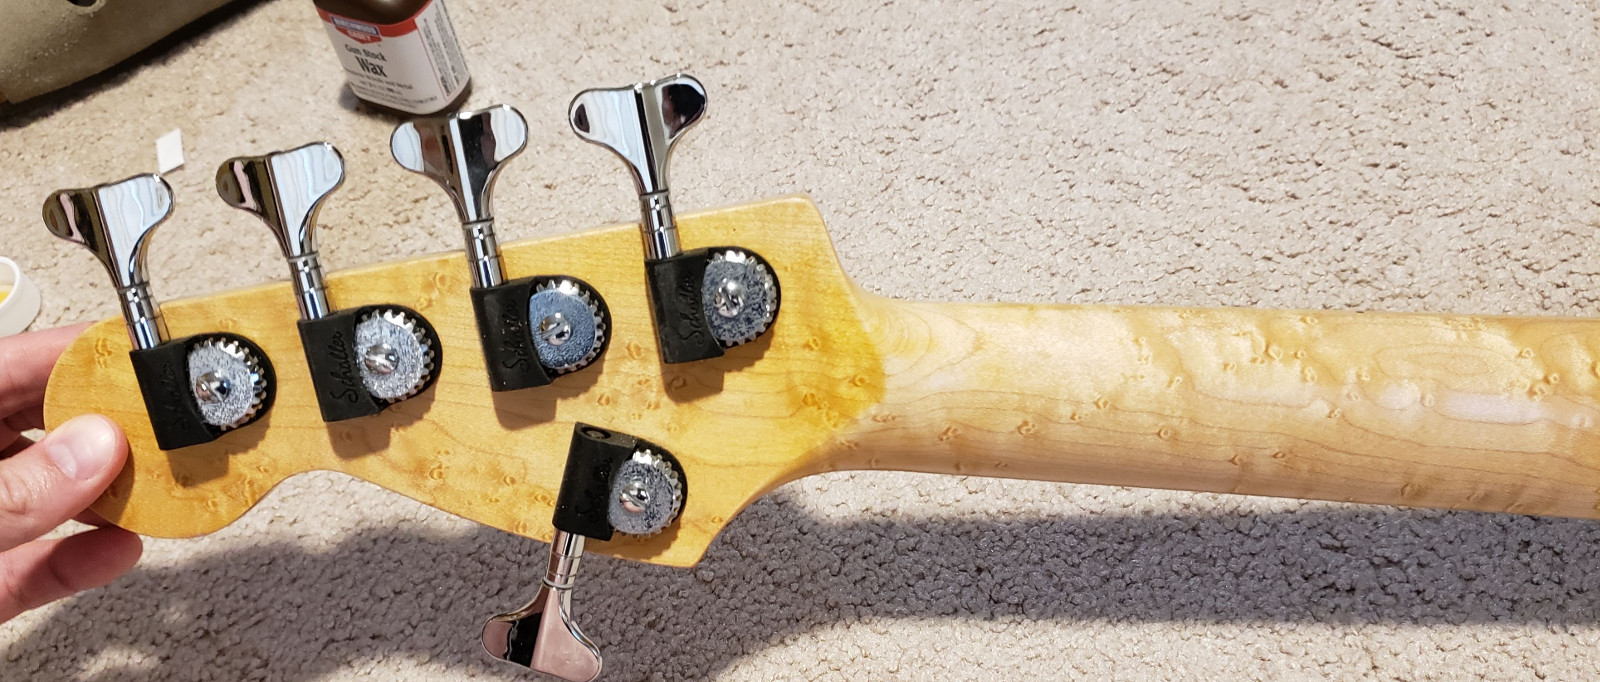
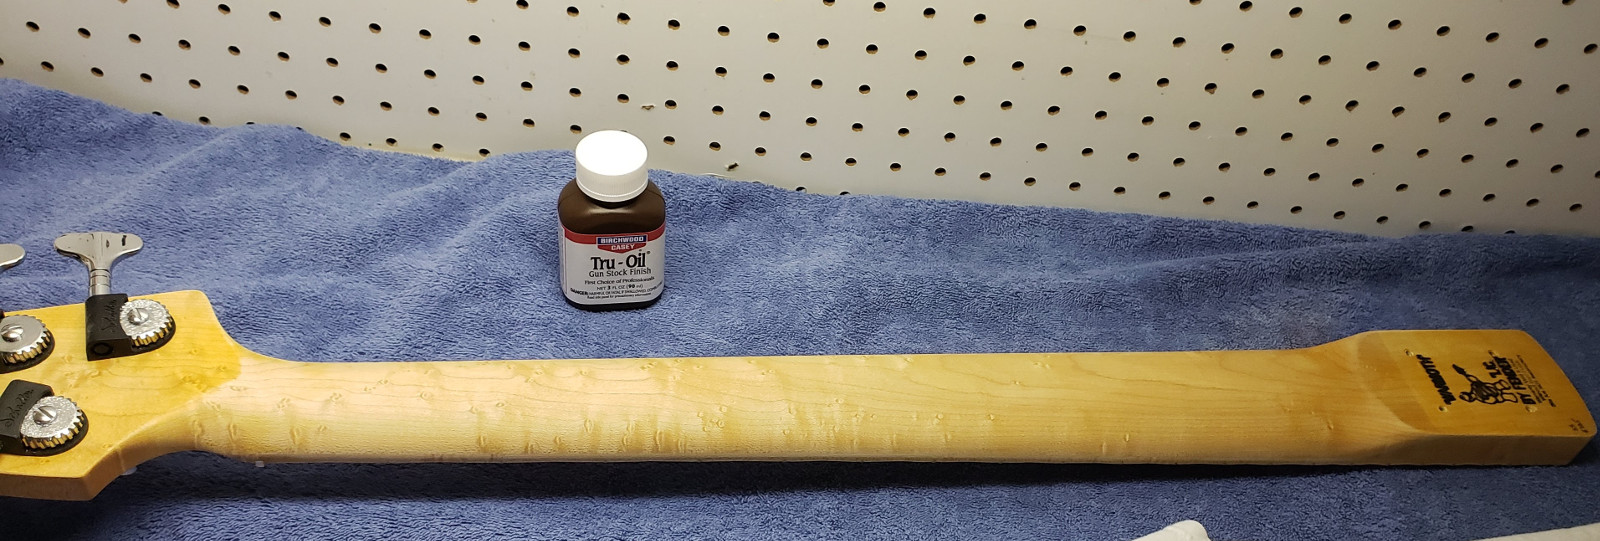
In this shot you can really see the color difference between the headstock and neck. I could have removed the tuners and refinished the headstock, but I kind of like it this way. It preserves the history of the instrument and doesn’t bother me. :)
Now, on to the electronics
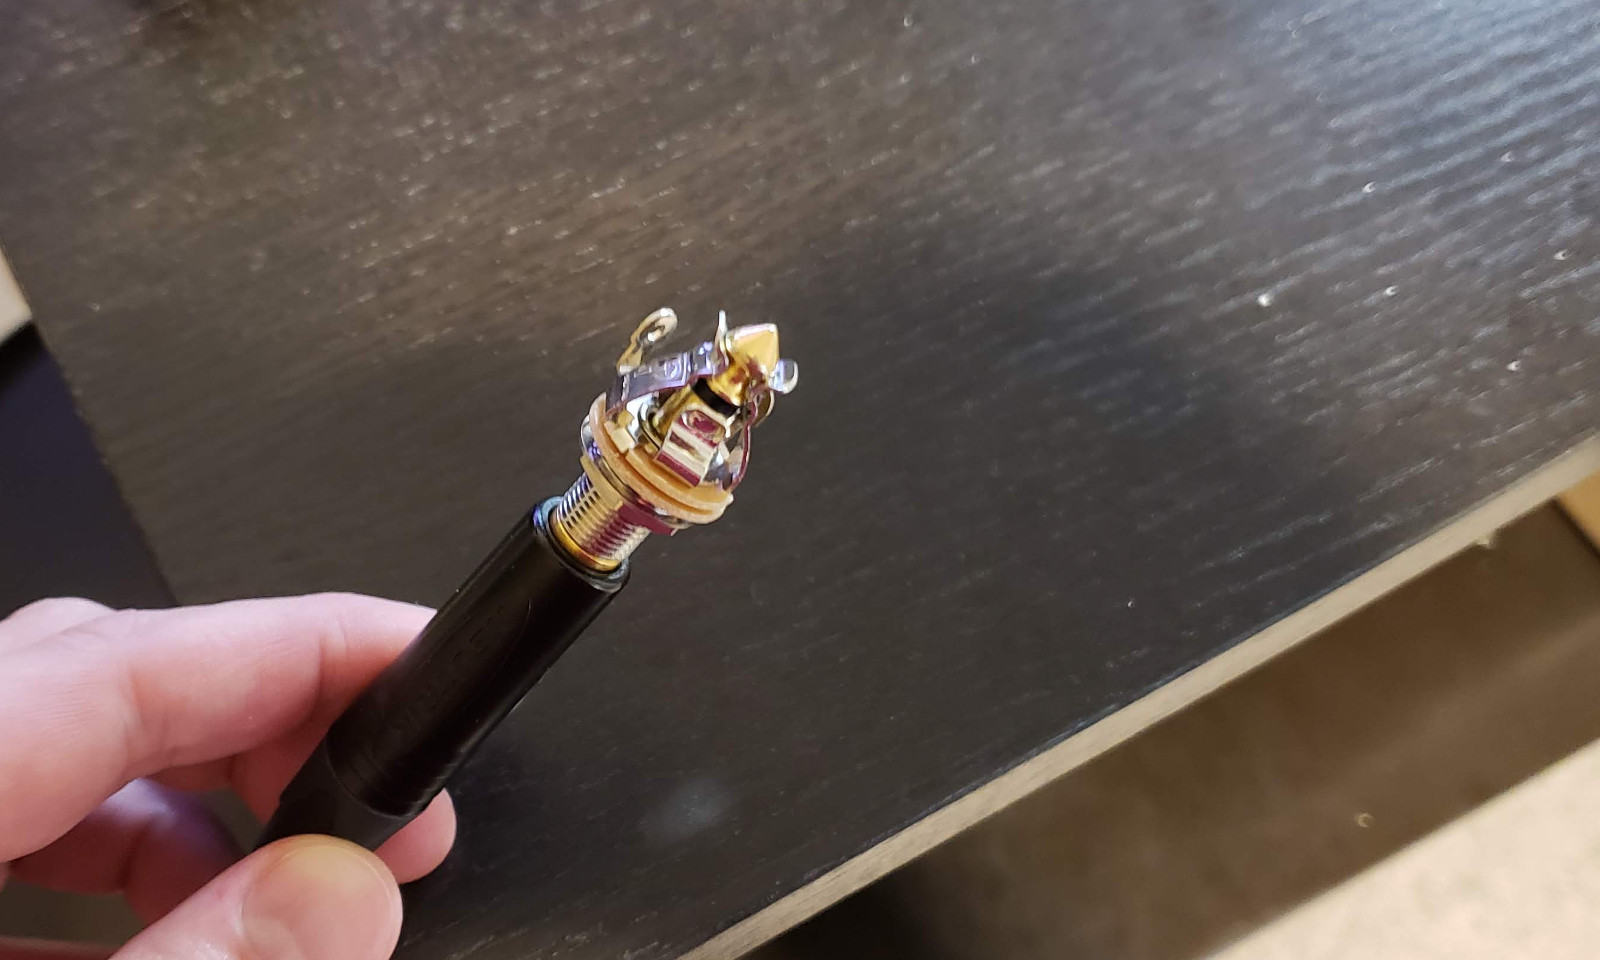
I’m pretty religious about using Switchcraft jacks & plugs with my gear, but these pure tone jacks look interesting and I wanted to give one a shot. It’s a little too early for me to know if this will work out long term, but so far I don’t like the feel of this jack. I definitely will not be switching out any of my other jacks and might pull this out in the future. I’d recommend saving your $4 dollars and stick w/ Switchcraft.
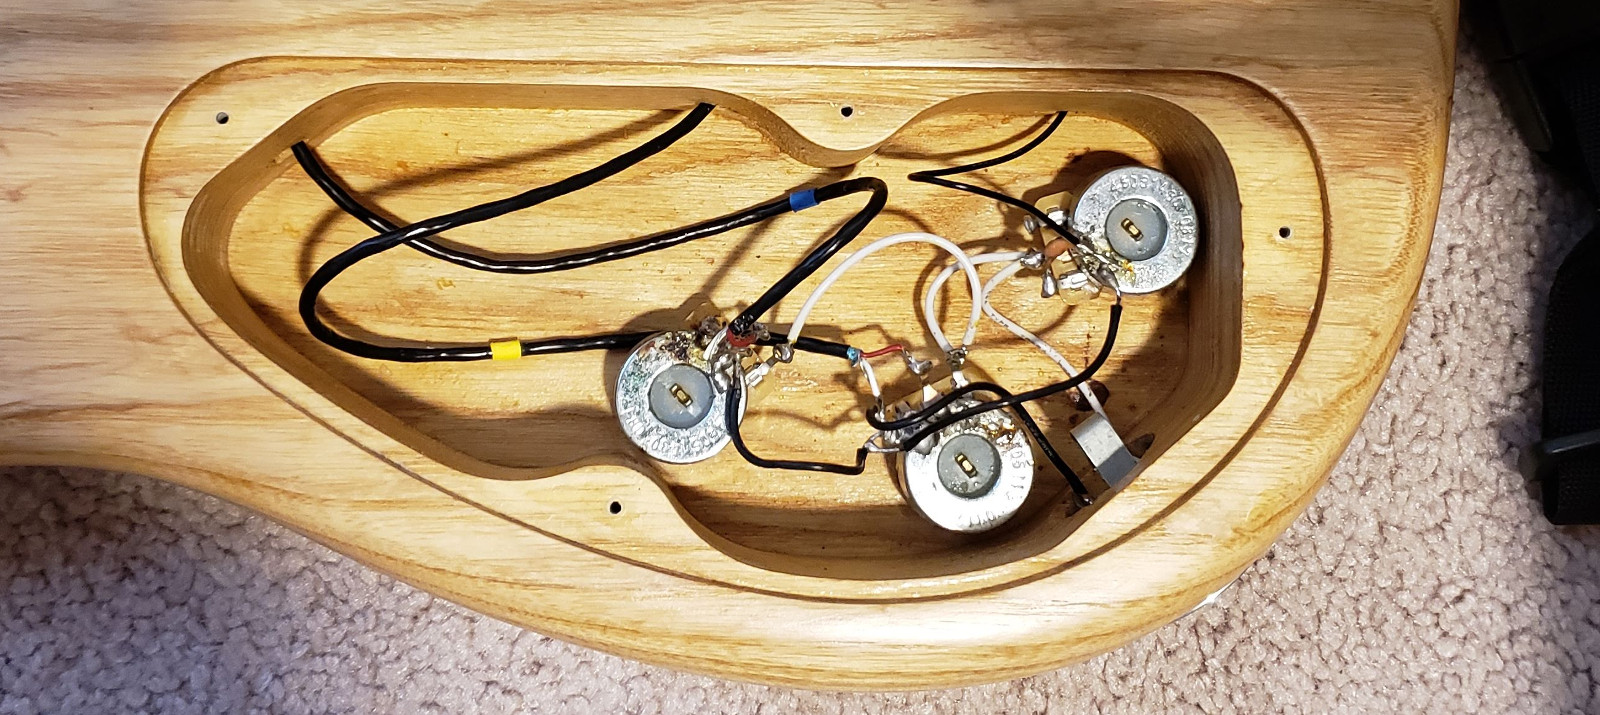
I had forgotten how messy the wiring was. Shame on me! I did have a strange issue where both volume knobs mostly work as you would expect, except when they were both turned off, sound still comes out. Something certainly wasn’t quite right and with such a simple circuit I didn’t think it would be difficult to fix.
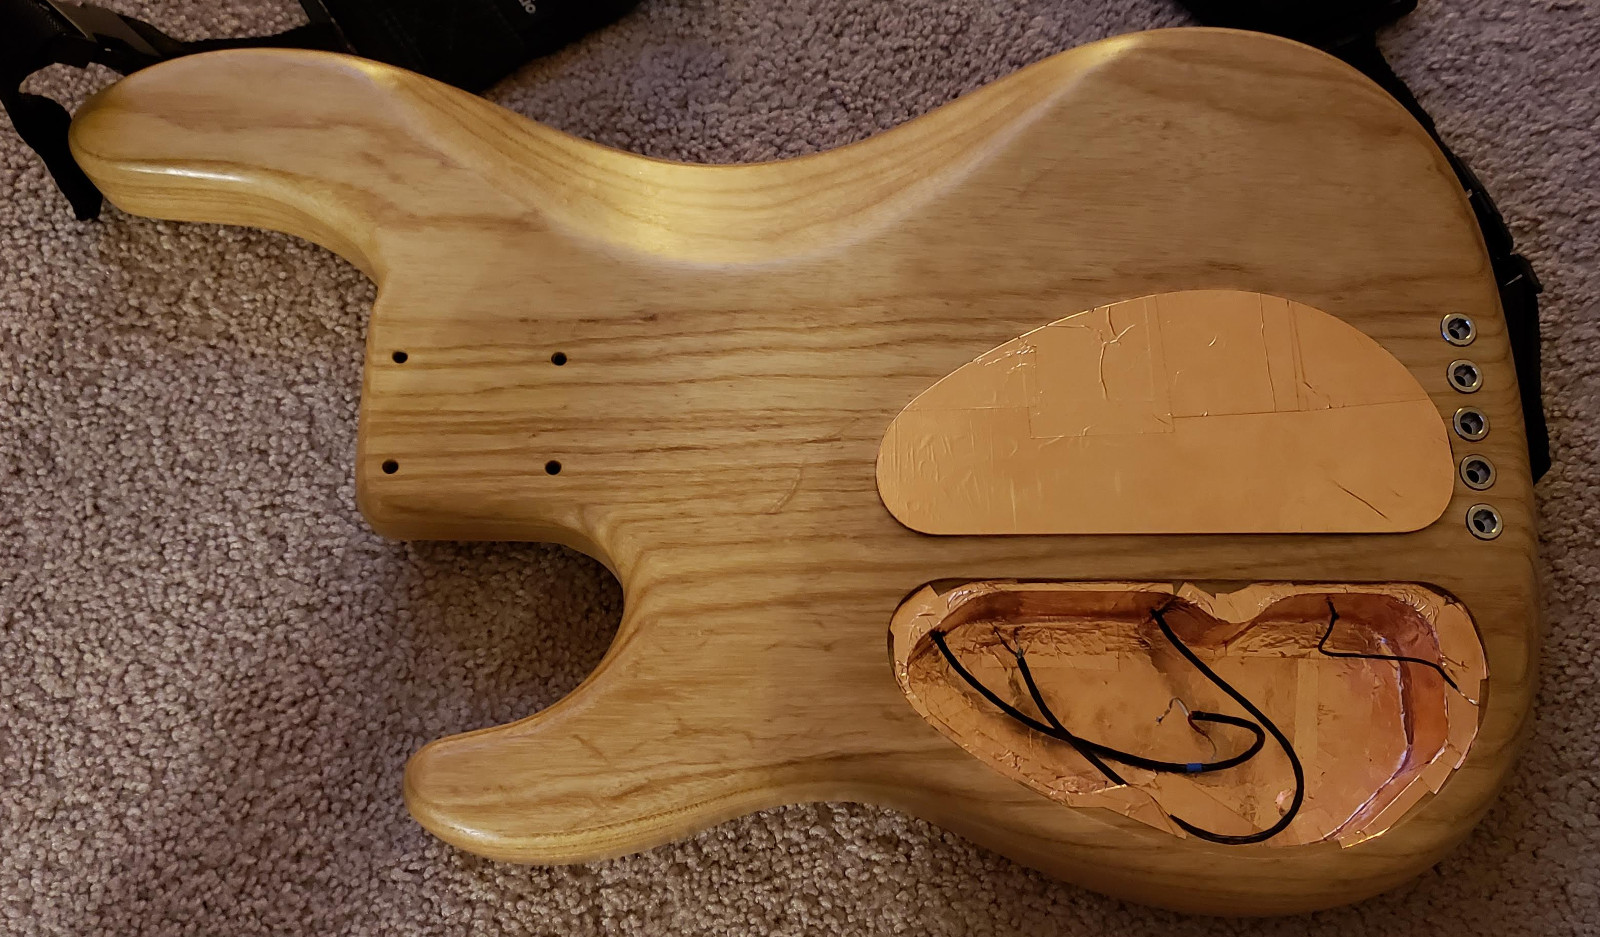
The first thing I did was add copper shielding to the cavity. This is an easy process and really helps reduce noise.
Next I added a push/pull tone pot to add a series/parallel option. Series gives a nice volume boost and changes the tone slightly. It’s not something I plan to use often, but seems like a nice option to make a part standout a bit in a live context. Seymour Duncan had a schematic on their site for this: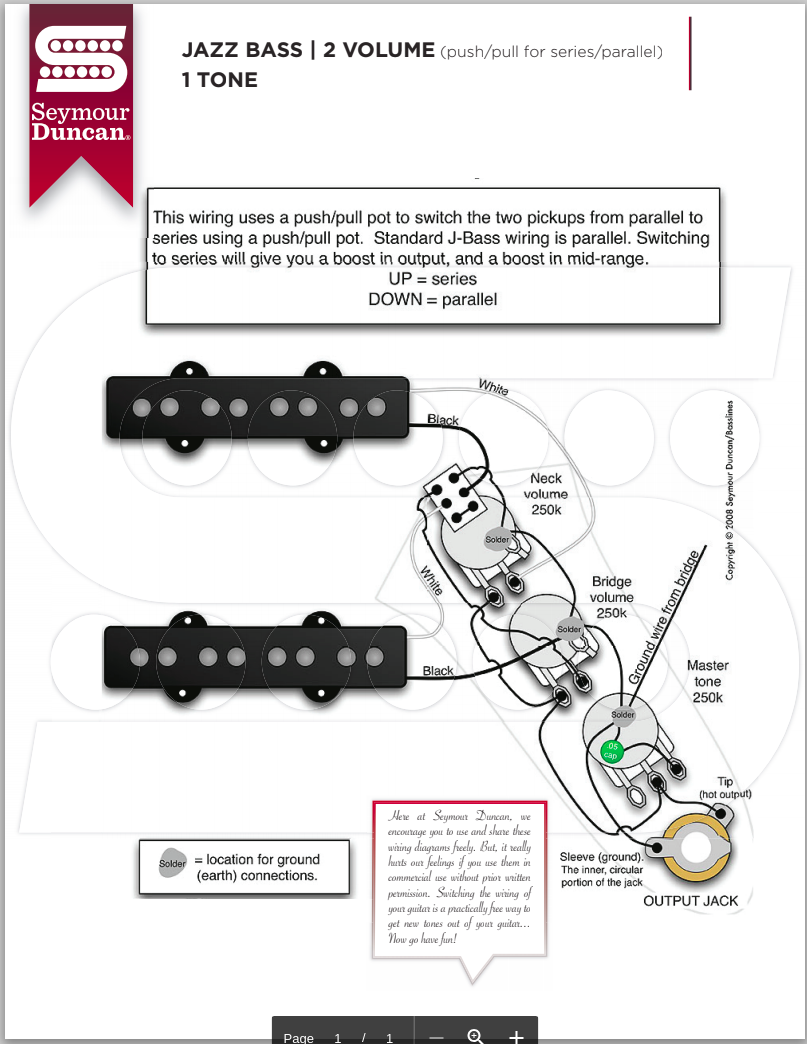
The wiring ended up much nicer than before. I used the vintage-style, cloth covered solid strand wires, CTS pots, and an orange drop capacitor. The bass sounds great, and while I’m not exactly sure what was causing the issues with the volume pots originally, the problem is now solved. 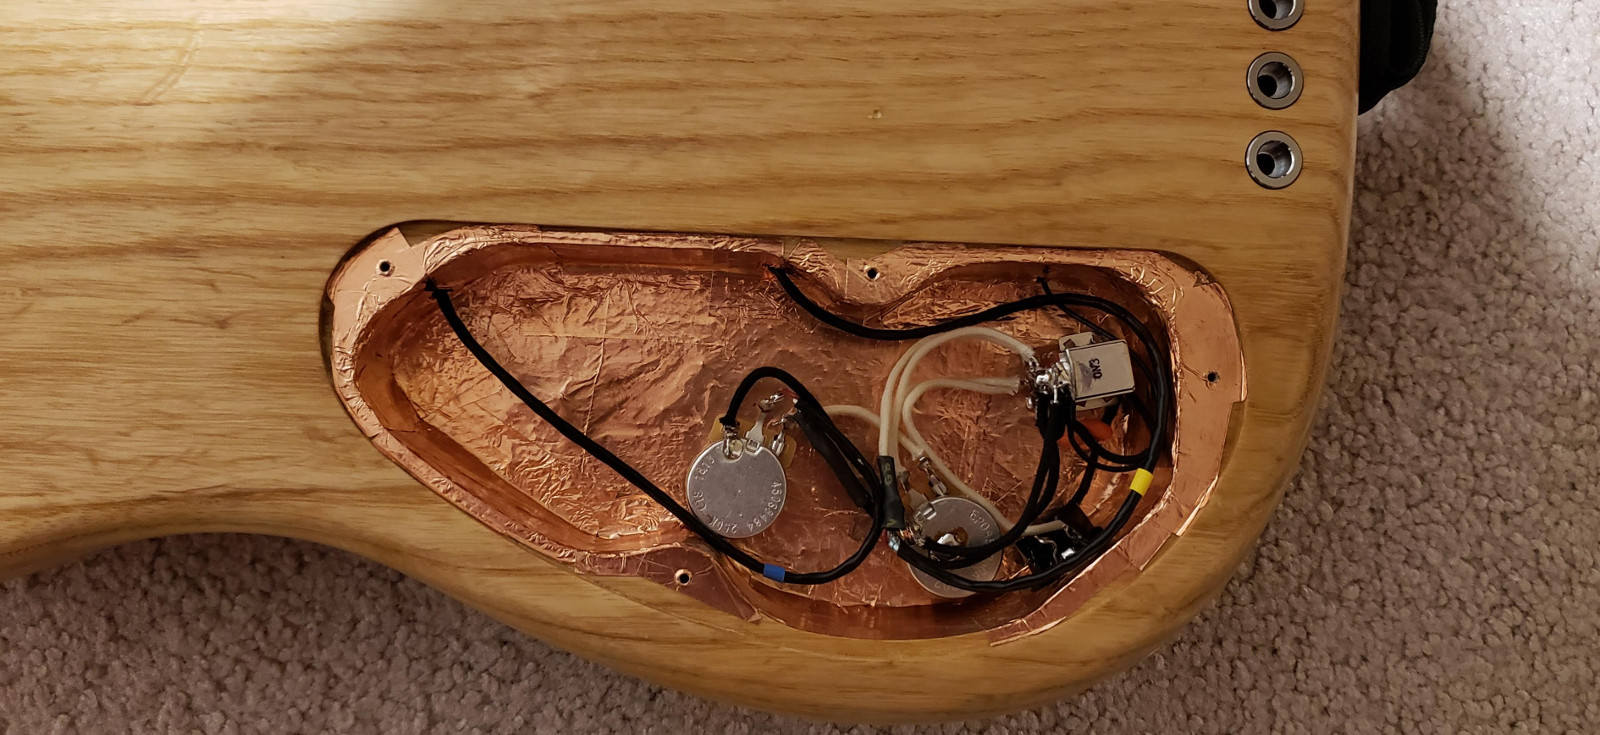
This was a fun and rewarding little project.