It was all going so well until I strung it up. ………and …….disaster!
So
Many
Bad
Frets
First, let me be clear that Warmoth doesn’t make guarantees that their necks will play great out of the box. It’s normal for some amount of fret leveling to be necessary. They were also great to work with during this process, but this was still hands down the worst neck/fret situation I’ve seen from their shop.
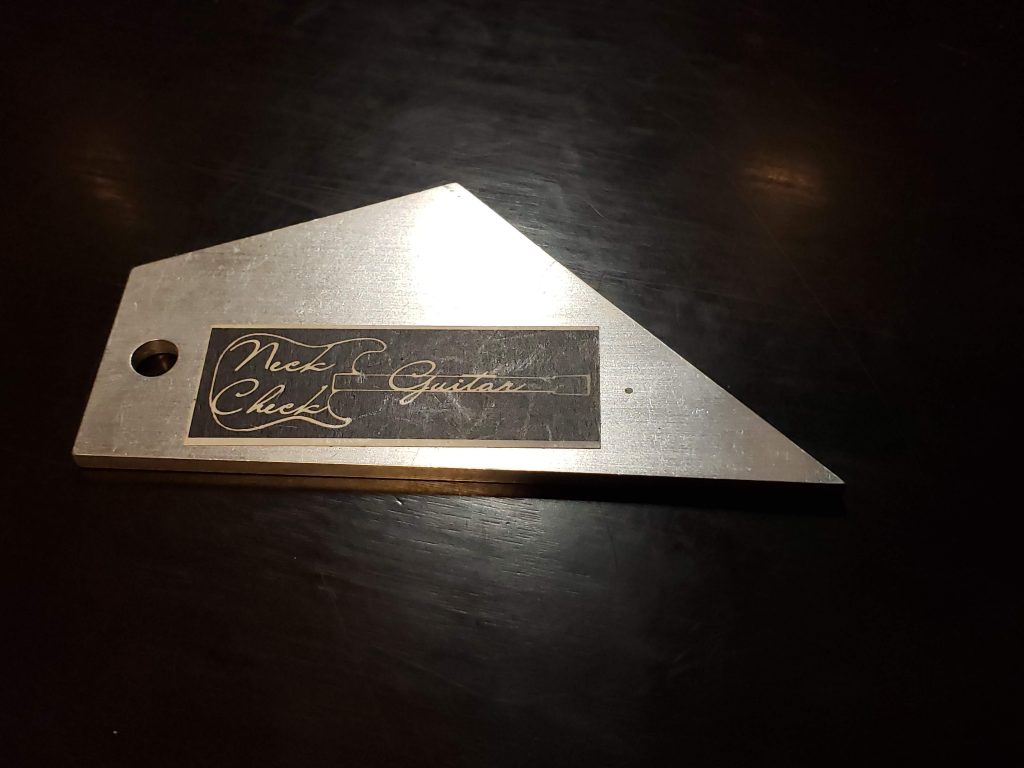
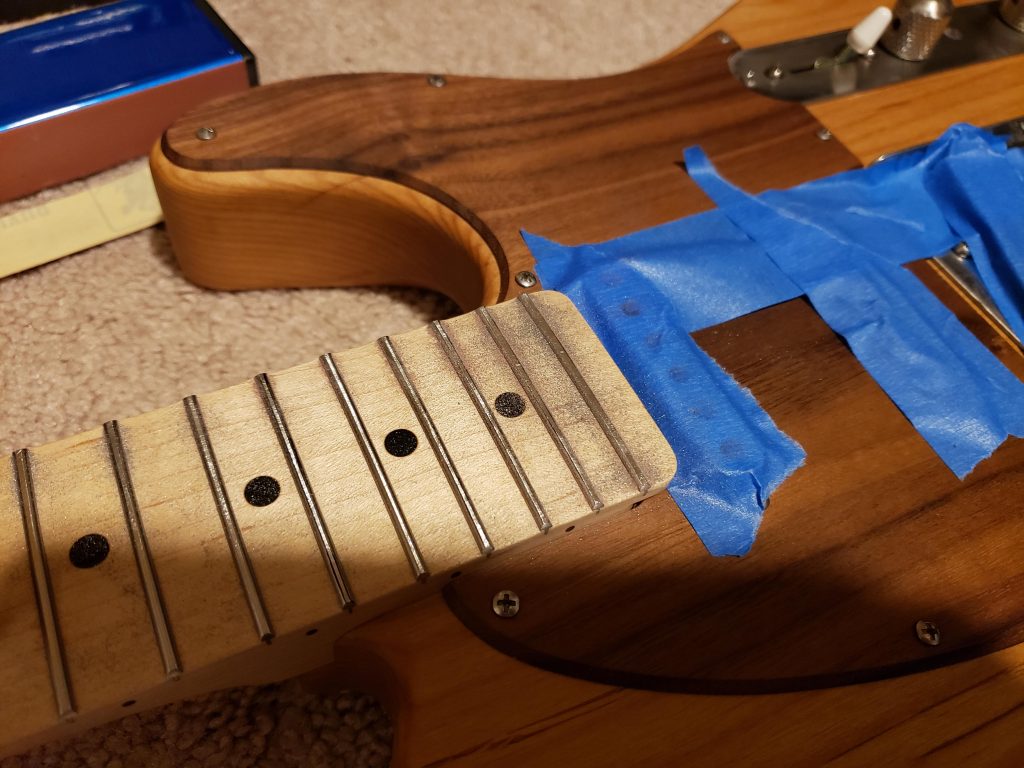
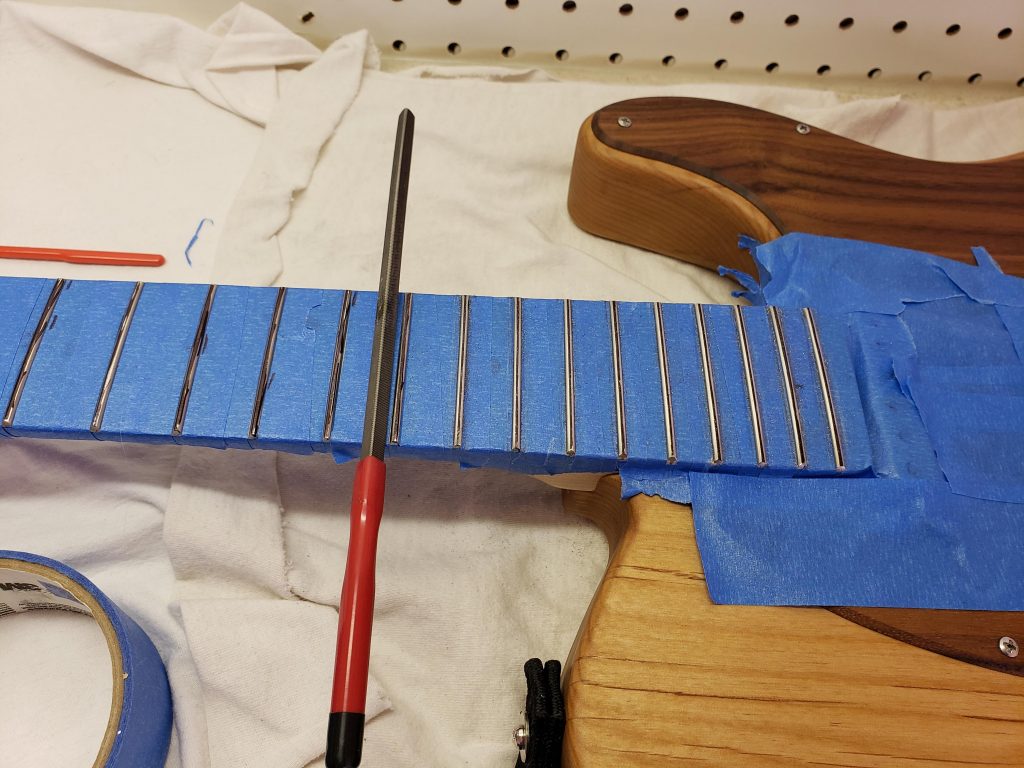
After trying to play the guitar and being disgusted, I got out my trusty fret rocker. There were 32 spots where it would go “click”. This goes beyond some basic spot leveling.
E: 4, 6, 13, 17, 19, 22
A: 4 ,6, 13, 17, 19, 22
D: 9, 12, 16, 21, 22
G: 12, 17, 21, 22
B: 12, 17, 19, 21, 22
E: 12, 14, 17, 19, 21, 22
At this point the warranty is long been voided as tuners were installed and a finish applied. It’s worth noting that Warmoth does not recommend the type of oil finishes I like on maple necks. Their position is understandable, but I love tru-oil finishes and historically they’ve held up fine for me. Keep in mind that the last neck I purchased from Warmoth has absolutely perfect frets. I started this project largely because that was such a killer guitar and I thought Warmoth had really stepped up their game. I still really like the company and what they do, but this is a reminder to me that not every piece is perfect and this is part of it. They RMA’ed the neck and repressed the frets. I honestly couldn’t tell any difference at all when I reinstalled it. ……so now what?
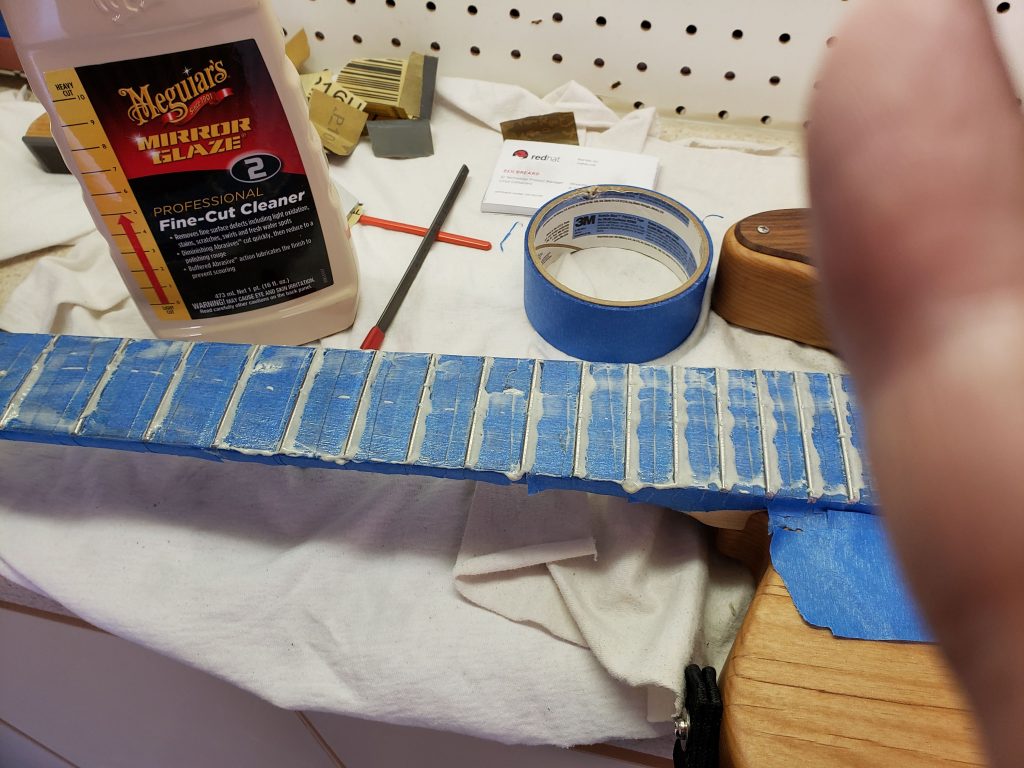
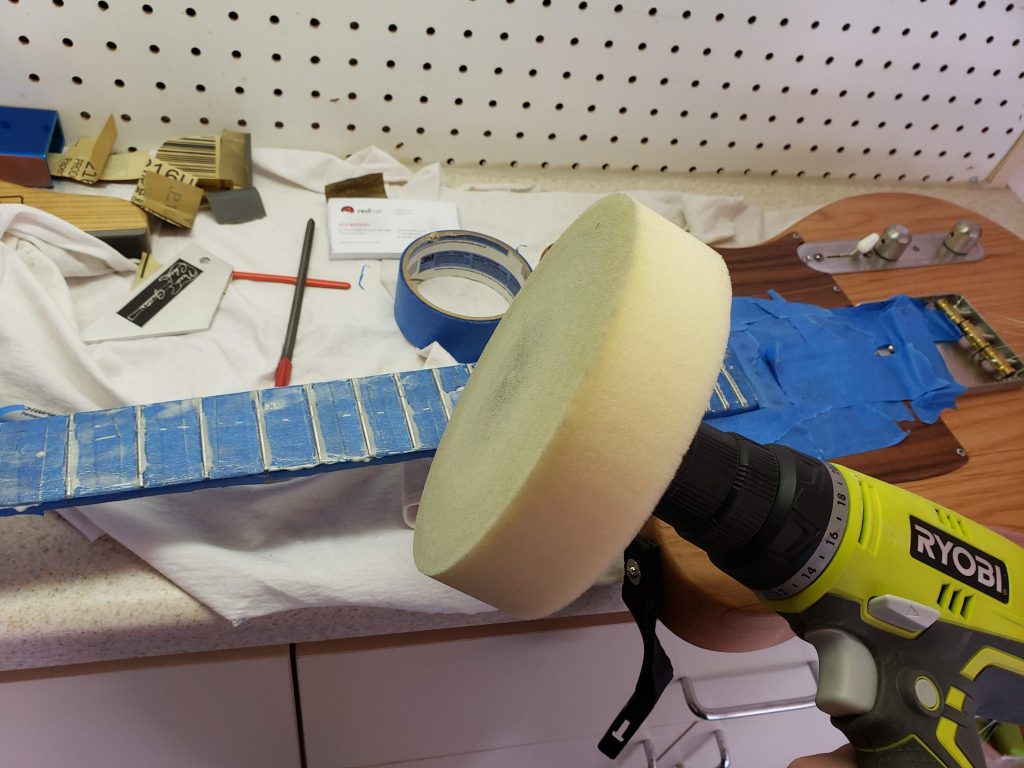
At the time there wasn’t a PLEK machine in my area and that would cost as much or more than the neck. I recently had a fret job done on another guitar and that was $175, which is also about the price of just buying a different neck. Frustrated with the situation I decided to do a fret level myself as a meantime fix and then based on the results decide whether or not to replace the neck.

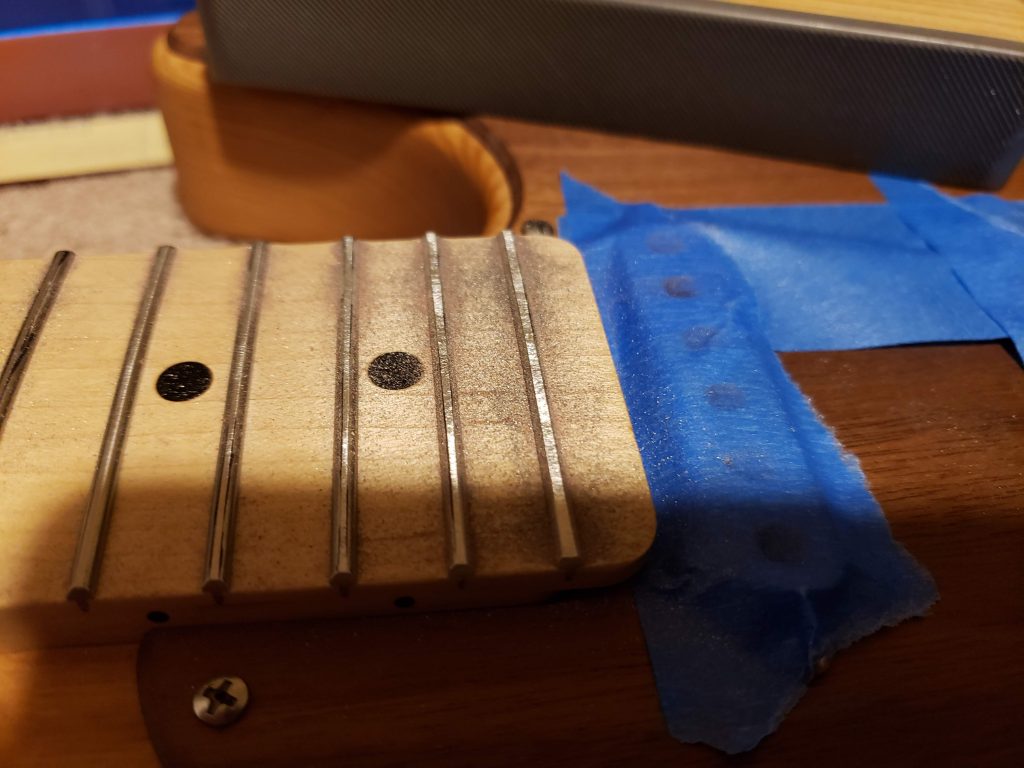
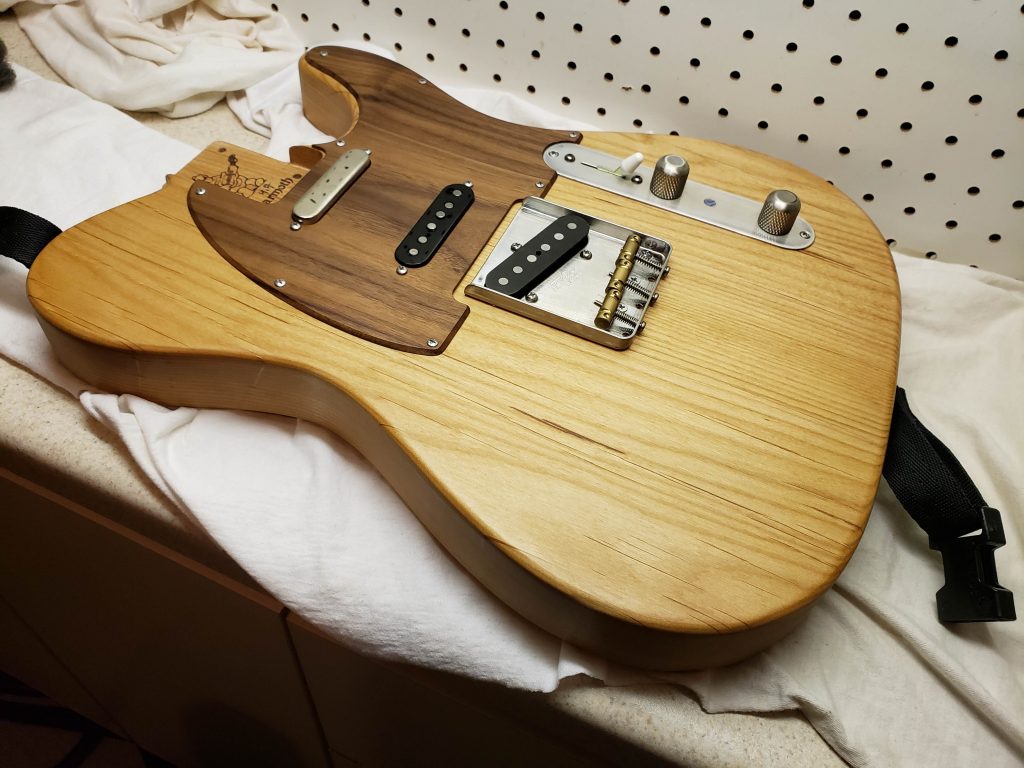
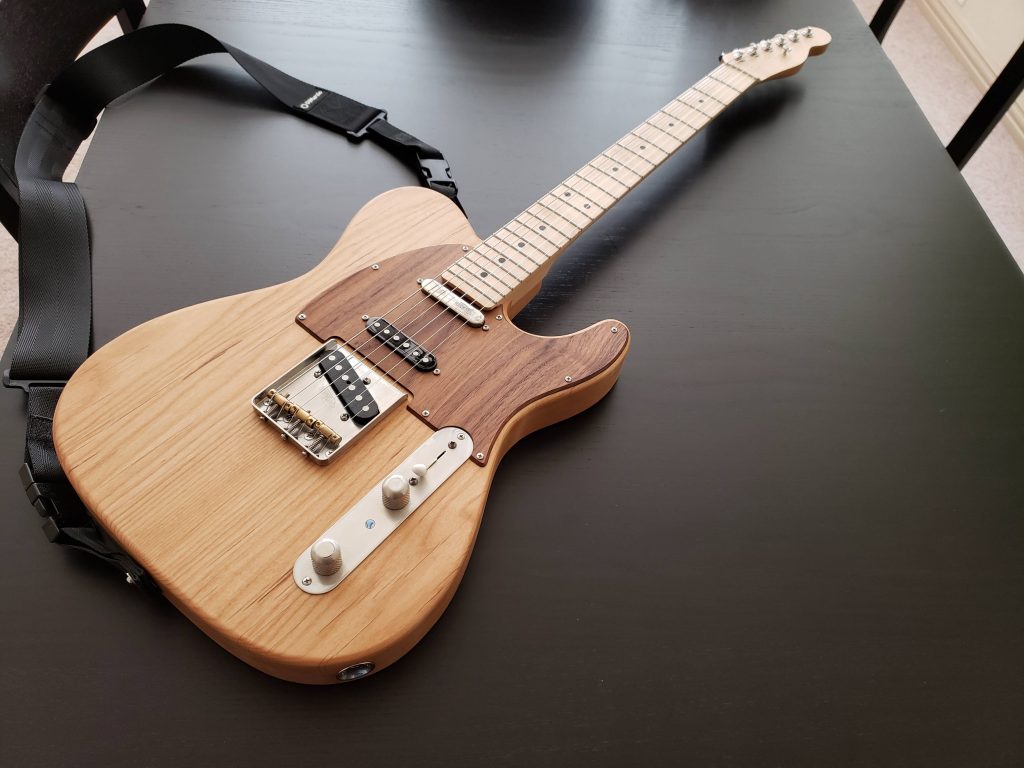
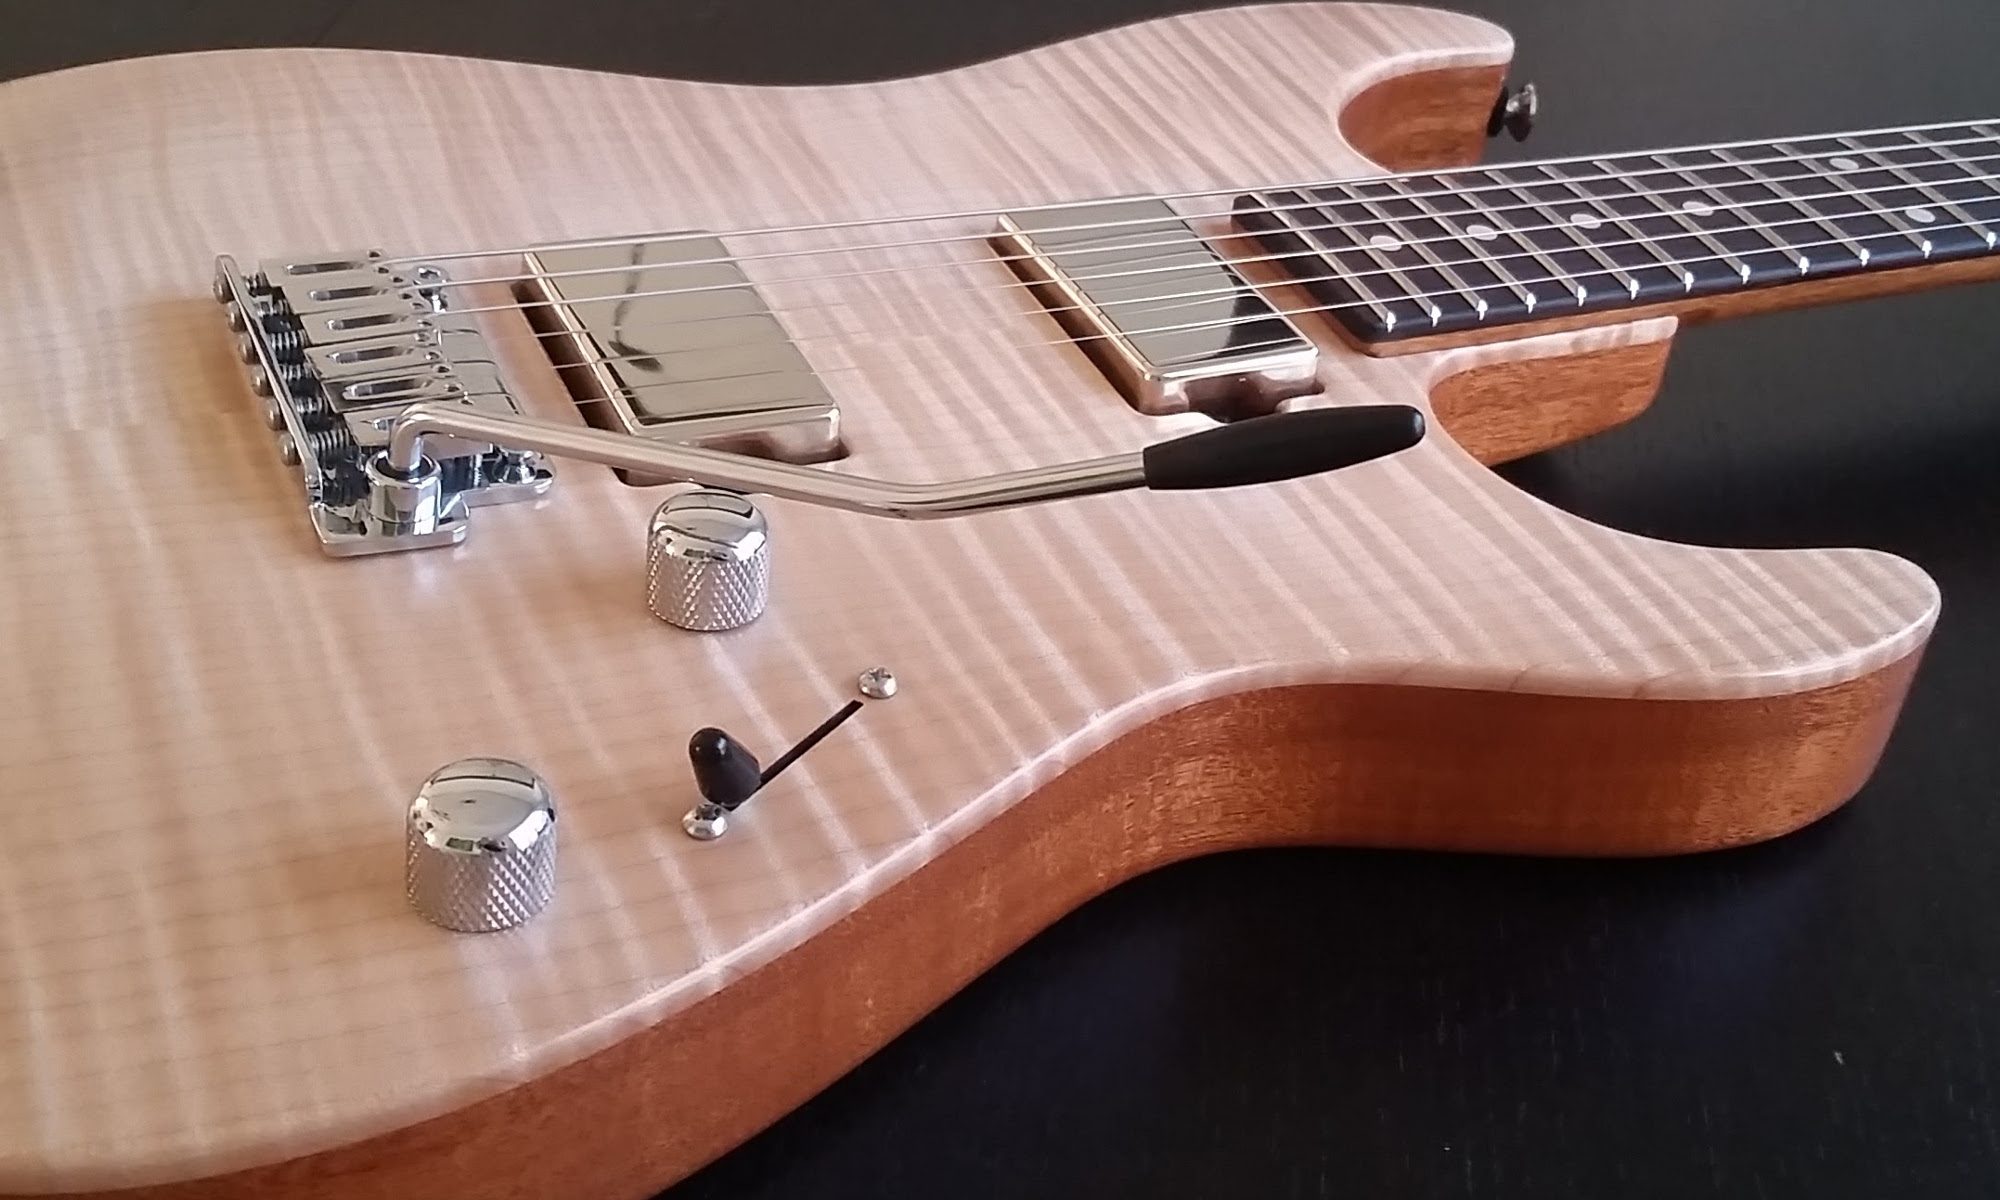
The guitar is now playable and sounds fantastic. I love the way these pickups sound moving to an alder body. The frets still aren’t perfect as my skills in this area leave a lot to be desired, but it’s worlds better than before and every note now functions. I will probably experiment with some other necks on this guitar later, but it’s good enough for the time being.
Here’s a poorly recorded (cell phone) clip of the neck pickup into my Naylor.
….and one for the bridge sound: