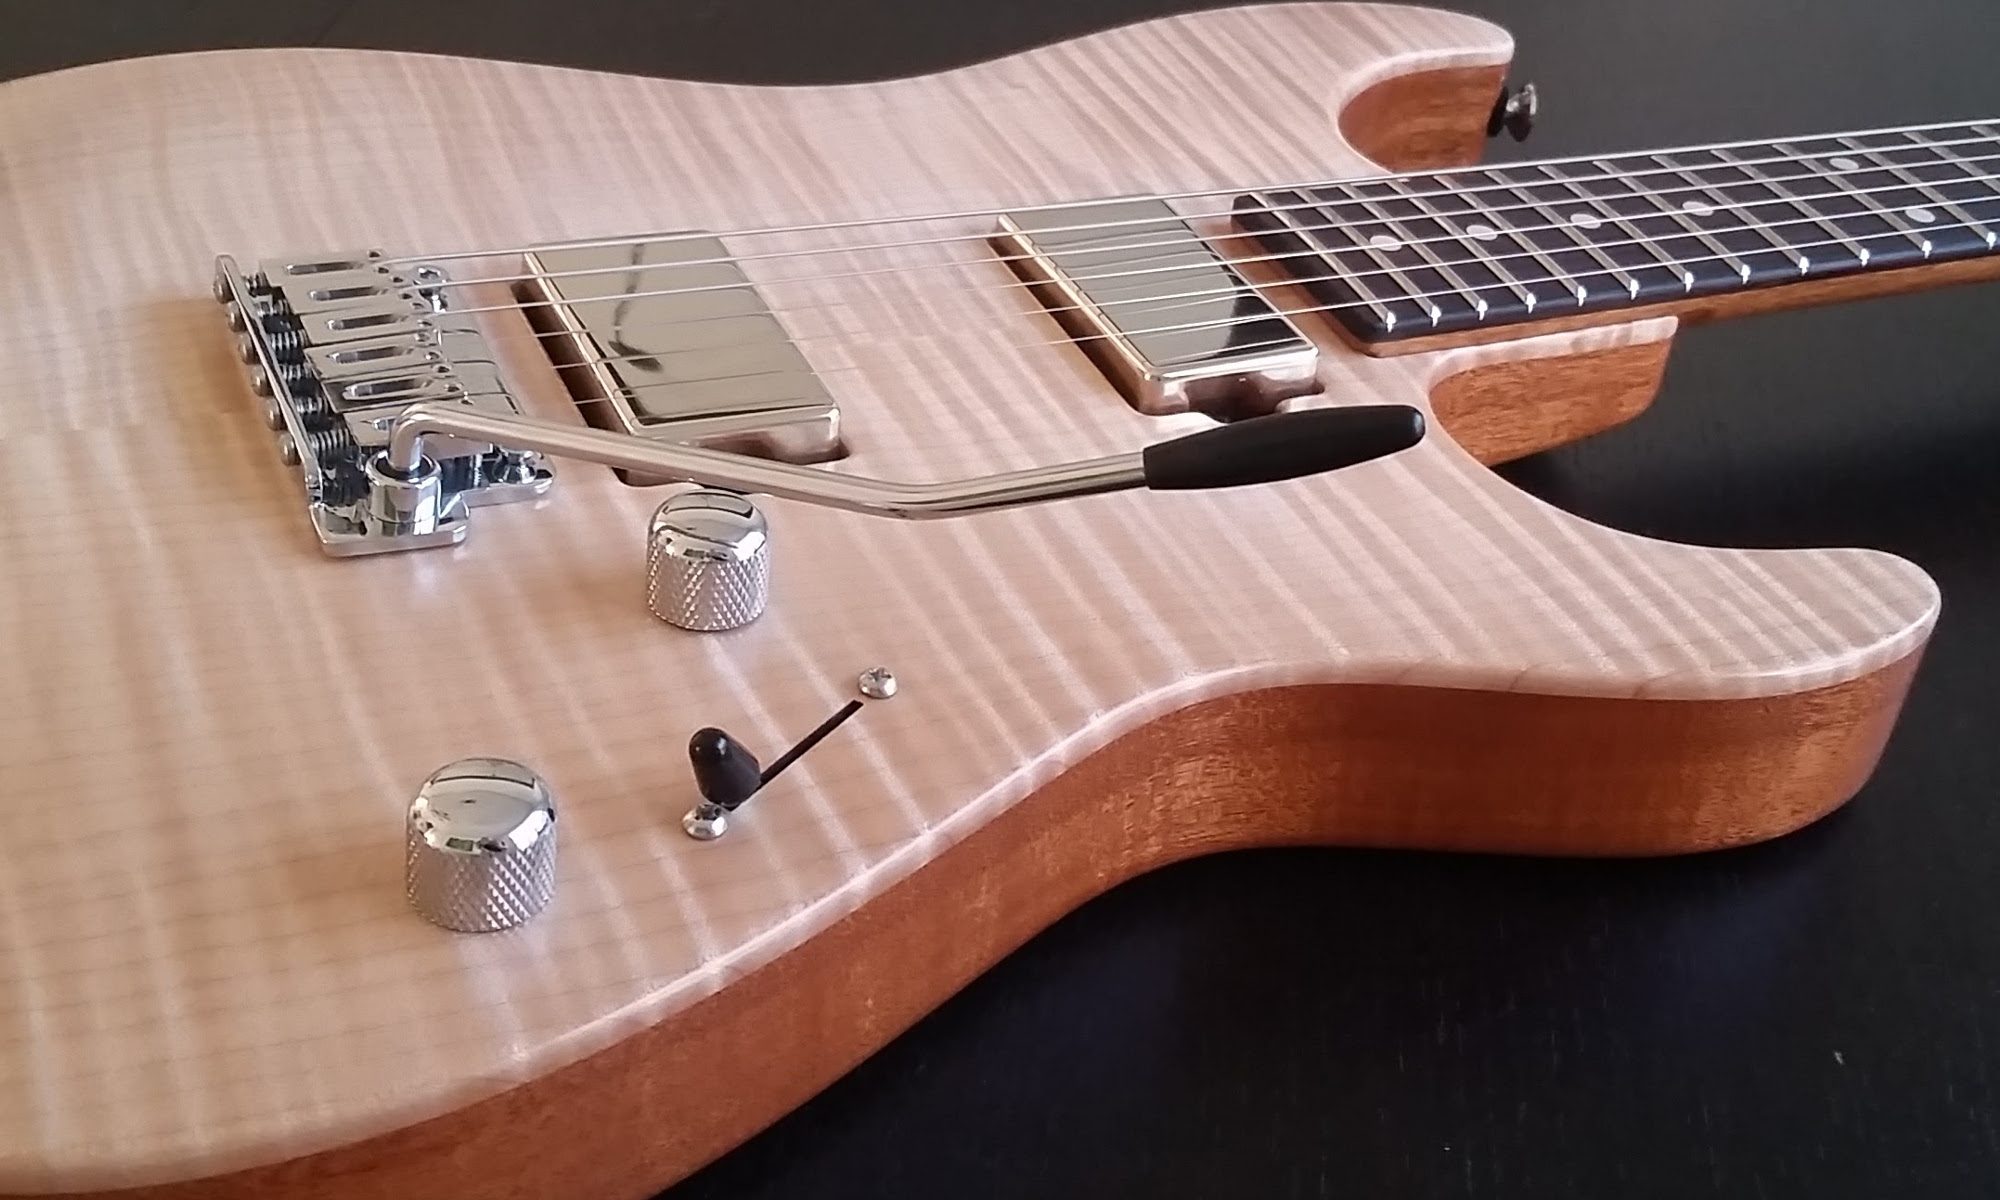
Now the the finish is mostly done, it’s time to begin assembling the guitar.
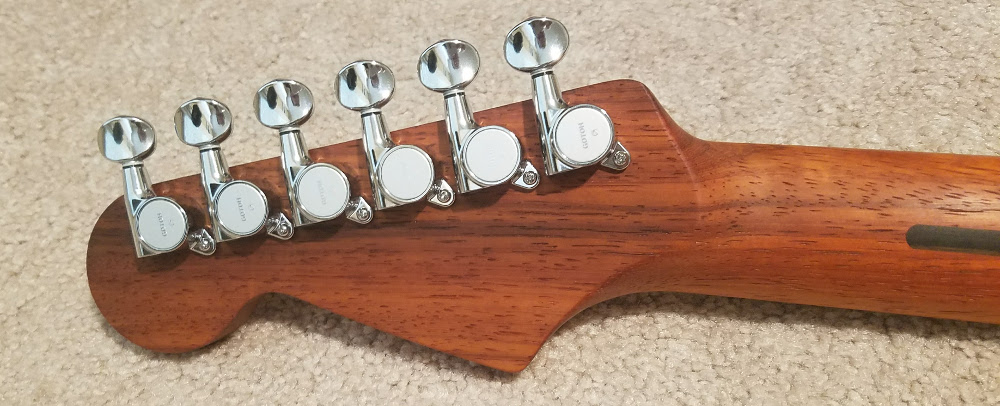
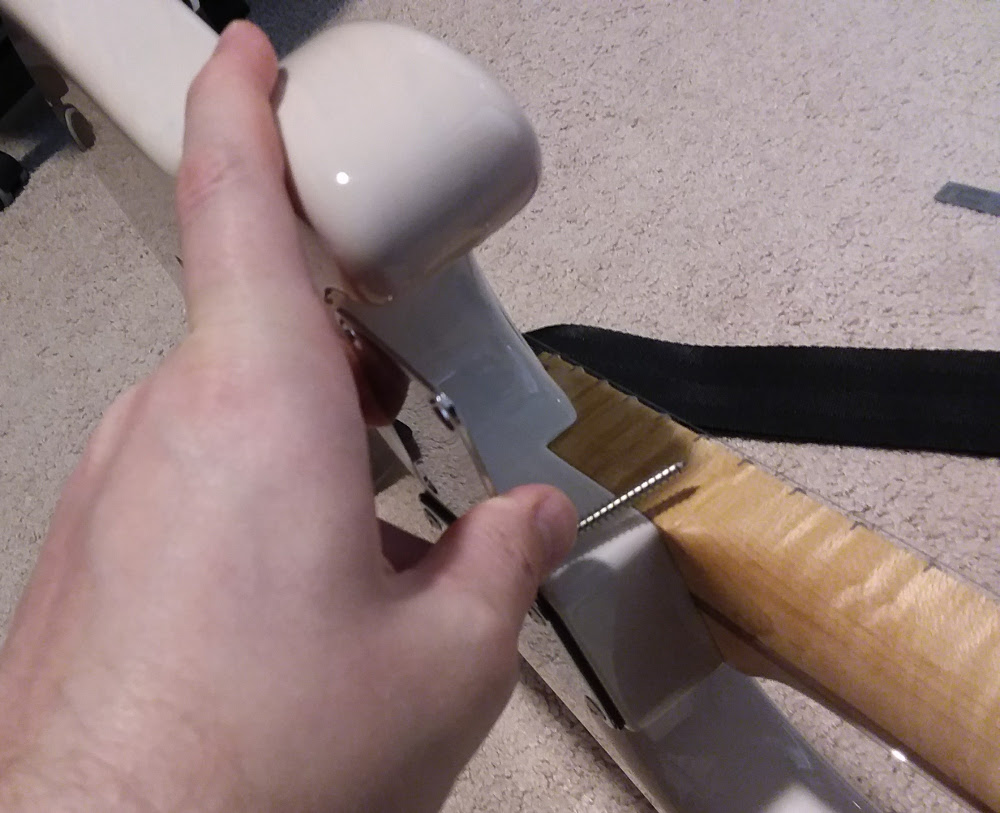
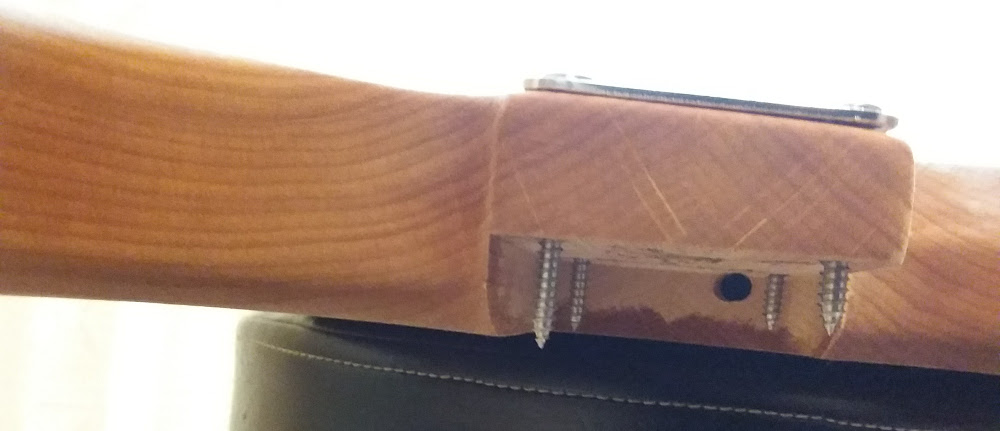
Since I shaved down the heel joint significantly, I knew I’d need shorter screws. To figure out the proper length I used my Warmoth strat to measure the screw length. I purchased stainless steel sheet metal screws from Home depot. These are the closest match I could find for both the threads and the head. I used three different lengths ranging from 1.5″ to 1″.
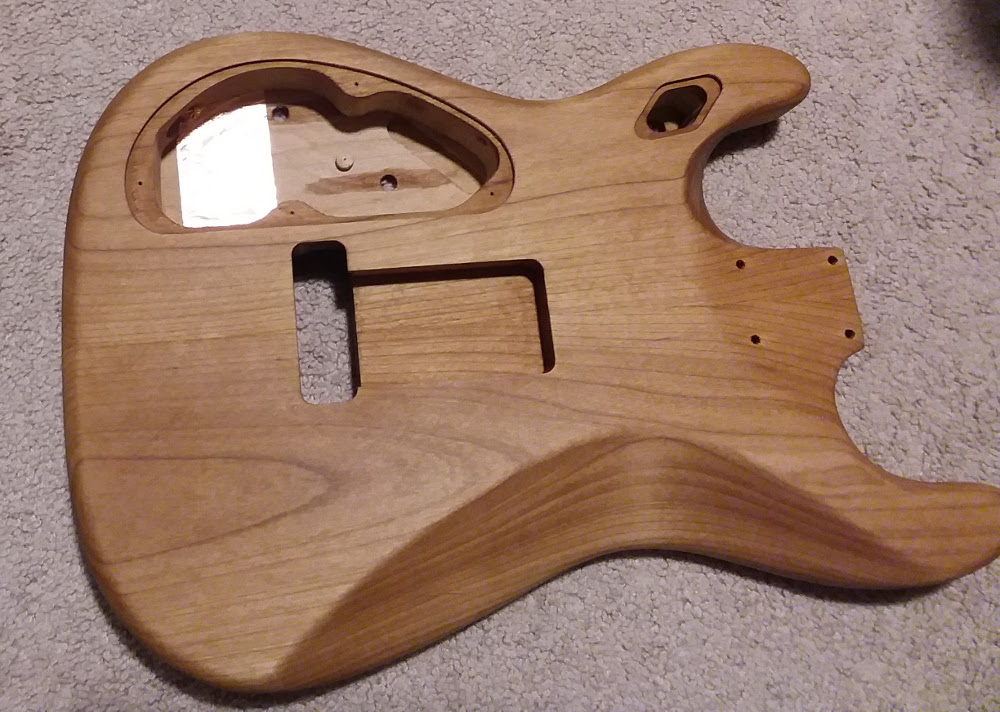
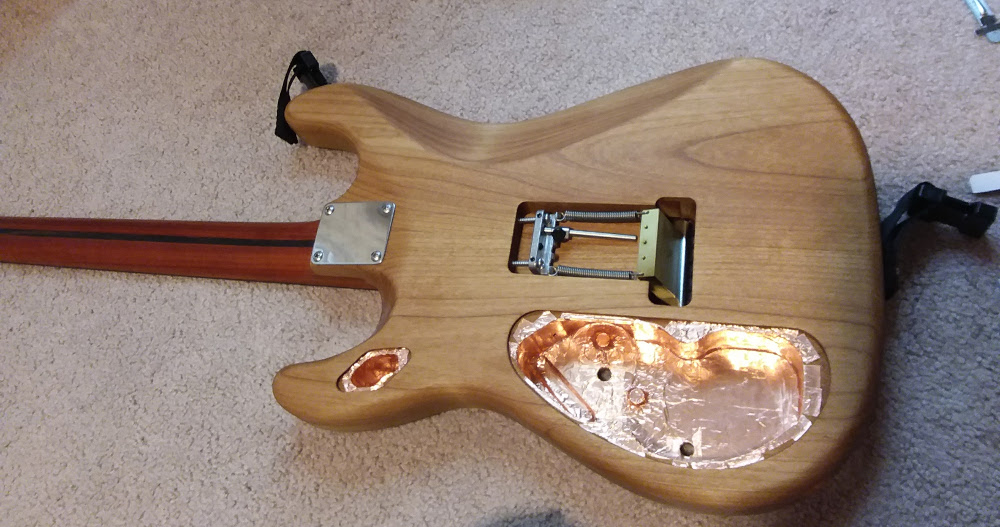
I used conductive paint on two other guitars and I wanted to try some foil in this one. I found some copper tape w/ a conductive adhesive on Amazon. I found the foil very easy to install. I did check the continuity with my multi-meter to make sure the adhesive was really conductive.
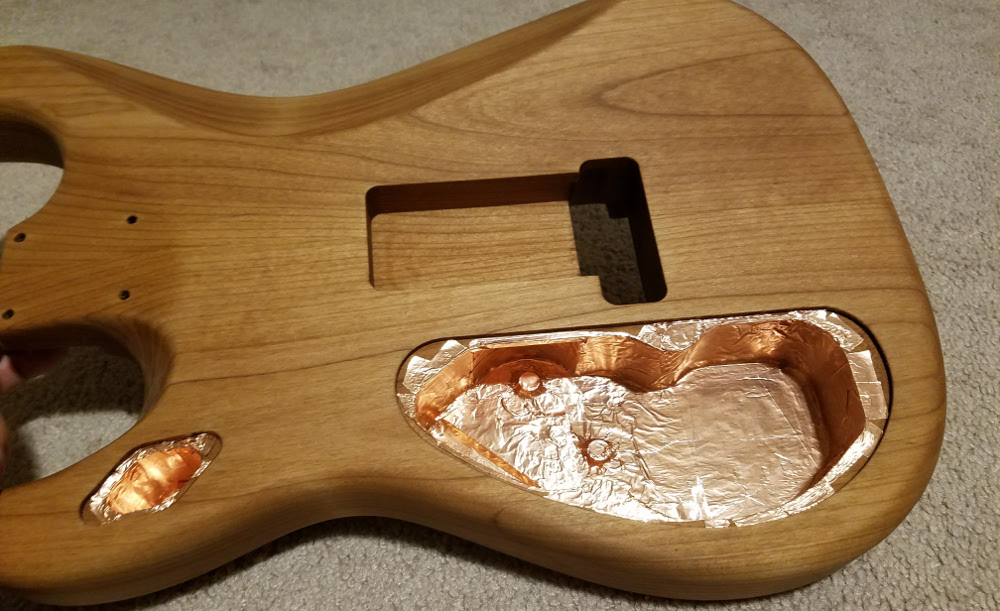
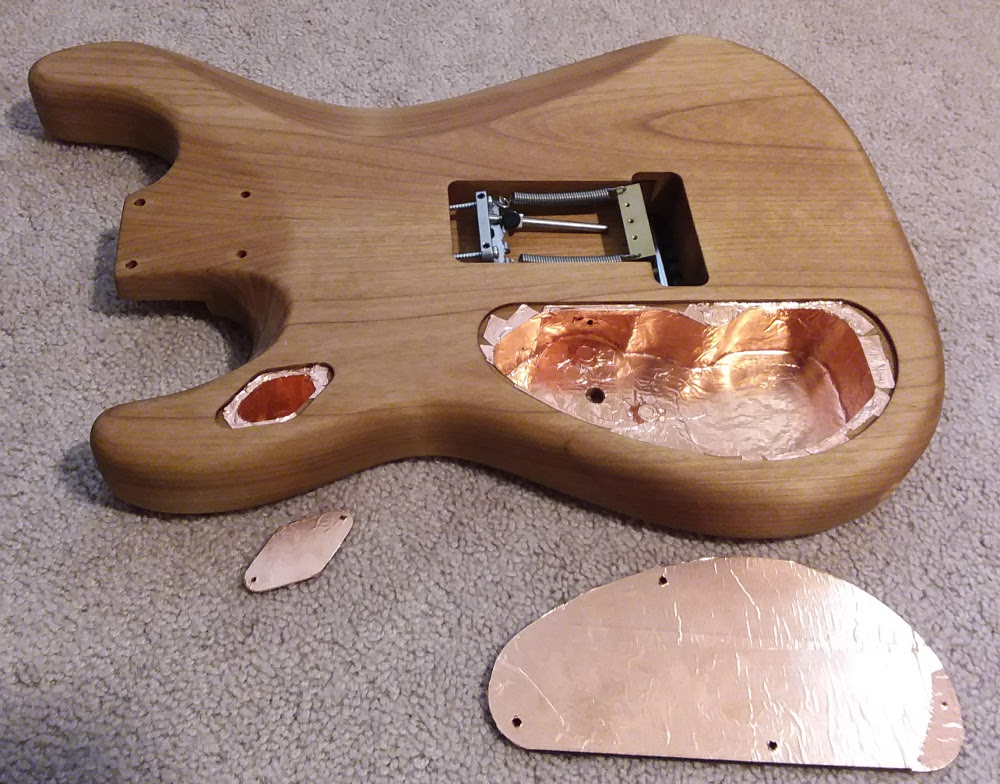
Installing the bridge and Tremol-No claw was as simple as installing the two screws and attaching the springs.
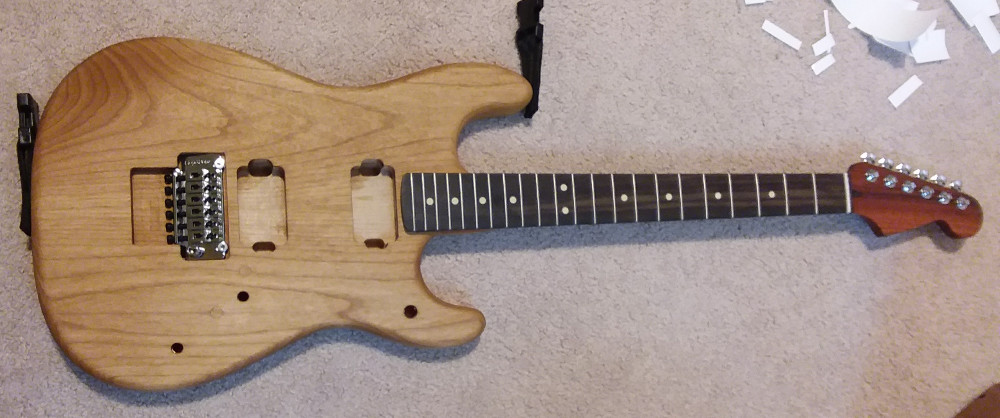


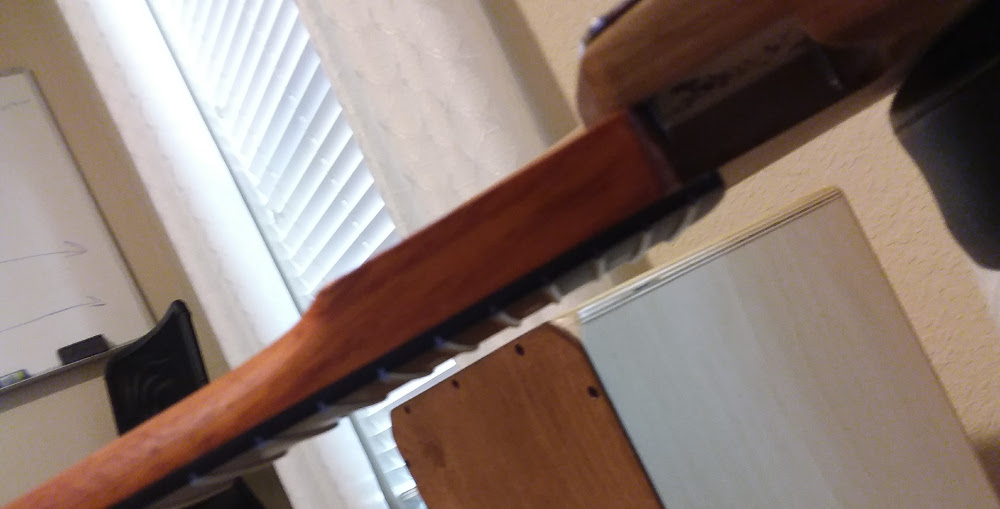
These pictures show a good comparison for how the heel joint ended up. It’s quiet similar in appearance and feel to the Anderson I measured.
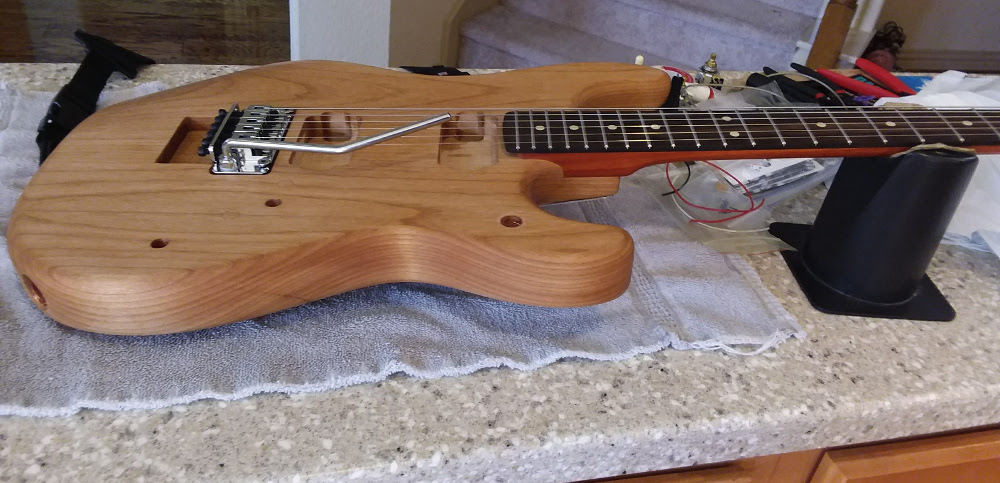 At this point I strung it up for a test drive. The guitar is acoustically loud, which is always a good sign in an electric guitar. These necks need to sit w/ some tension on them for a bit before they settle in. Just like my other warmoth projects, this one was very “slappy” sounding for about a day. It was still fun to play, and I felt much better that the slaps went away quickly.
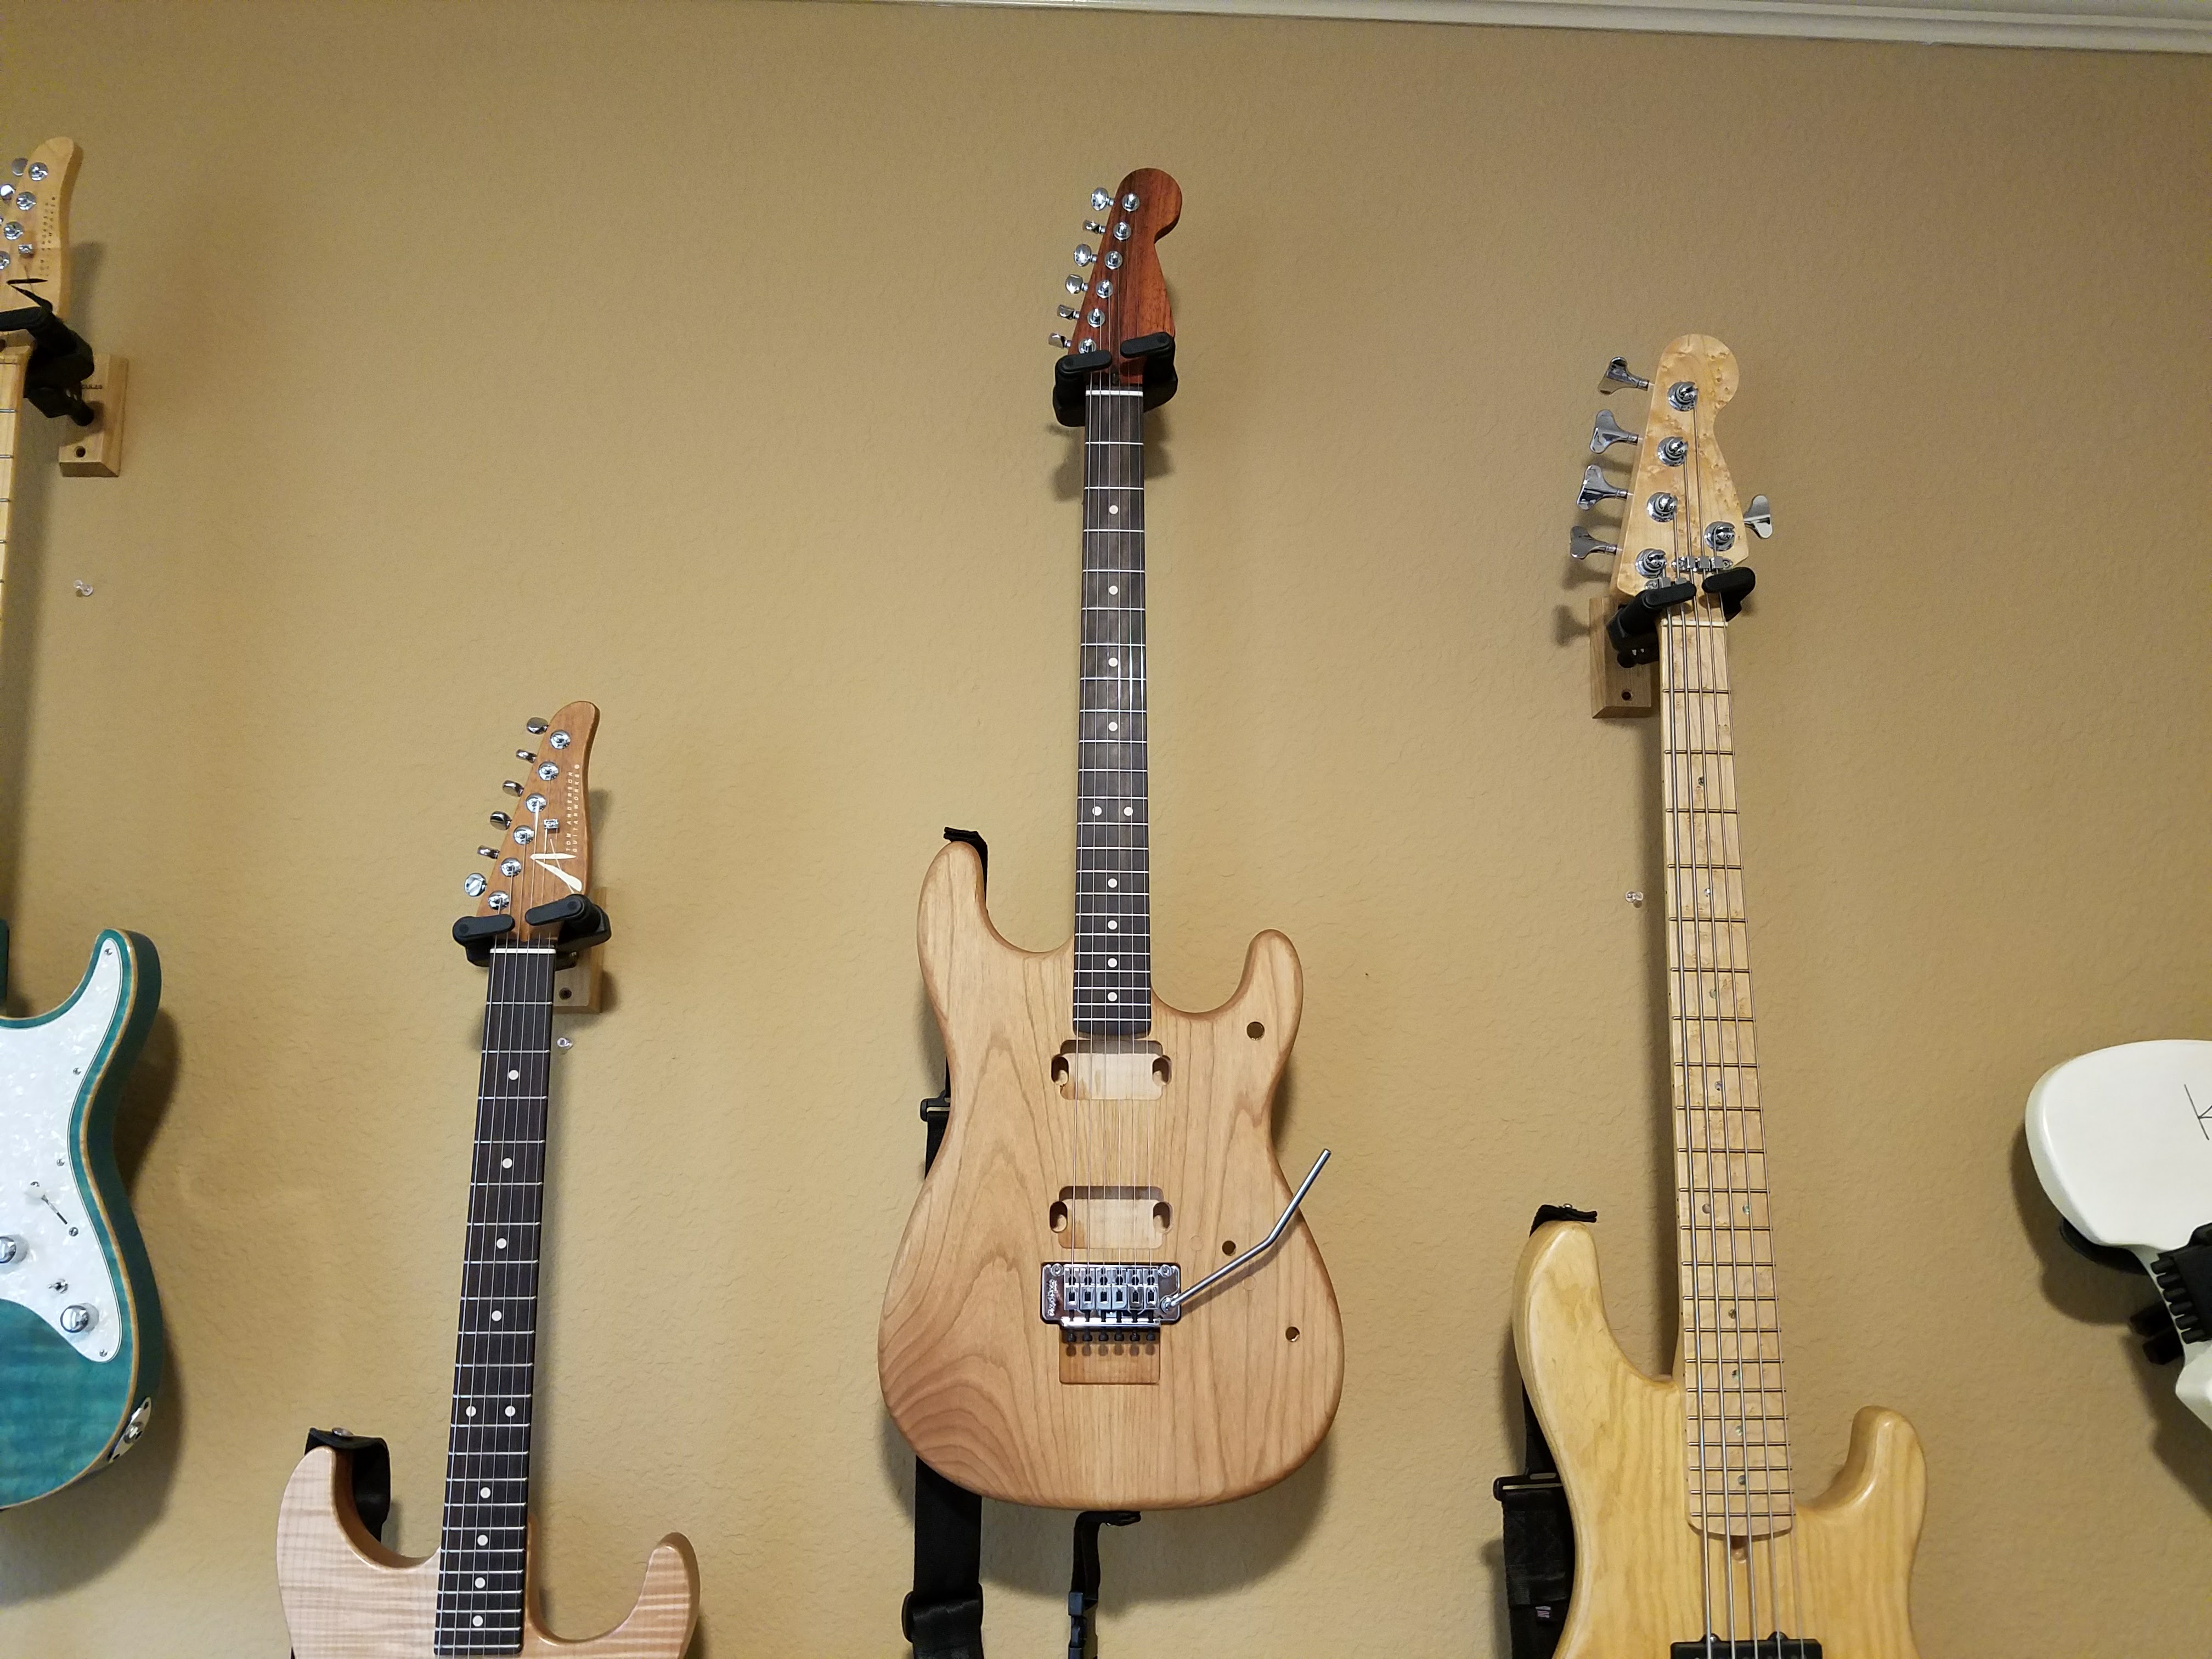
….and finally I added another wall hanger for my new guitar. I’ll start to get into the electronics in the next post.
