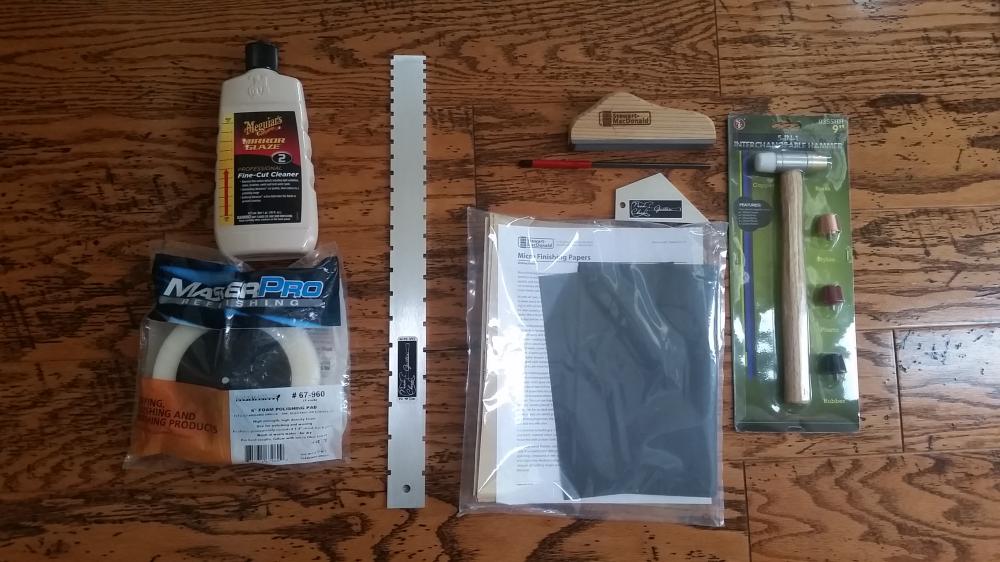
Since I opened this kit, I’ve know that some fret work was going to be required. Historically this is an area I’ve avoided and sought professional help, but after spending some time on youtube, I decided I am capable of doing this. …….I just needed to acquire some tools first. The main videos I tried to model/emulate were this, this, and this. Most of the supplies came from Stewart MacDonald. I found a lesser expensive notched straight edge and fret rocker on Amazon, and the Meguiar’s polish and buffer wheel were from an auto parts store where I had a gift card.
So the first step in leveling frets is to make sure the neck is perfectly straight. The notched straight edge I bought worked really well for this. After the neck was straight, I checked for high frets w/ my new shiny fret rocker (I had already done this with a make-shift tool and knew it was problematic). Clickity, clickity, clack, all the way up the neck!
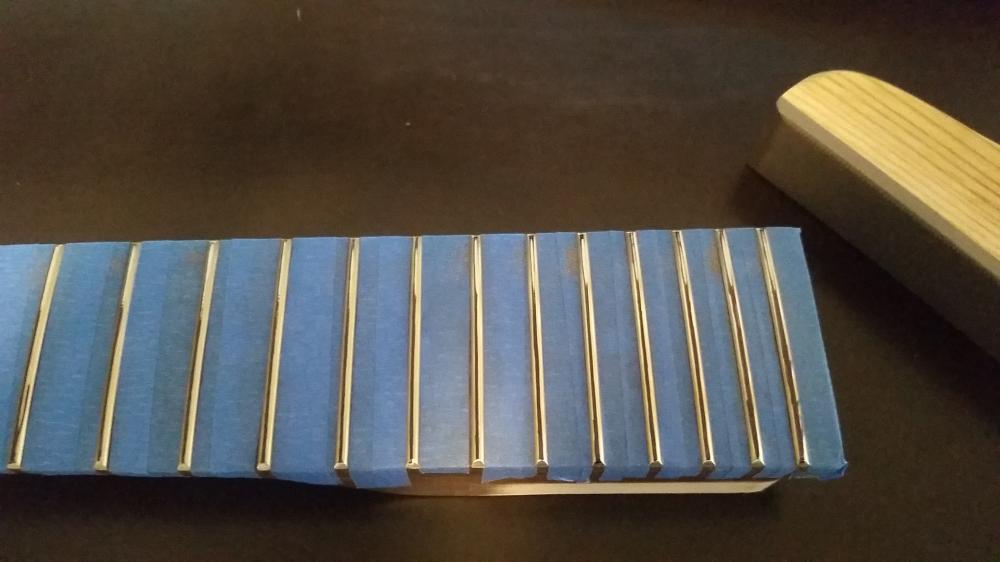
I drew lines on the top of the frets with a Sharpe so I could see where and how the file was hitting the frets. A good practice for this to mark high and low frets with different colors. I didn’t bother with that because the heights were so inconsistent. 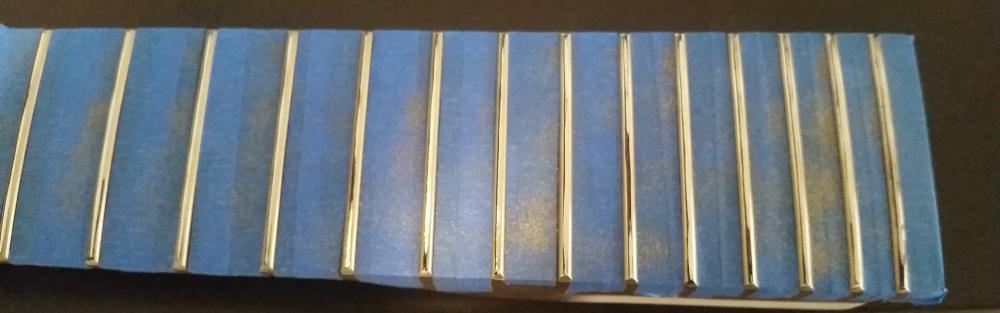
The low spots on the 15th & 17th frets were the worst. I tried to take down the frets to this point.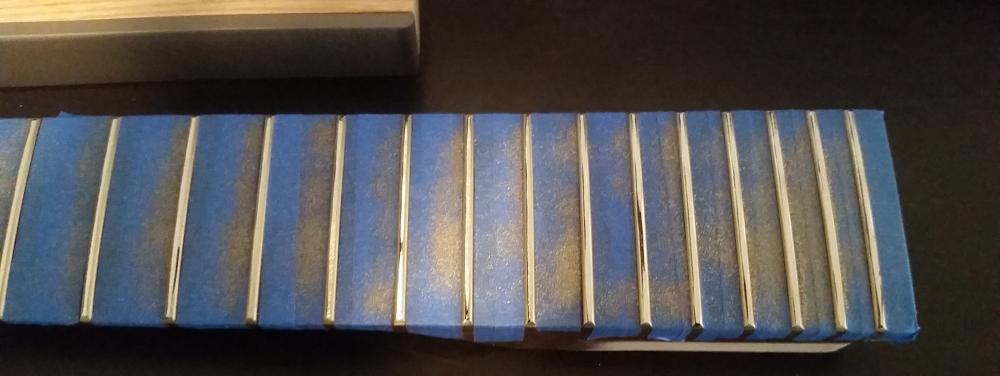
In the above photo, you can see the black line on the 15th fret has become more of a dot, but the 17th is almost identical to the previous picture. At this point I decided to bail on 17. The area in question is directly under the ‘D’ string and I’m not sure how often I would need to play a high ‘A’ on that string.
I don’t have pictures of the crowning process, but basically I drew more lines on the tops of the frets with the Sharpe and then used my medium fret file to shave the edges of each fret. The goal is to make the Sharpe line narrower and consistent across the finger board.
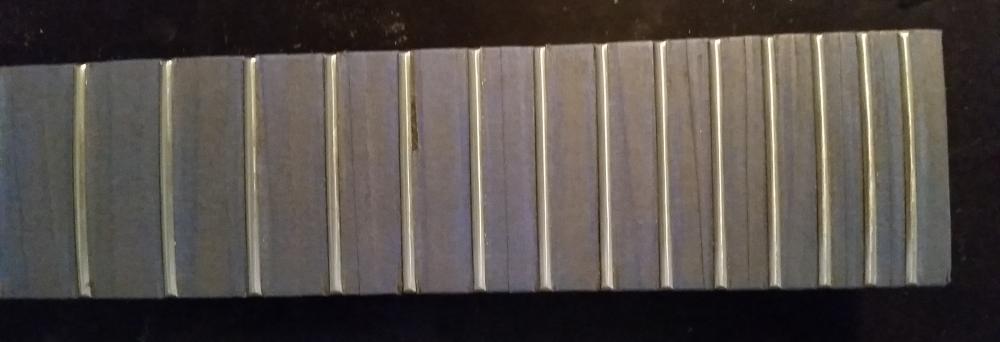
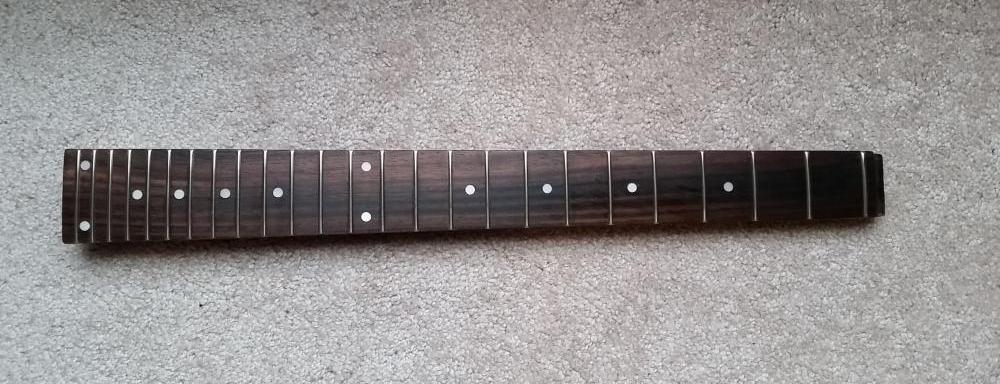
Once the frets were crowned, all of the file markings (and Sharpe residue) needs to be removed. Based on the videos I watched, I opted to only use sandpaper and not steel wool for this. I started with 400 grit and took it all the way to 2000. That was messy and time consuming. The picture above was taken after the fine sanding was complete.
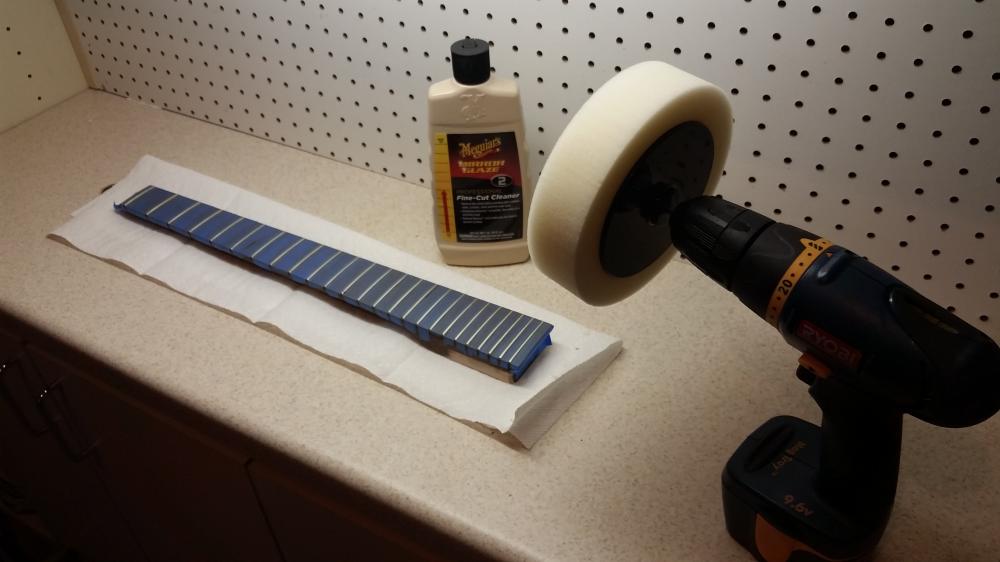
The last step is to polish the frets, and really make them shine. The Meguiar’s polish and buffing wheel worked really well and it was fast.
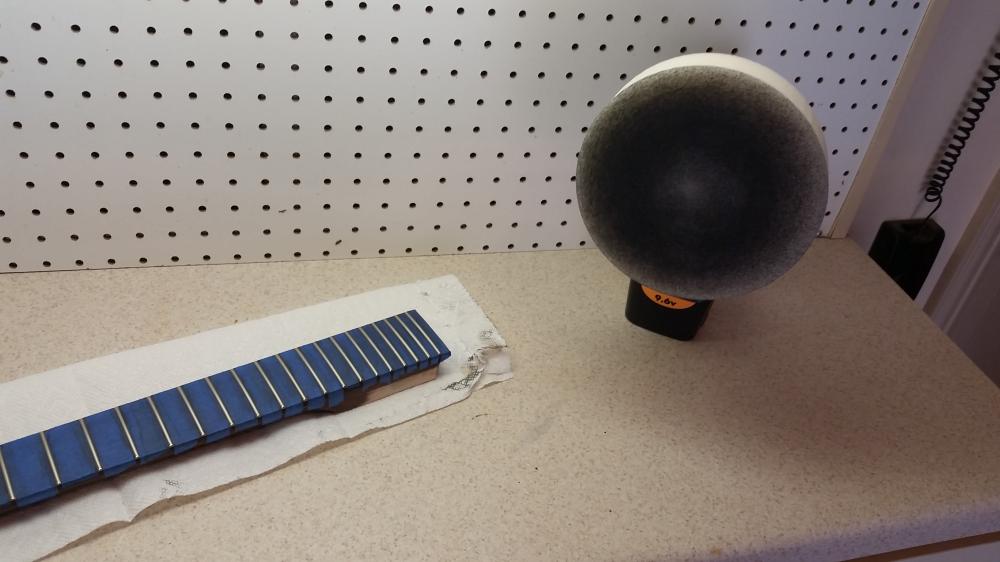 Gross! Look what what removed from the frets.
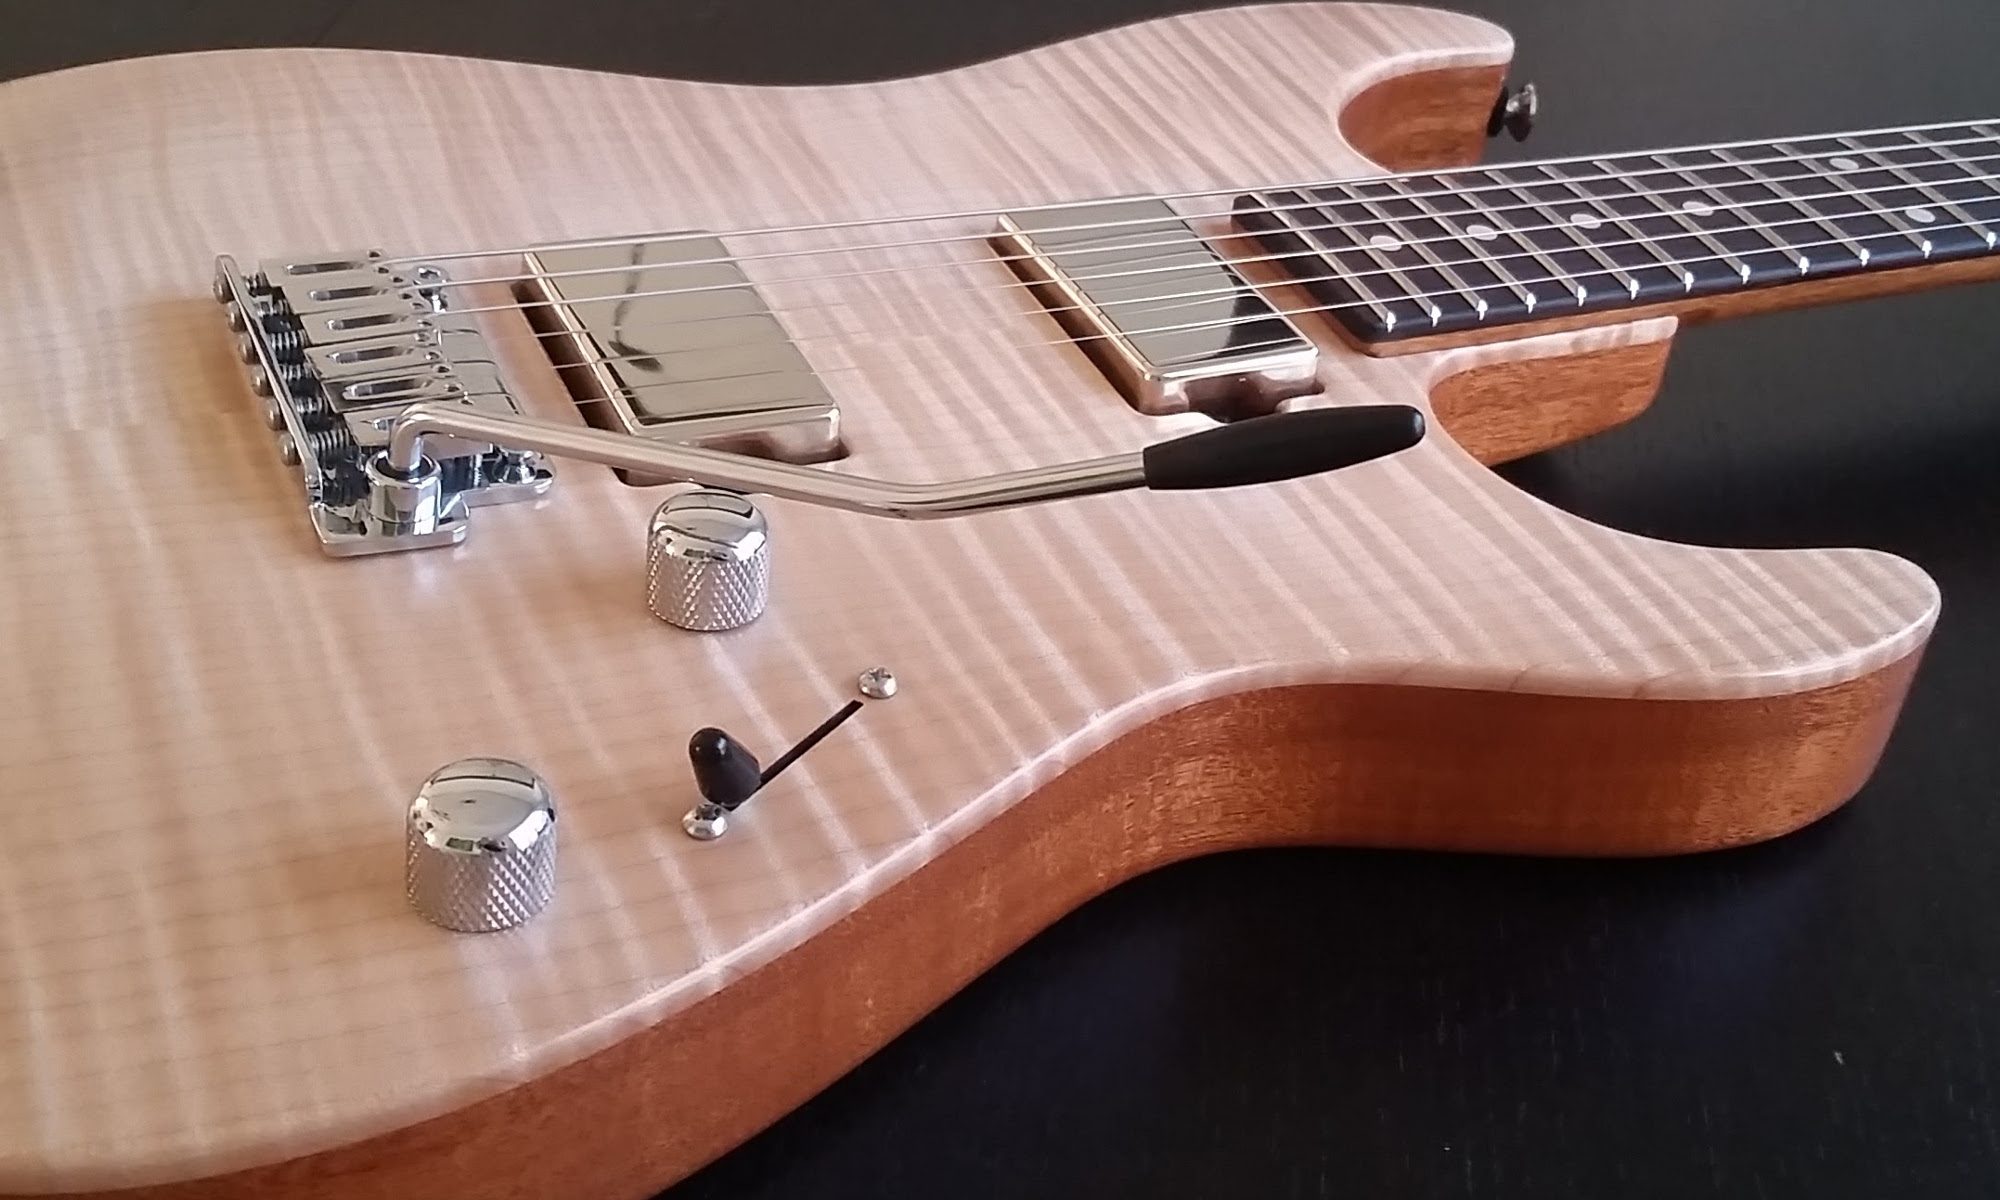
It doesn’t really show up in these pictures, but the frets are now like perfect shiny mirrors. This actually makes a huge difference when playing. When I initially strung up the guitar the frets made it feel really cheap, and vibrato sounded “scratchy”. That is no longer the case.