Filling the Floyd Route on my Warmoth

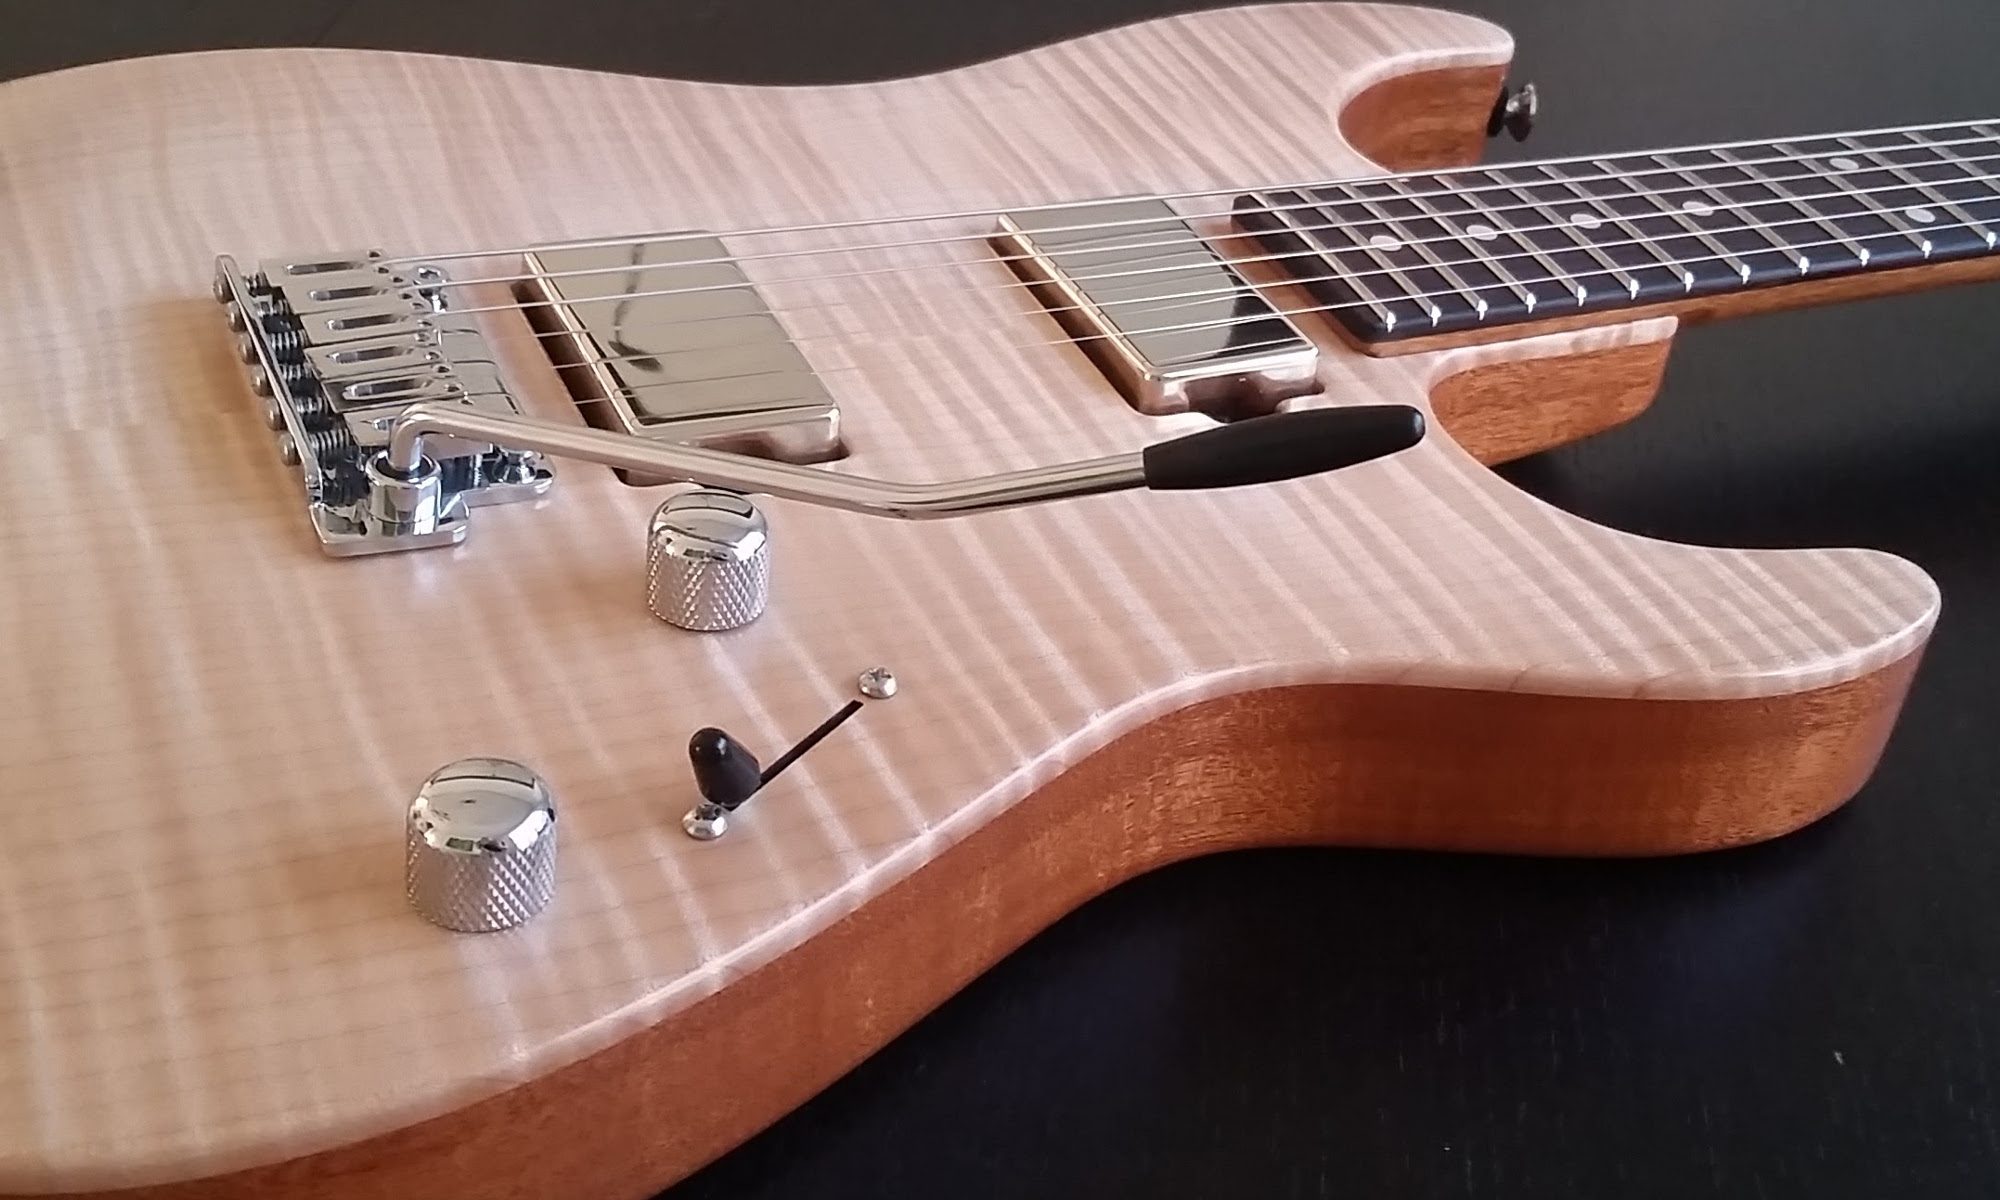
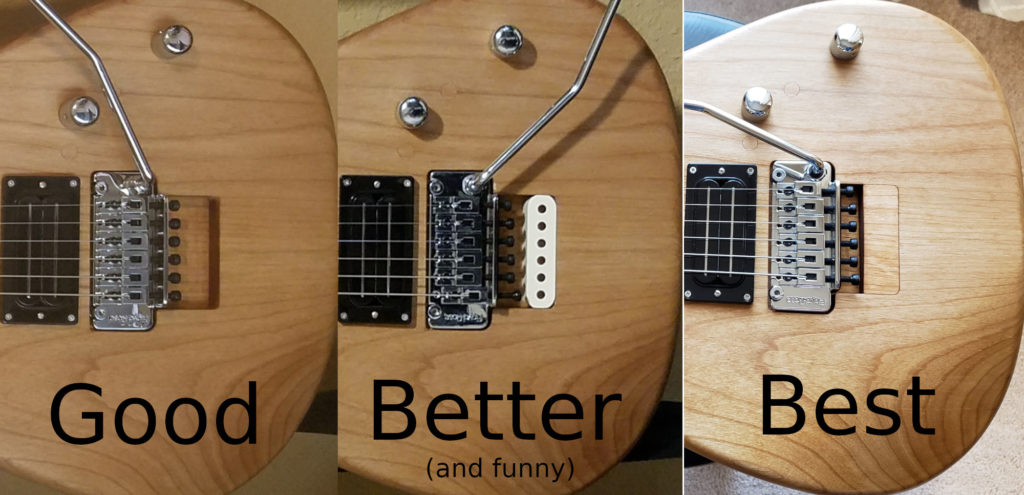
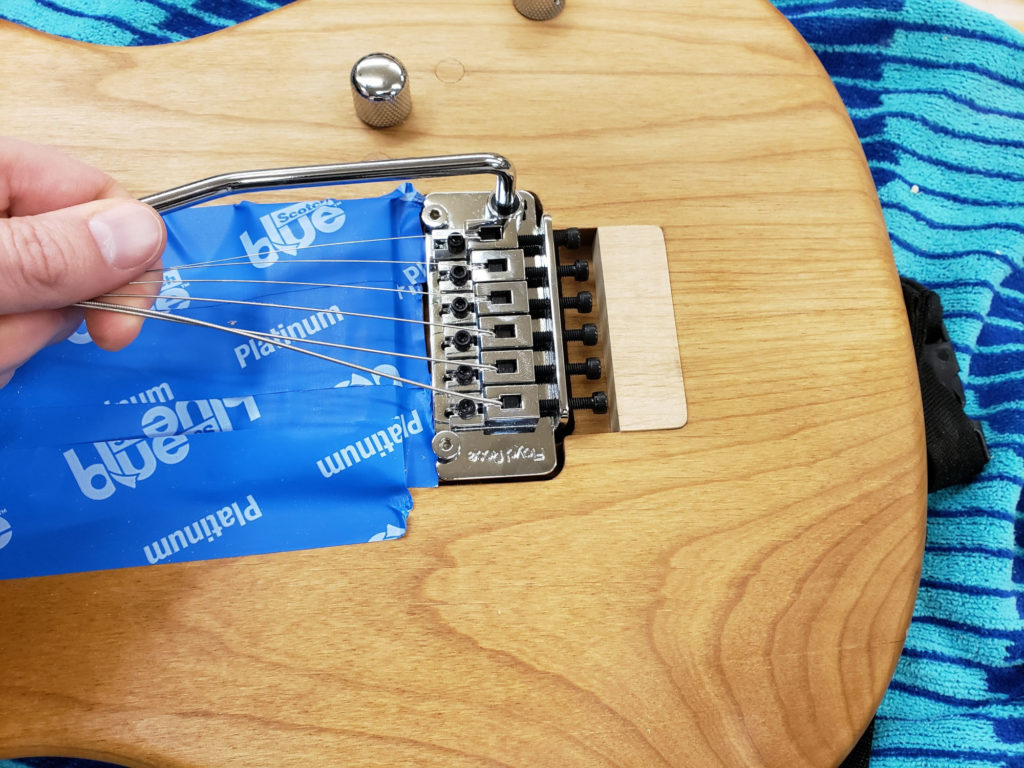
Warmoth will now, by special request, offer a proper NFT Floyd route. This wasn’t an option when I purchased this body and the person I spoke w/ on the phone flat out refused. Anyway, I enjoyed filling the route w/ a single coil cover for about a year; it always made me laugh and confused people. I never wanted to commit to it and glue it in place, and it eventually became problematic at a gig. I managed to bump it loose while performing and it got in the way and that’s no way to go through life. I decided I needed to come up w/ something better.

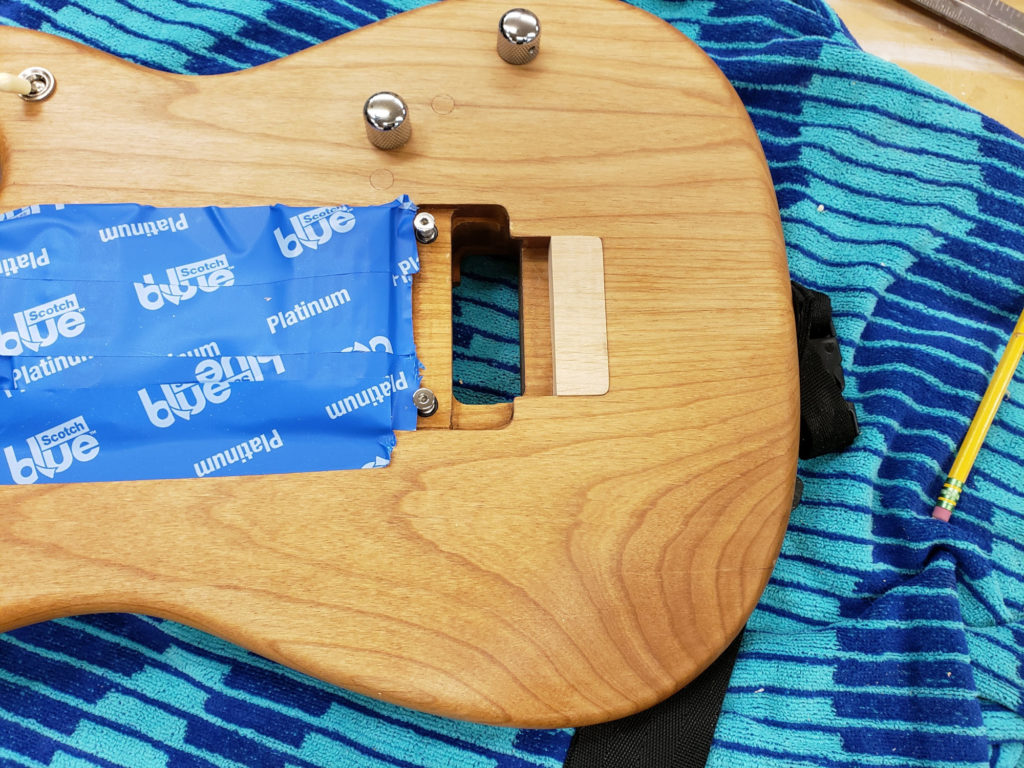
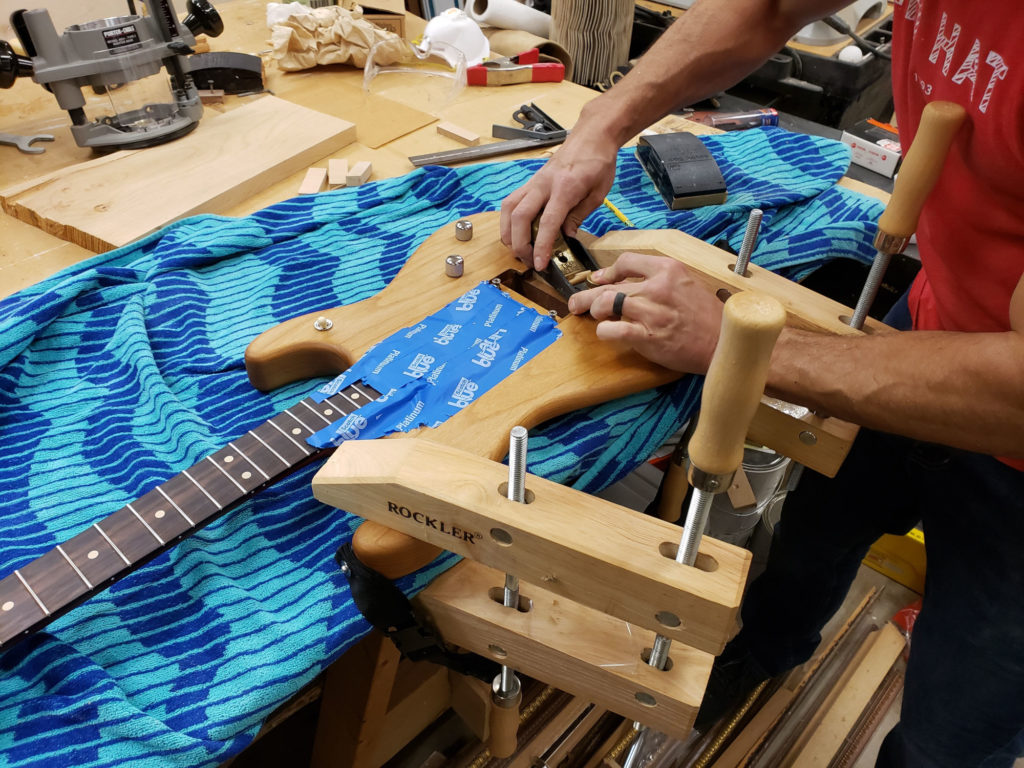
I tried to find some alder locally and none of the wood shops stocked pieces. I called my buddy Patrick who is a super talented carpenter that helped with some of the initial changes to this guitar. Not only did he have some alder laying around, but he was generous enough with his time to help w/ the project! fantastic.

A close up of the original Floyd Rose route that’s been altered to fit the NFT
Taking precise measurements
I taped off the pickups to keep saw dust off of them.

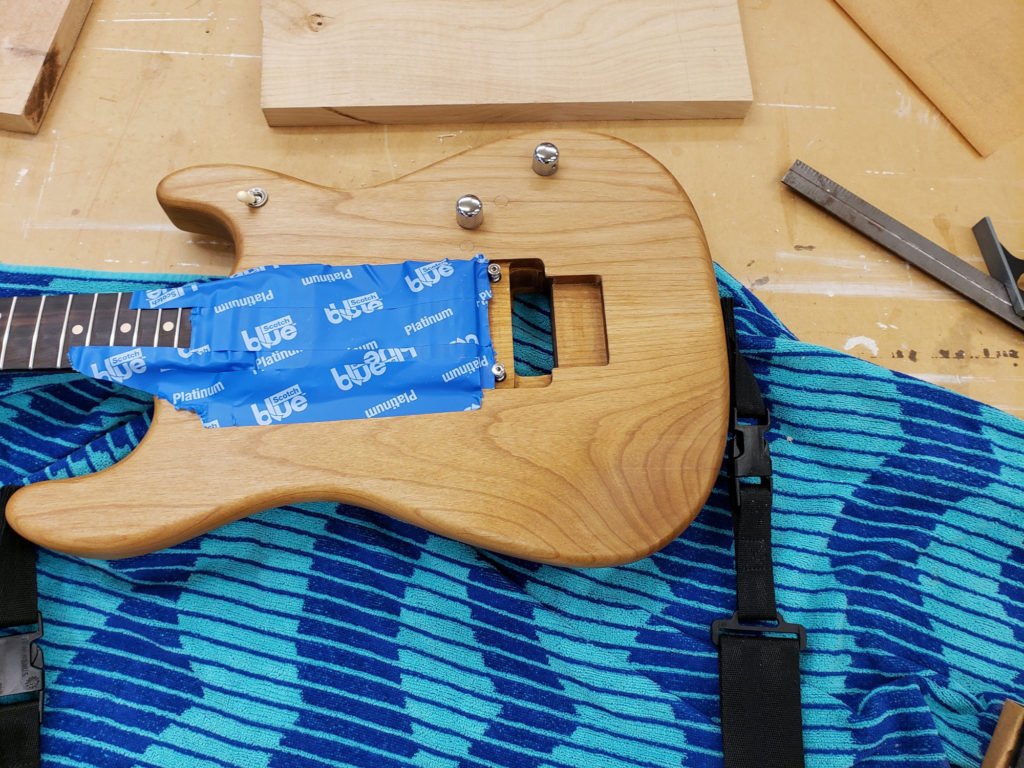
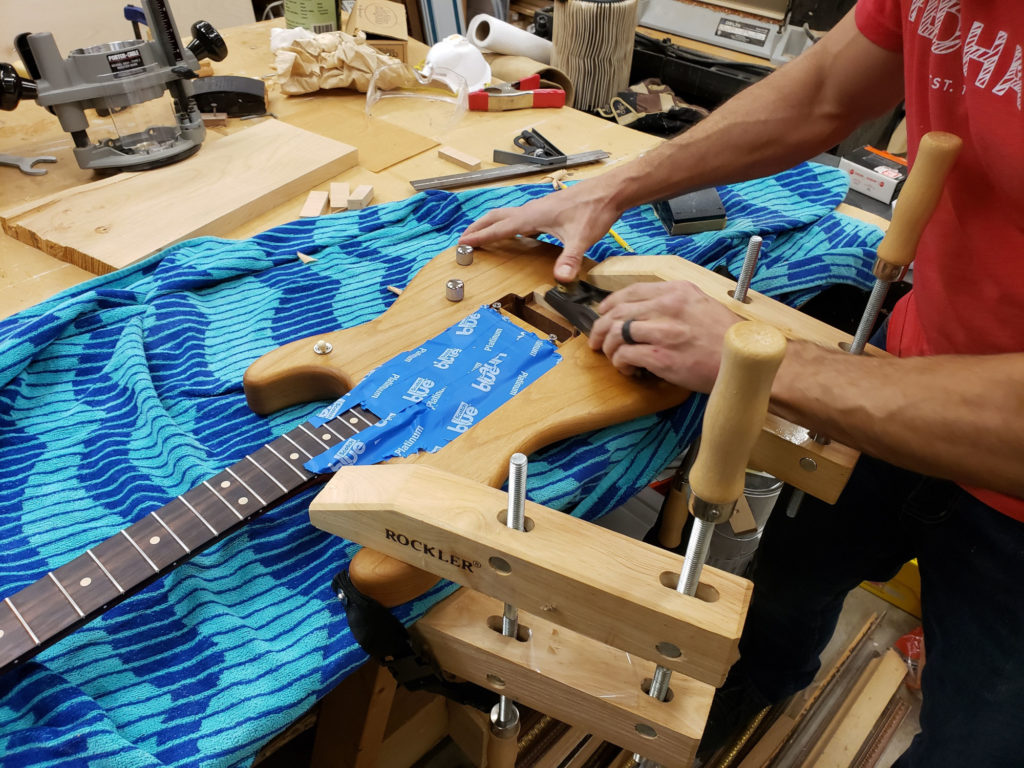
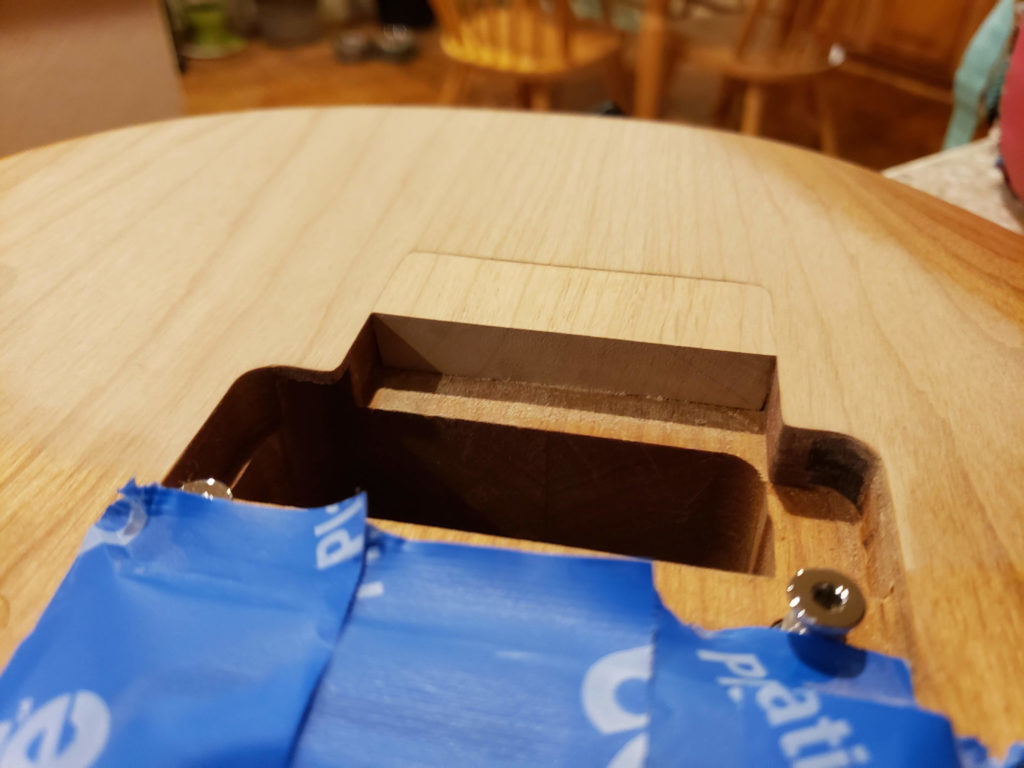
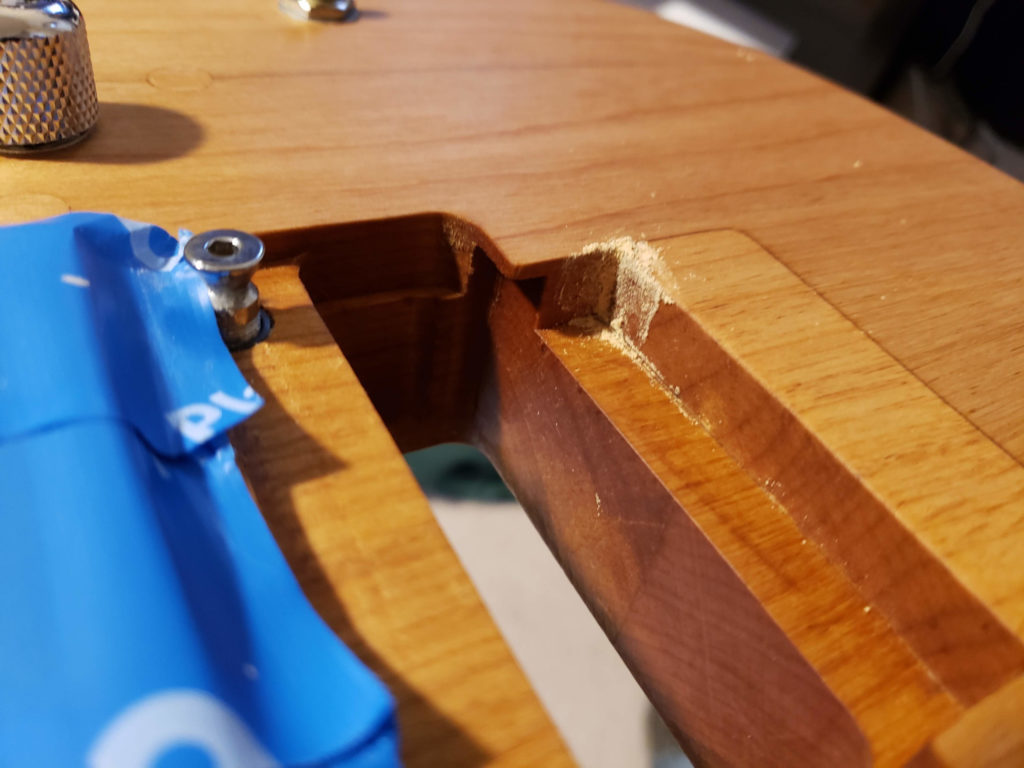
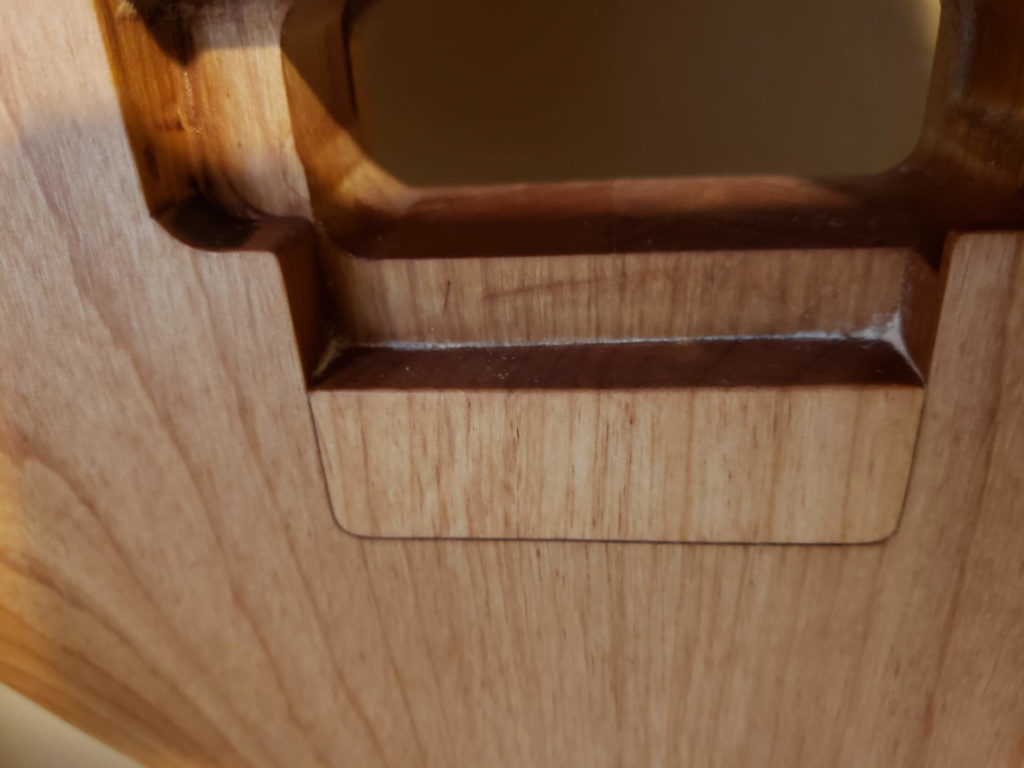
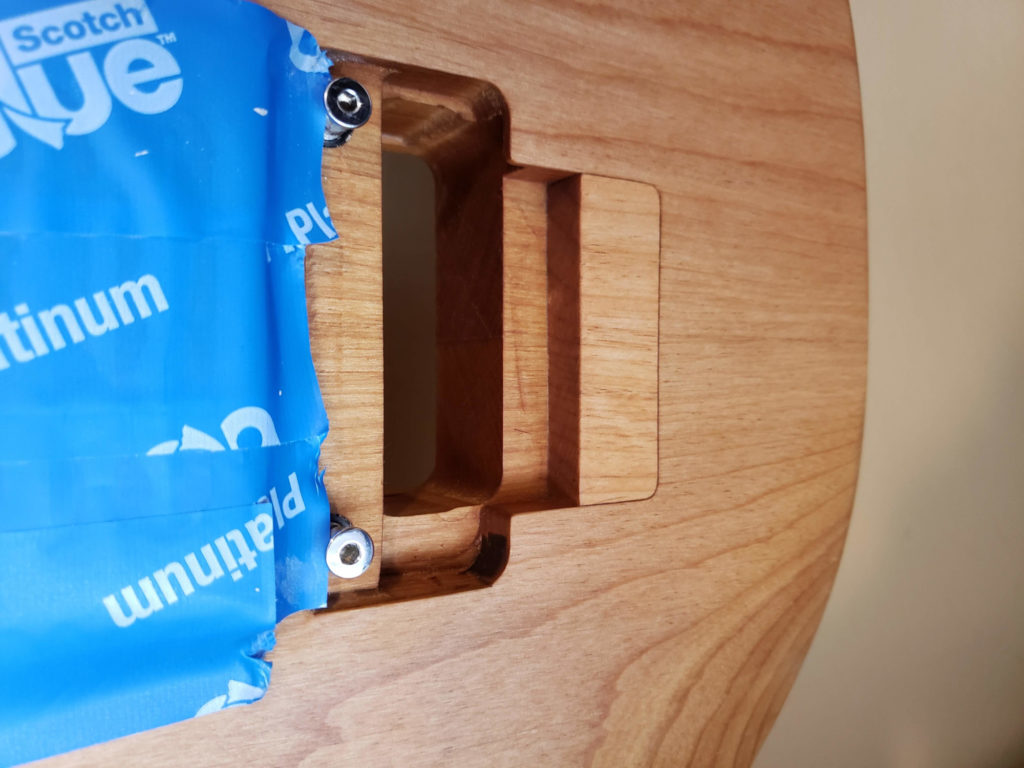
We, and by we I mean Patrick, made a template for the router to cut a piece of alder to the right size. We made 3 blanks, and then manually rounded the corners slowly by hand w/ sand paper. I also tried to make a wedge shape so it would fit in really snug at the top.

Pretty tight fit!
Checking the block w/ the bridge in place.
Next, he used a handheld plane to level the block
Another shot of the plane.
At one point the plane slipped and left some cut marks in the top. This is after hitting it with the orbital sander.
Letting the guitar sit over nigh, the block shrank a fair amount. It was perfectly level and smooth from the sanding, but after some moisture left it was noticeably shorter.
I did several passes of wet sanding and that really helped
Tung oil is amazing. One coat pretty much matched perfectly with the rest of the body. We realized we probably should have clamped in the block while the glue was drying. This would have made the glue line smaller. Live and learn.
This is how bad my OCD is. The inside edges didn’t look “finished” all the way. I place a small bead of wood glue along the inside edge and put some alder saw dust from the other blanks on top.
Not the best picture, but you can see the line of glue covered with saw dust.
Once the oil hit the saw dust, it looked perfect. It’s small, but this really was a nice touch.
Another shot of the final job. After the oil set for a couple days I added a single pass of wax – just like the original finish. That was a mistake and I’ll elaborate later.
Looks really good!
The height of the block is just about perfect. It’s completely smooth when you run a finger over it.
A view with day light. Yeah you can see the glue line, but I couldn’t care less. I think it looks fantastic compared to the before shot.

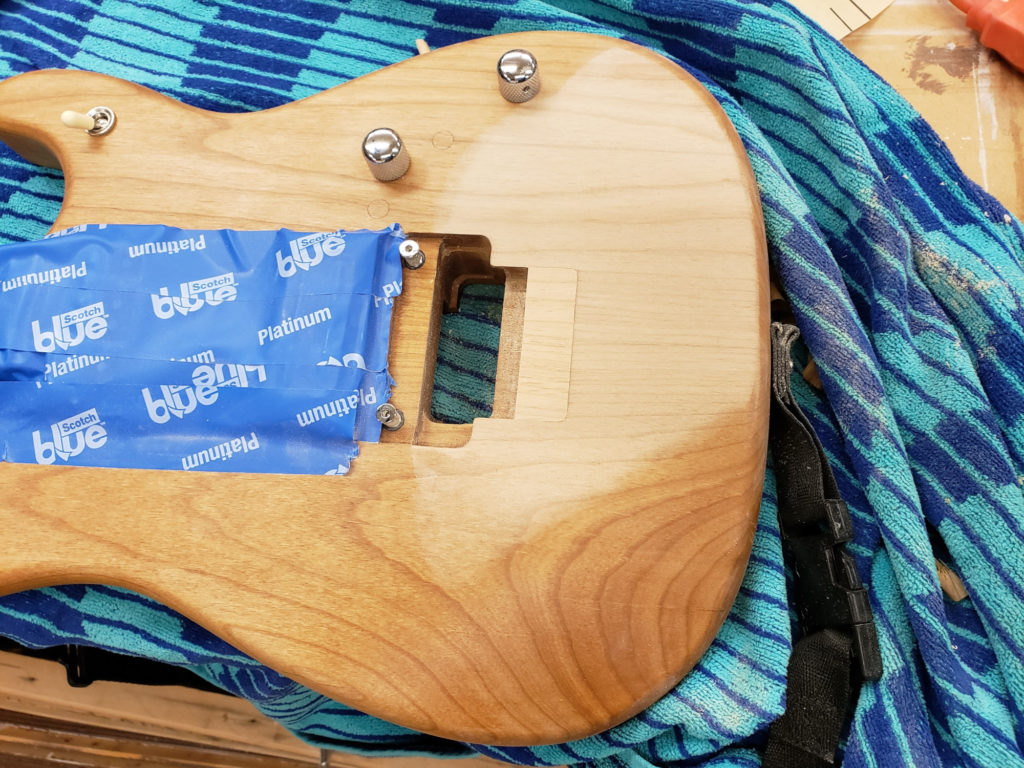
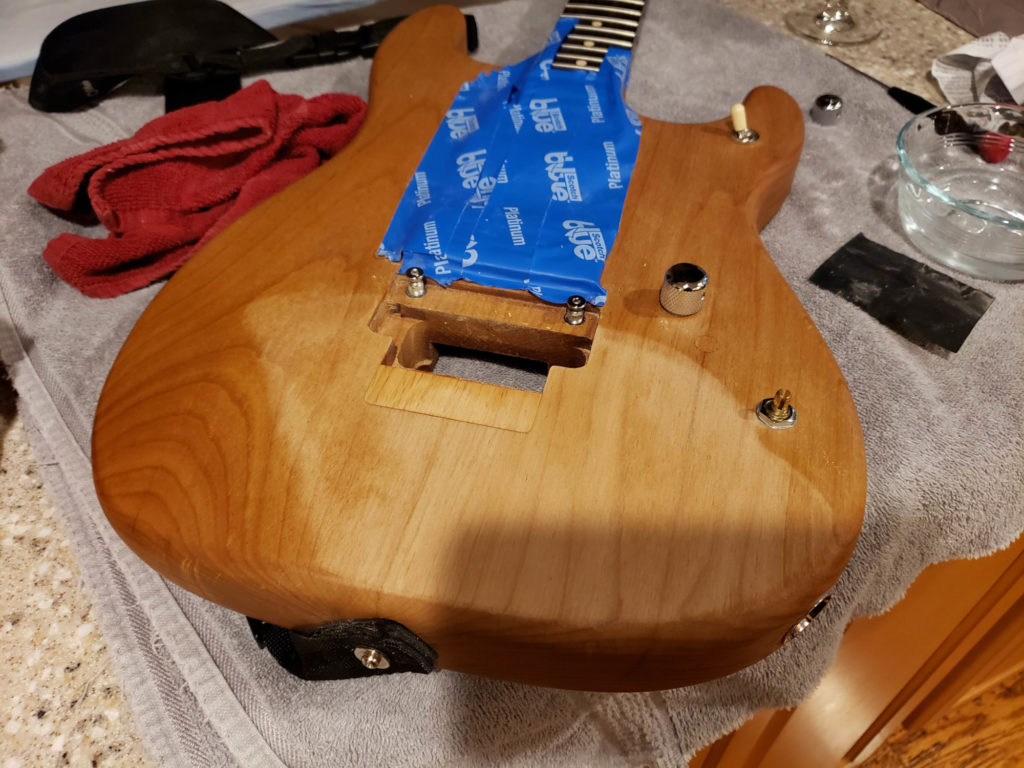
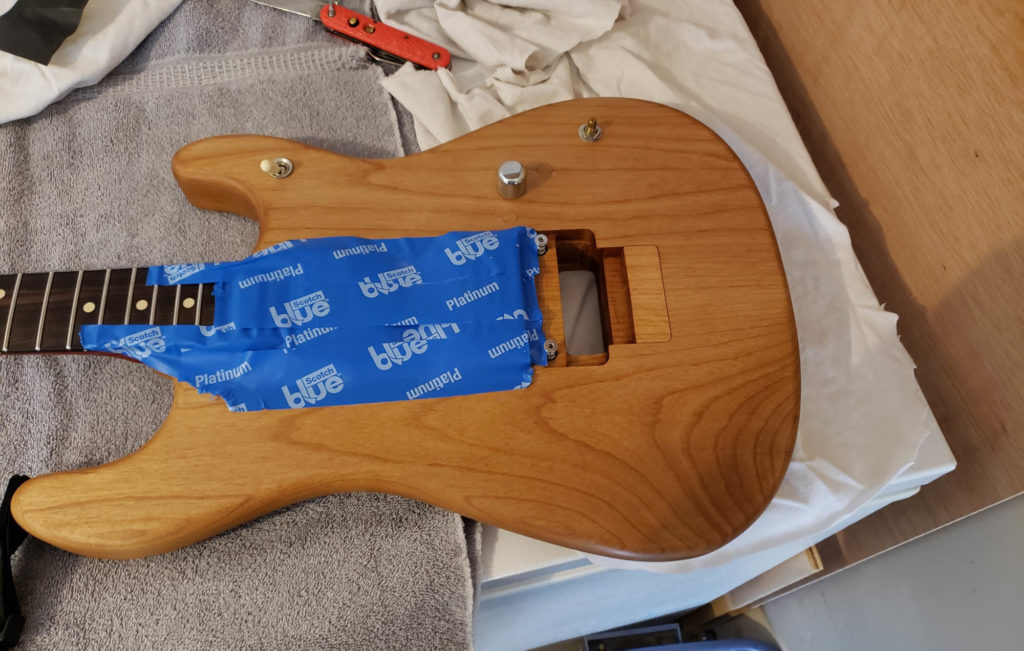
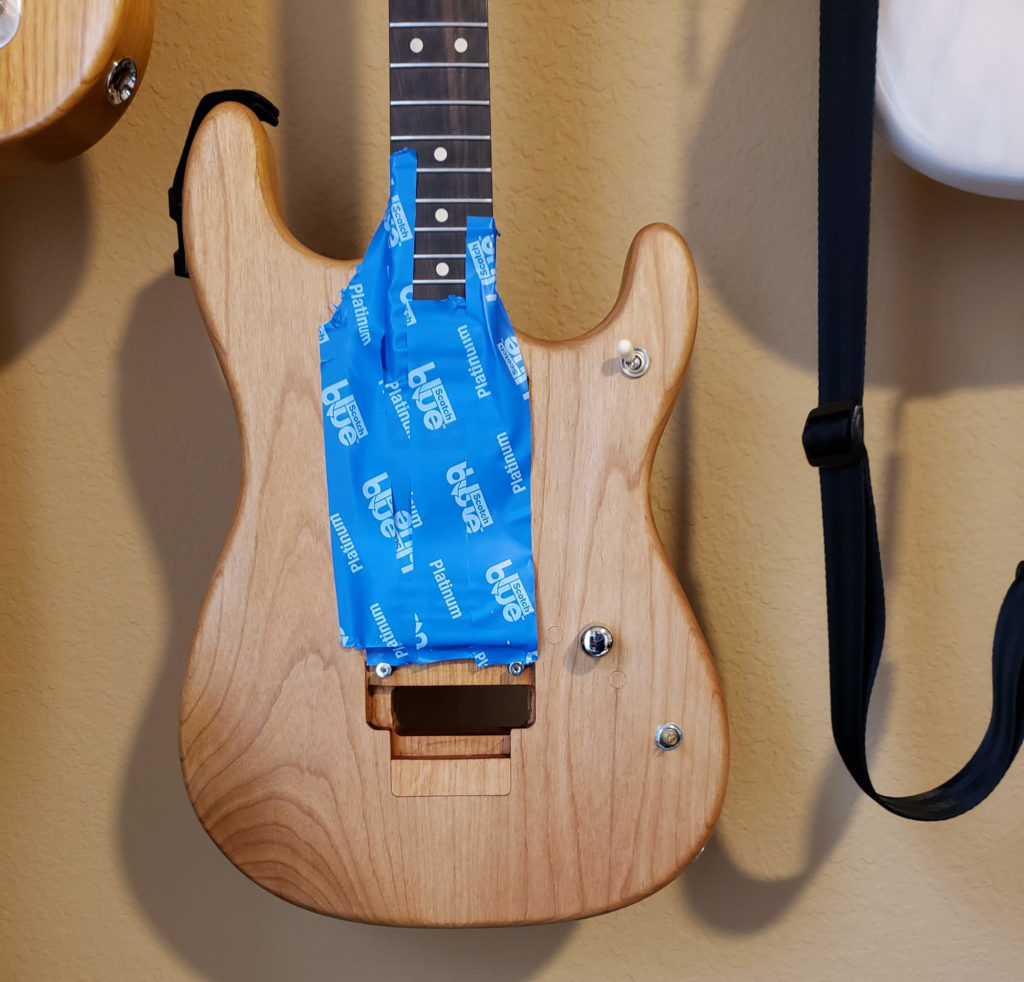
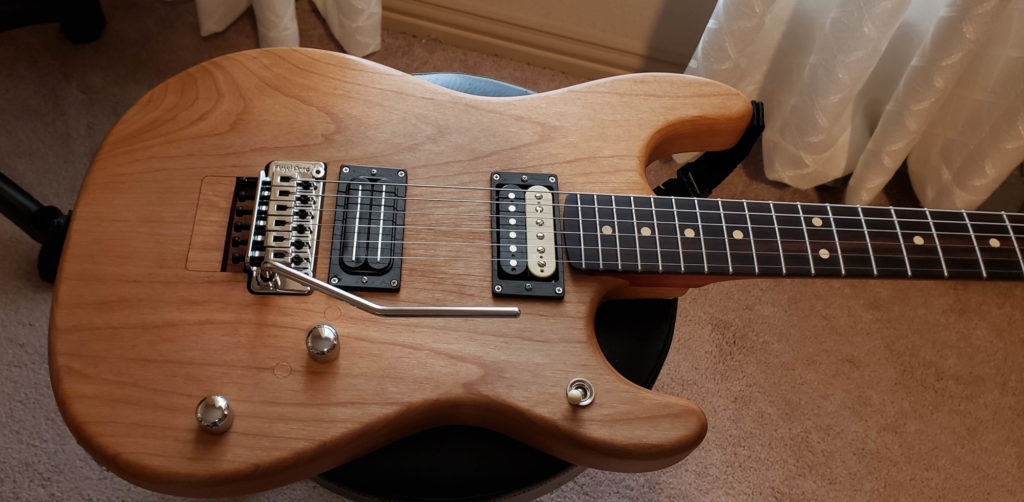
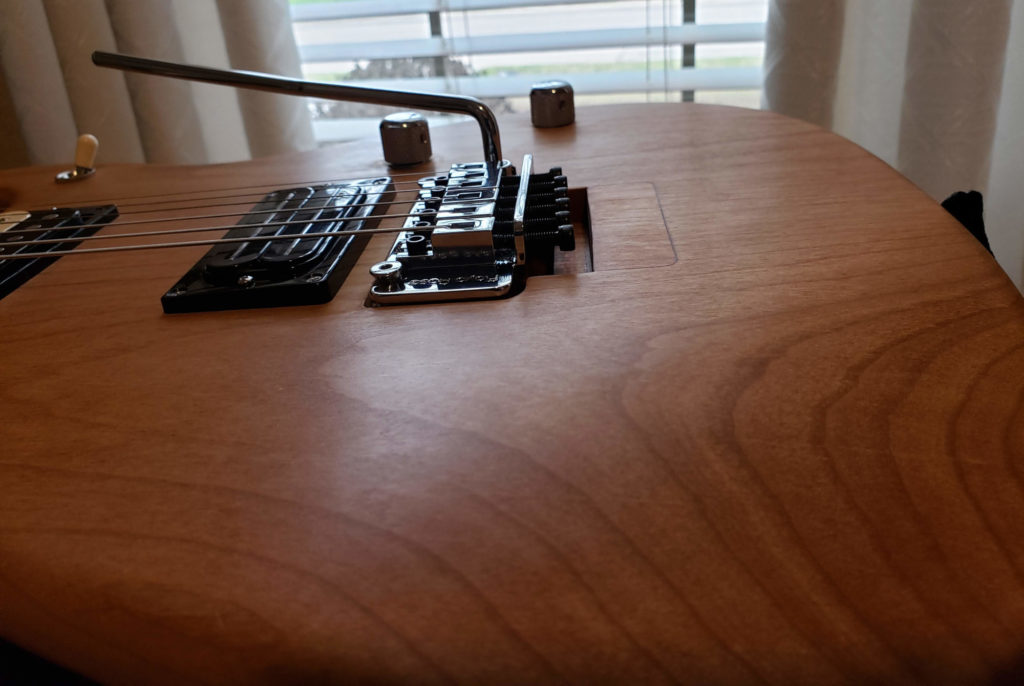
The one mistake I made was applying the wax too early. About a week later the spot where the sanding was done kinda came back and the wood lighted up there. I removed the was w/ steel wool and applied several more coats of oil. I’ve run into this in the past and forgot just how long it takes finishing oil to cure properly. Depending on the climate it can take as long as 30-45 days before it’s ready for the wax. As I’m writing this I’m still in the waiting period and haven’t added the final pass of wax. Even without that last step it looks really great. So I’m thrilled with the process, and the guitar is just that much more stable now.

One Reply to “Filling the Floyd Route on my Warmoth”

Leave a Reply

Your email address will not be published. Required fields are marked *

This site uses Akismet to reduce spam. Learn how your comment data is processed.