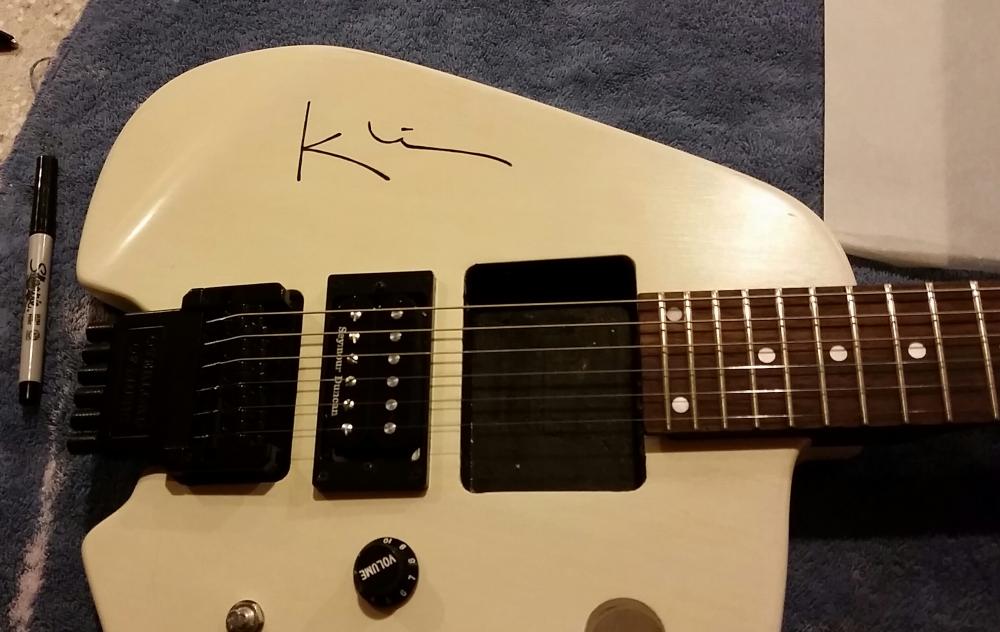
The guitar is almost finished.
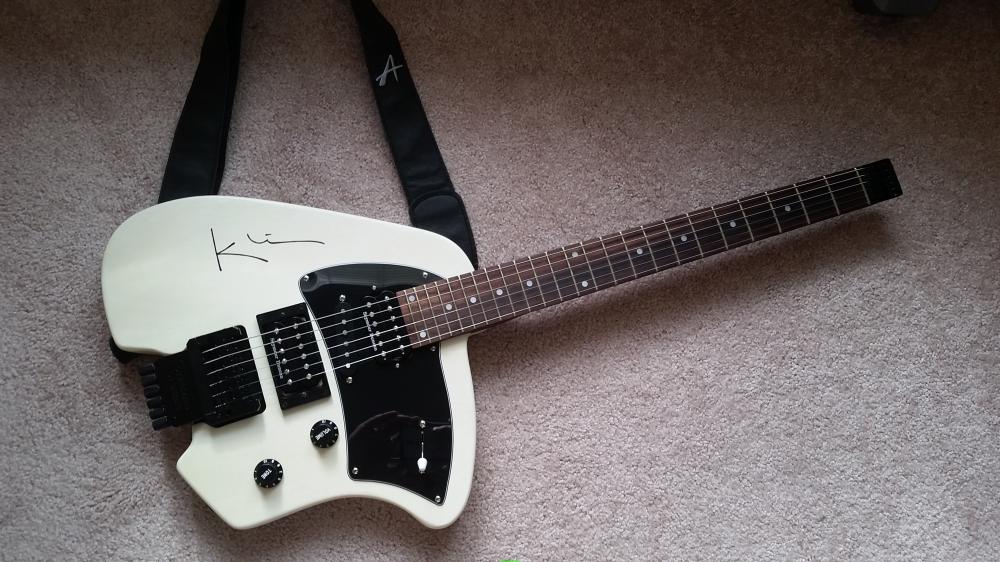
I tricked my wife into recreating the Klein logo earlier this week, and it looks incredible.
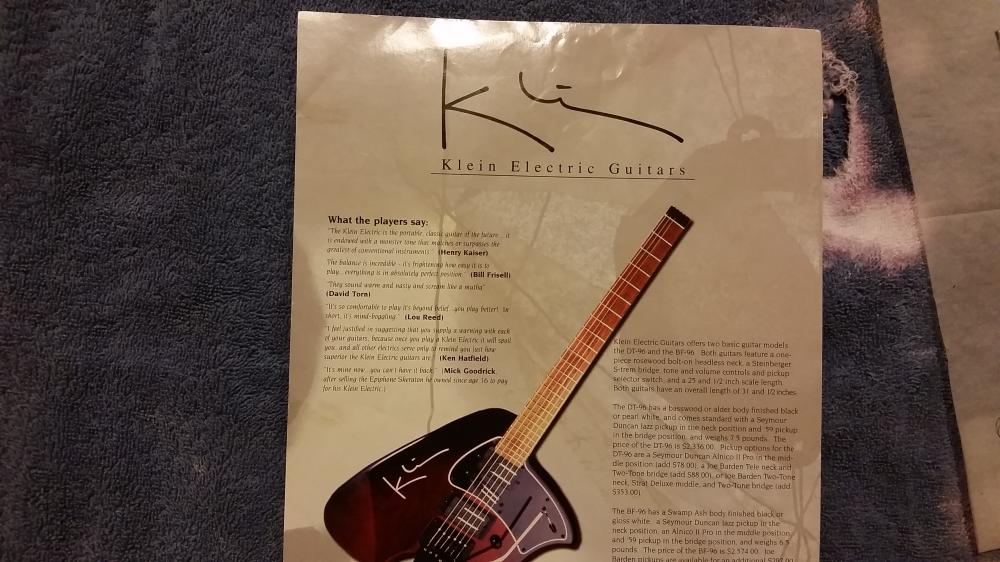
The size of the logo on this old advertisement is the exact right size for the guitar.
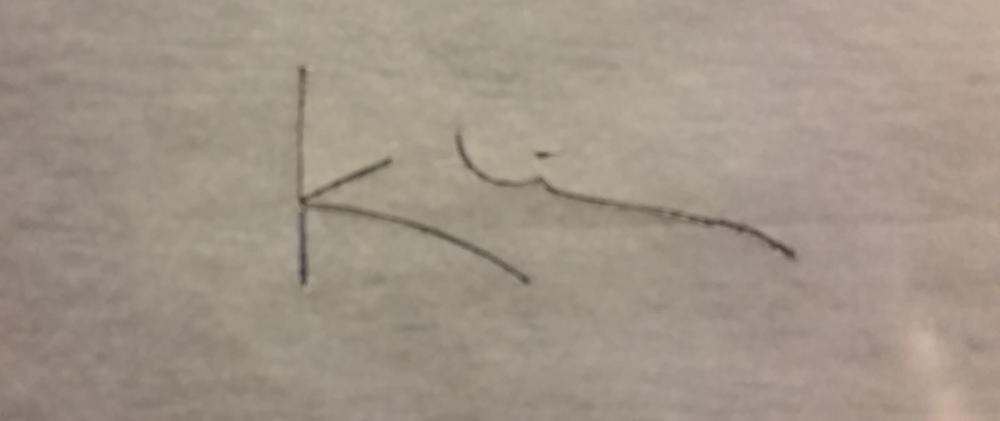
She used tracing paper to trace the logo, and then used an X-ACTO knife to make it a stencil.
We couldn’t figure out what to use that would be permanent so we just used a Sharpe. It will be interesting to see how long that lasts for.
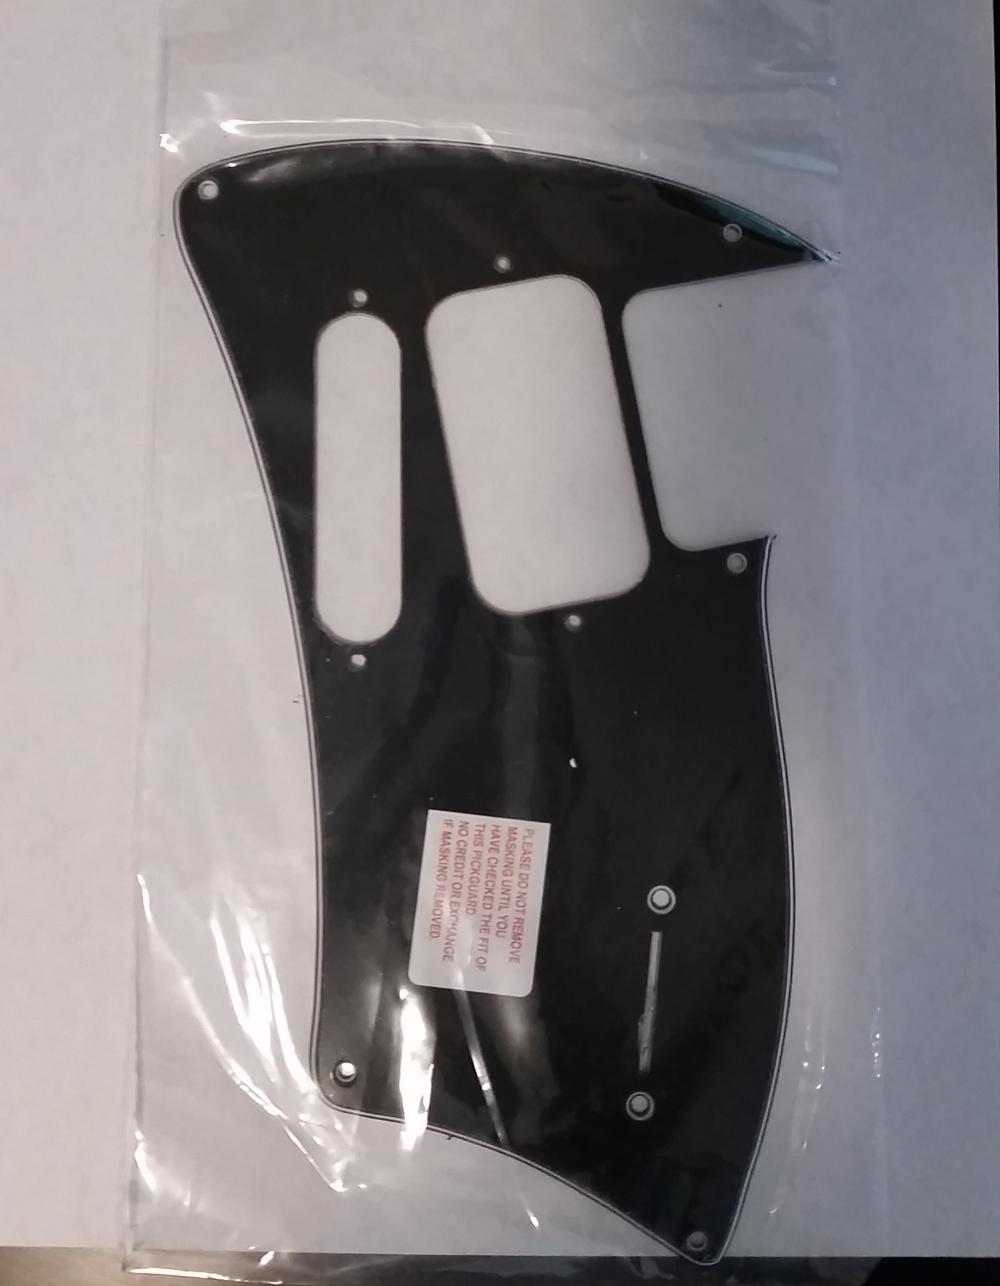
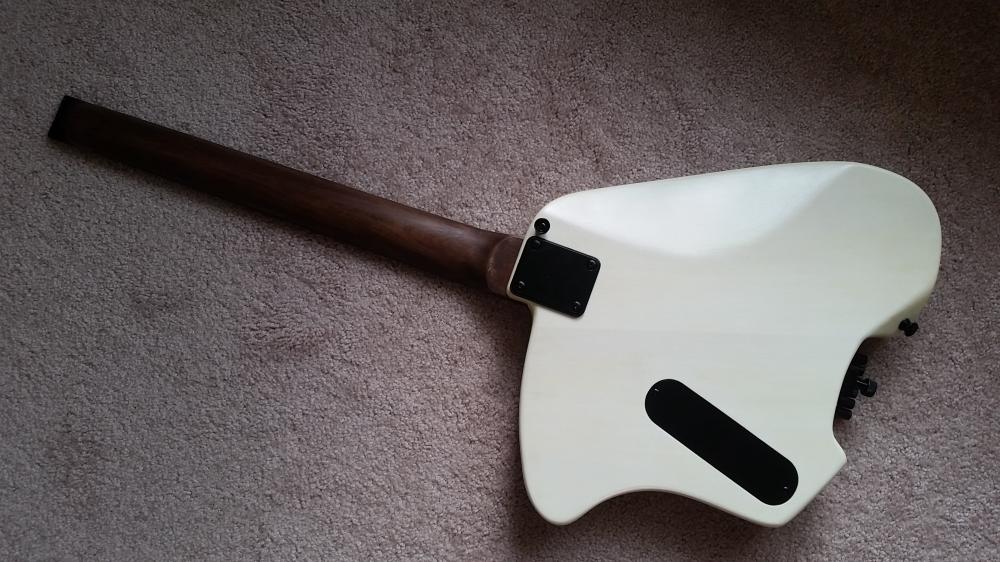
The pickguard arrived on Thursday evening, and it looks great. The pickup routes were placed exactly where I wanted them, but it didn’t fit into the factory route on the body.
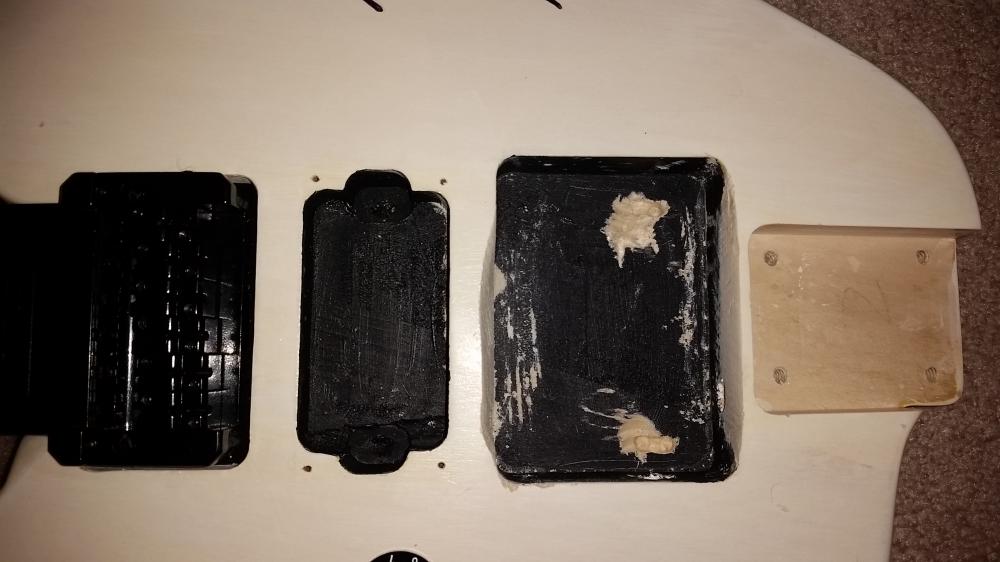
I had to whoop out the old wood rasp to grow the ends of the cavity to accommodate the different pickup arrangement.
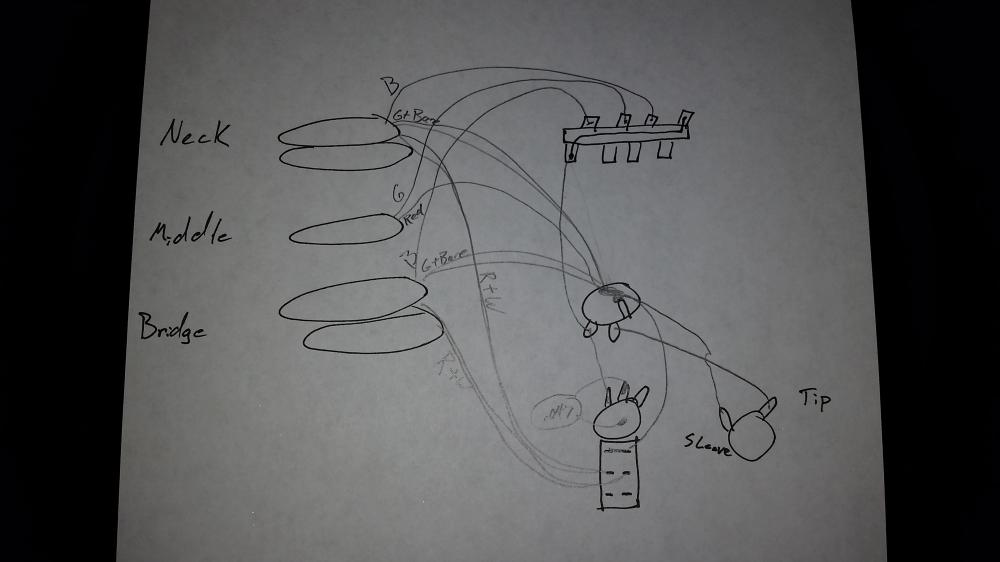
The pickups weren’t too difficult to install and wire up. I had a mistake on the diagram that I had to go back and fix, but it was pretty easy to find. The unusual routes in the body for the 5-way switch was a little awkward to deal with.
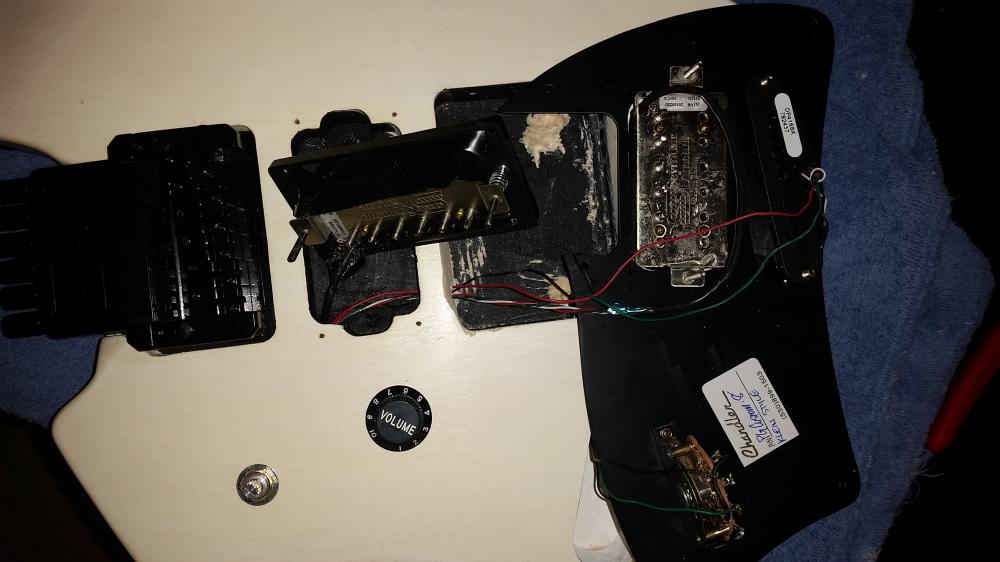

I had to leave the wires for the neck and middle pickup longer than I like so the pickguard will be more detachable and easier to work on if needed.[/caption]
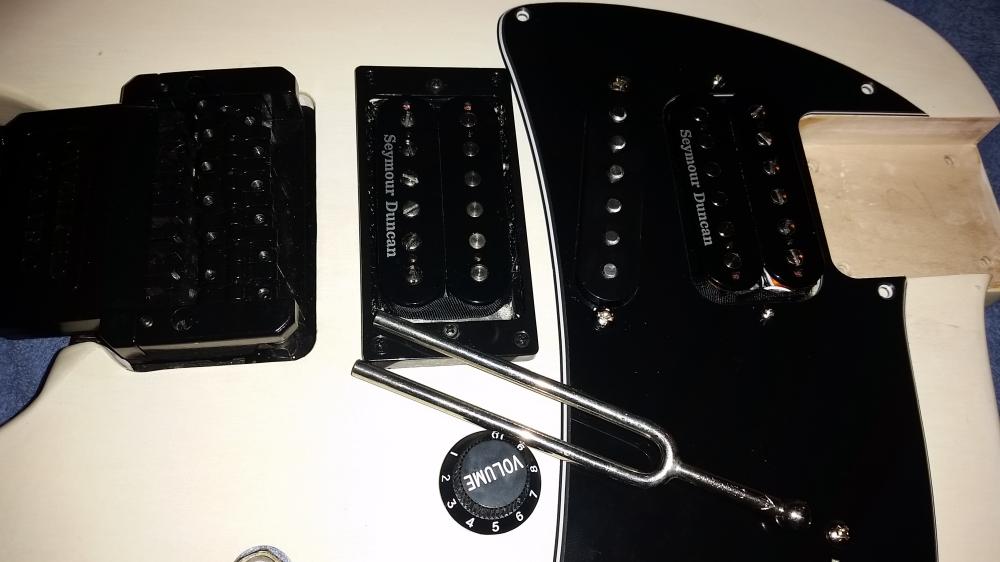
A tuning fork works really well to test pickups on a disassembled guitar. After I corrected the problem on my diagram everything was wired correctly. I really like the sound of these Duncan pickups! I still can’t get over how great this ’59 sounds in the bridge; it’s just fantastic. Some how these are always over looked for a JB in the bridge. The JB is great too, but more people should probably consider the ’59 for that slot. Both the ’59 and Jazz blend well with the Dimarzio Area 61 in the middle position too.
I used a basic .047 capacitor on the tone pot (both are standard 500k) and in the pull position both the neck and bridge pickups are split. So far I don’t really care for the split sound of the humbuckers, but I suspect I’ll find it useful in the future.
The only thing I have left to fix at this point is a grounding issue. I tried to track it down last night but gave up around 1:00 AM. I’ll get it this weekend Good times!
The next and last blog post in this series will be an analysis on the cost of this project and whether these Chinese kits are worth it.
Update: It turns out there were two problems w/ the original wiring. 1) The ground wasn’t connected to the tone pot. Easy fix, and that’s missing from my diagram. 2) The ground wire going to the bridge had a bad solder joint. That was a little more involved, but still not too tough to fix.