I’ve really been enjoying my fake Klein for the past year; it’s a solid guitar and incredibly comfortable to play. That said, I have this personality flaw where once I notice that something is less than ideal, it grates on me ….badly, until I fix it. Thus was the case with the bridge and factory frets.
First, Let’s replace the bridge

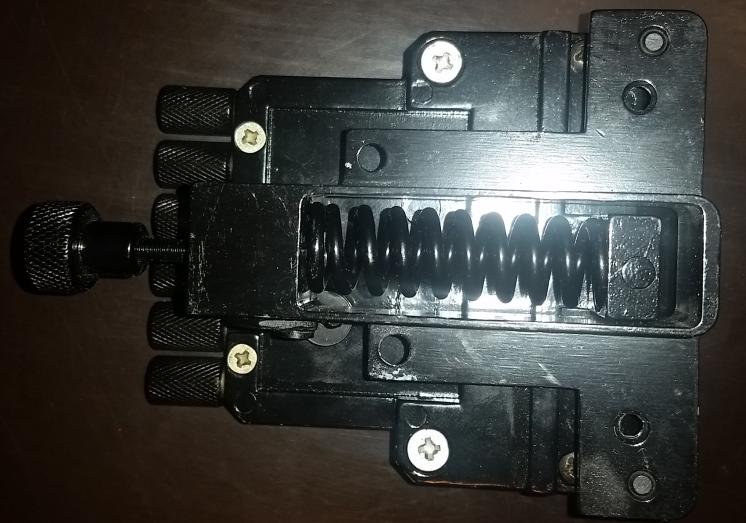
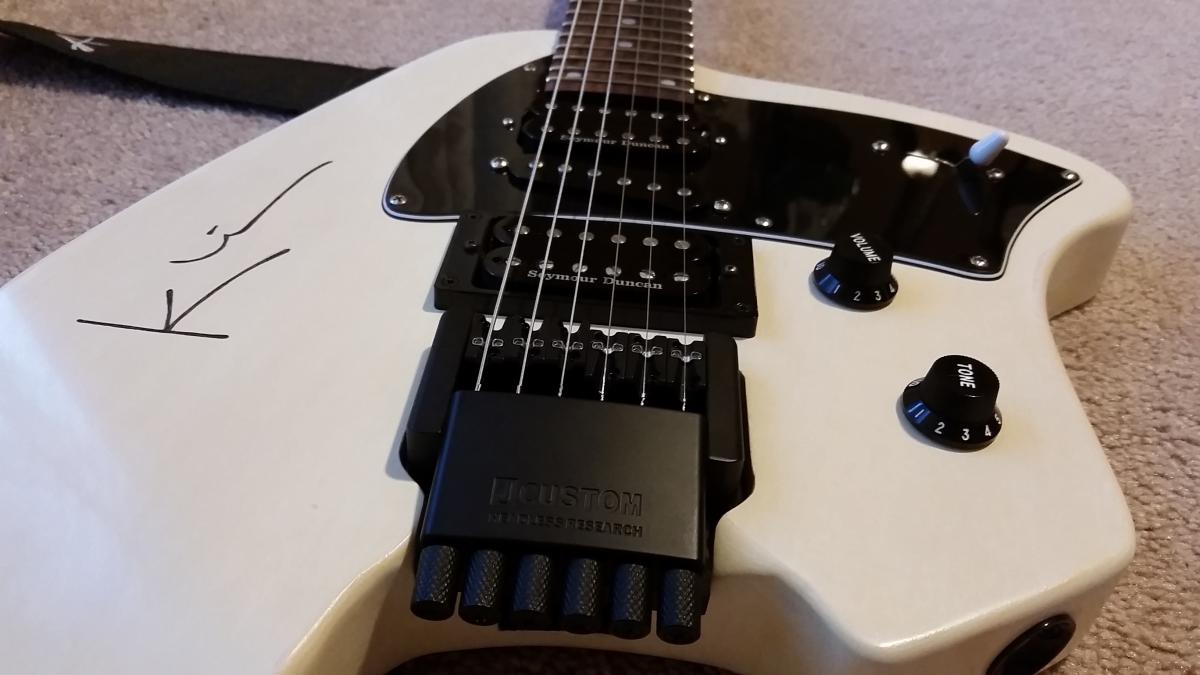
Branded with one of the stupidest slogan of all time: “Overlord of Music”, this unit has two major flaws. OK, three if you count “Overlord of Music” as a problem. The tremolo is worthless. This design is a copy of the Steinberger R-Trem and the spring lost the needed strength after a couple weeks. Fortunately, there is a leaver to “lock” the tremolo and I’ve had it engaged since I noticed that tremolo capabilities were nonfunctional. The worse issue was how difficult is was to adjust the tuners, in particular the ‘D’ string. Making minor adjustments to the pitch required reaching over with two hands and squeezing as hard as I can and struggling to turn the keys. It’s unacceptable to have tuners that make me quote Danny Glover’s famous line from Lethal Weapon every time I use them.
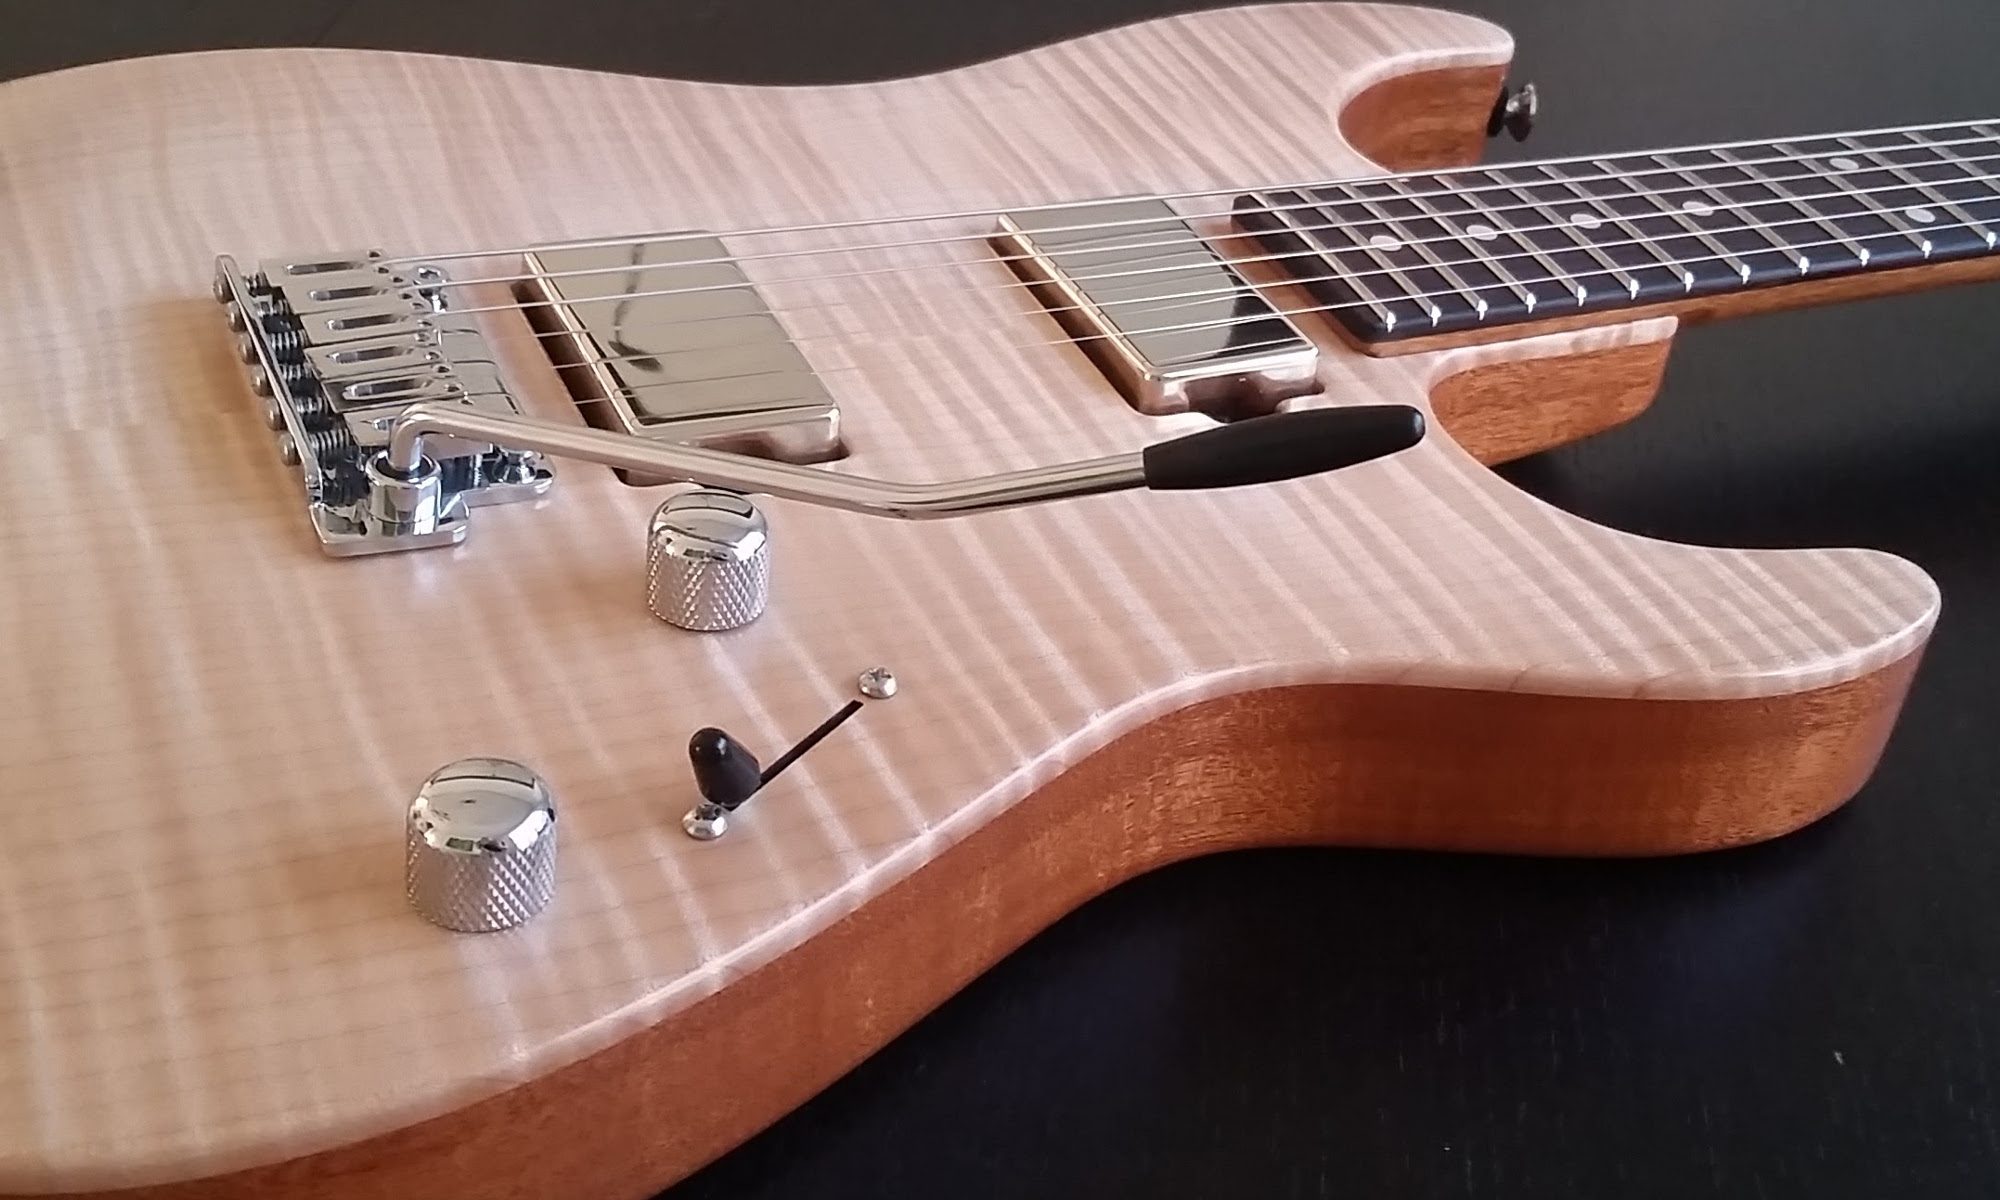
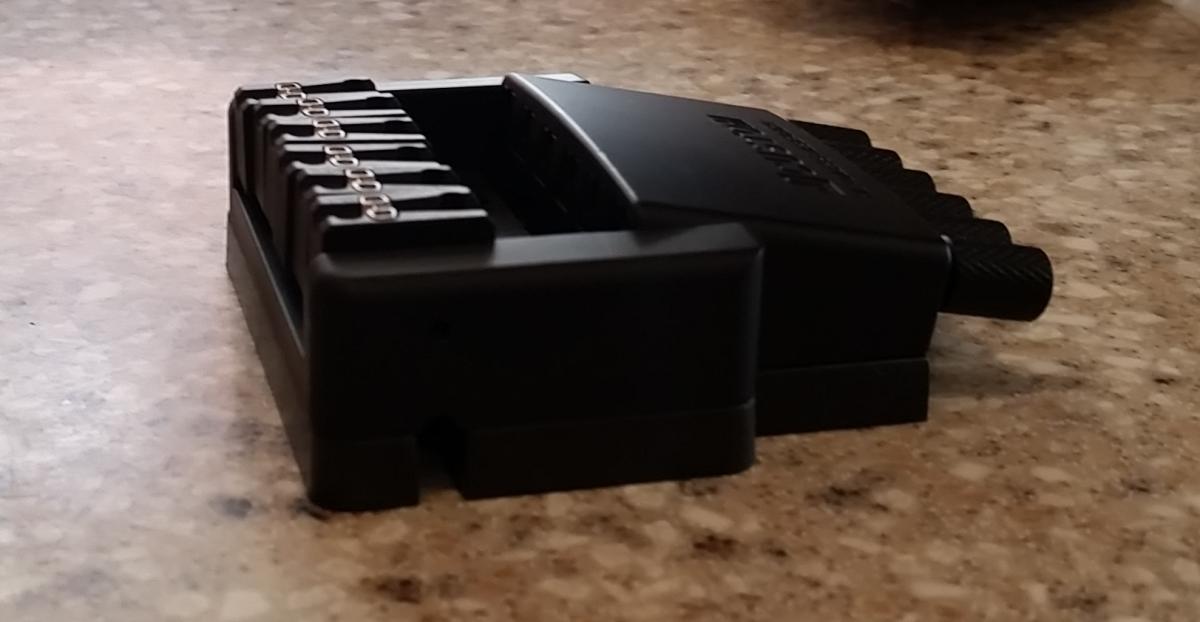
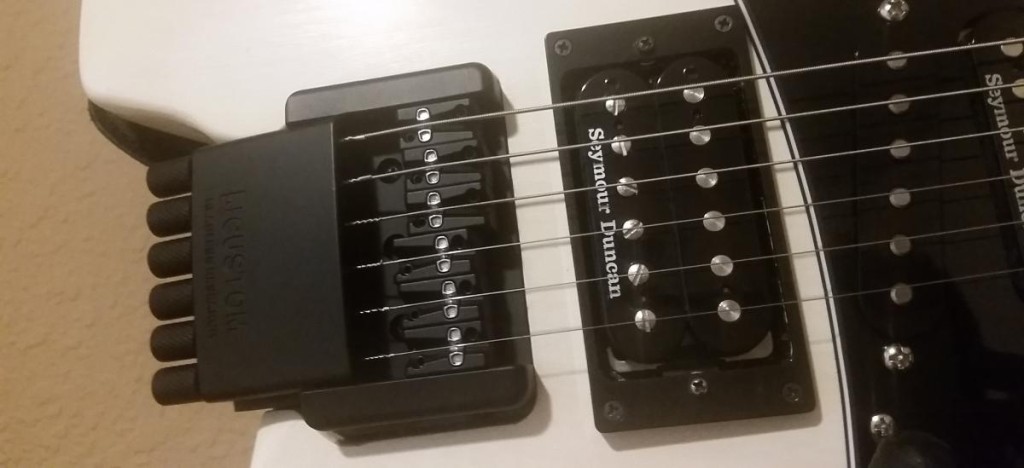
The fine folks at Headless USA sell several models by JCustom that are top-notch and work great as original Steinberger replacement bridges. As much as I’d like to have a tremolo on this guitar, it’s just not worth the additional $200. I opted for the JCustom FX Bridge. This one is perfect except it requires a shim when a body has been routed for an RTrem. Thanks to Google I found a guy in Germany who made some high-quality ones a few years back, and I picked up the last two.

The shim didn’t seat flush with the factory route, but was fairly close. I had to file some of the edges down before installing.
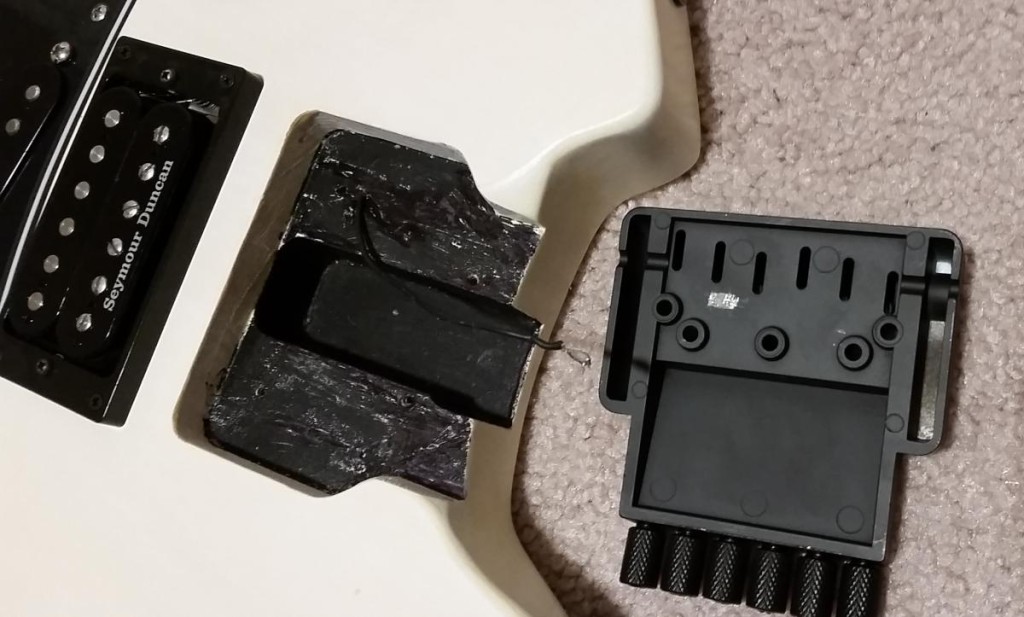
Next I scraped off some of the powder coating to solder the ground wire to. It was incredibly difficult to get the bridge hot enough with the soldering iron for the solder to adhere. I used a fair amount of flux, but that ended up not working so well. I reached out to a couple of guys in the Stienberger community on this and since most those guys use active electronics, none of them had ever done this before. Luckily the guy who made the shim gave me the idea of simply placing the wire between the shim and the bridge and letting the mounting screws hold it in place. I was very skeptical of this, but so far it’s working perfectly.
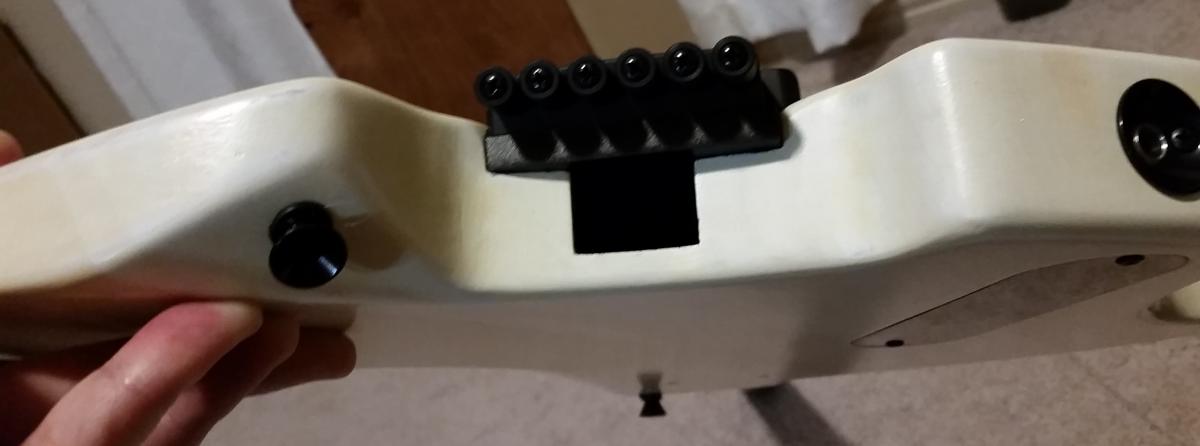
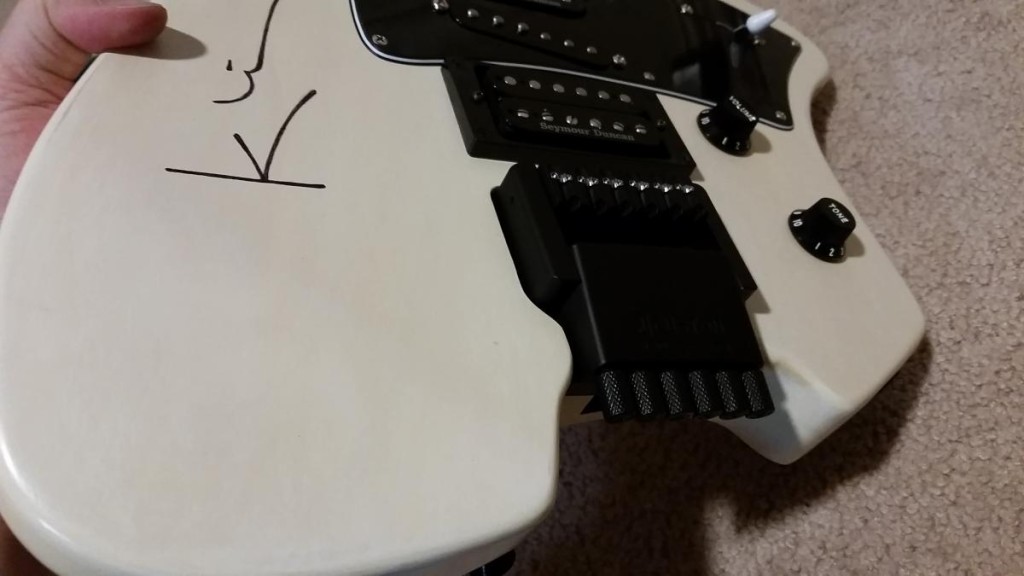
There was one other challenge with the bridge. The saddles had to be pulled back pretty far on the low strings to get it to get the intonation right. I didn’t realize this was a problem until I tried to change the strings and basically couldn’t without pulling the saddles forward again. Reintonating a guitar with each string change is only cool if your name is Eric Johnson. Luckily I didn’t have to do major surgery to fix this. I simply flipped the saddles backwards for the low strings and now I can change strings problem free. So far there isn’t any right hand discomfort or negative side effects from doing this.
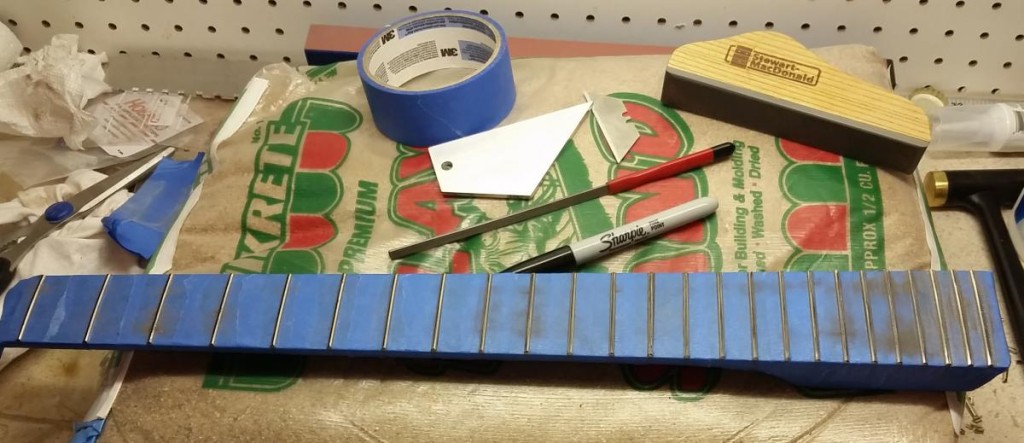
Time to fix problem #2: Frets
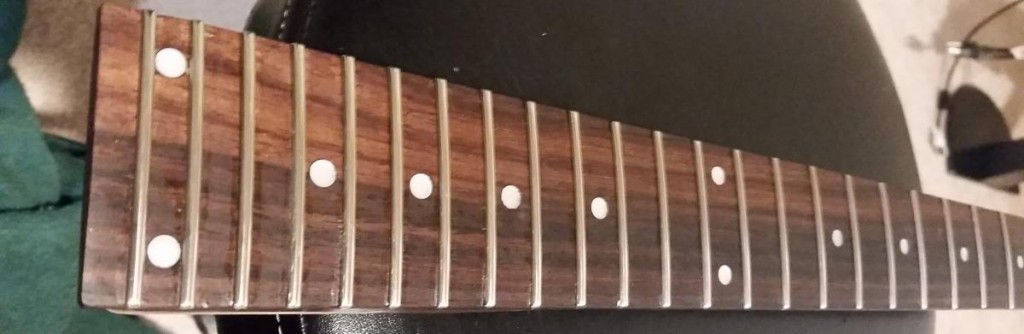
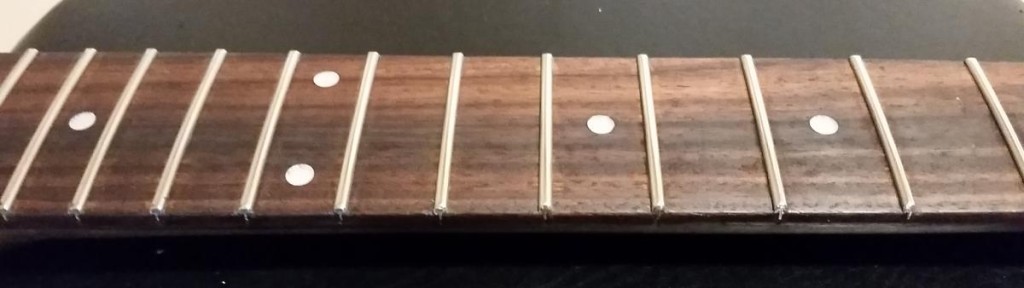
The factory frets were terrible. The initial level, crown, and buffing I did helped quiet a bit, but they were still so bad! Some of the fret ends were not flush with the fretboard (I’ll explain why later), and I had three or four dead spots on the neck. It just wasn’t a very good playing experience.
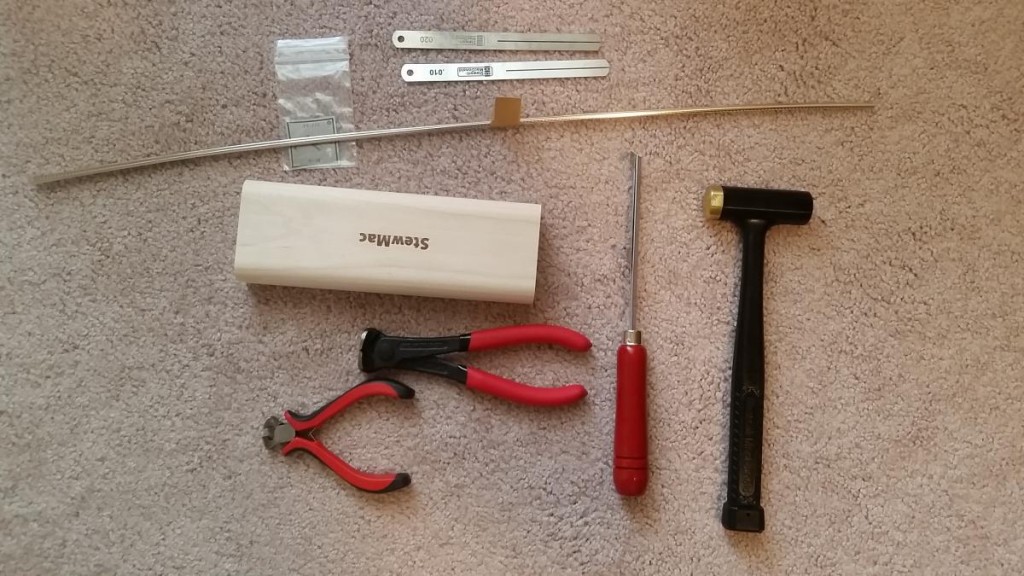
Until now, the only fret work I’ve done is basic leveling & crowning. Fret tools are expensive, the work is tedious, and mistakes are costly. The thought of re-fretting the guitar made me nervous; however, after pricing it with several local guitar techs along with an abundance of helpful YouTube videos on the subject, I decided to give it a try. In a perfect world all guitars would have stainless steel frets, but given everything I’ve read about the challenges installing them I didn’t want to attempt it with my first fret job.
It was ridiculously easy to pull the frets out; some of them almost fell out (not good). I did have a few tiny slivers of wood come out with the frets, but it wasn’t too bad. I found it interesting that the fret tangs had been trimmed at the end of the fret like you would on a bound fretboard. This was one of the main reasons the fret ends were not staying in place and I could easily move them w/ my fingers. Again, that’s not a good thing.
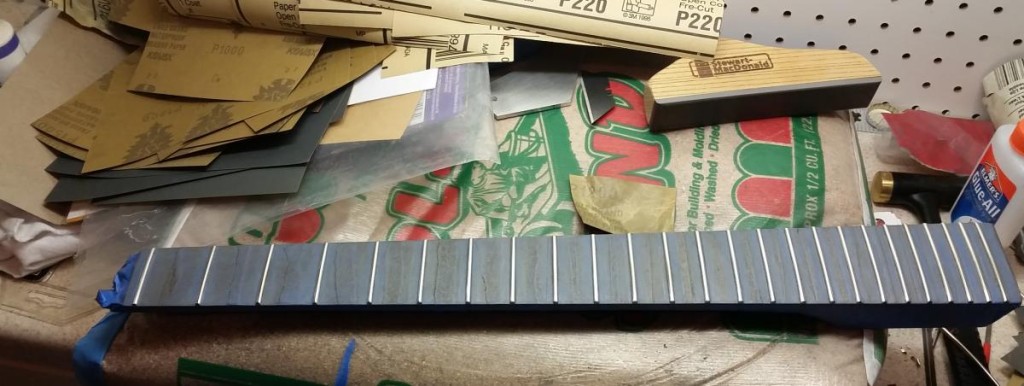
I used a 14″ radius block to level the fingerboard, and a .020 fret saw to clean the fret slots. The slots were cut really deep and the both ends were filled with some kind of epoxy. The saw worked perfectly to clean them out. Unfortunately when I was getting used to using the saw I left several scratches on the side of the neck. Normally this wouldn’t be a big deal but since I stained the neck to look like rosewood, each scratch is a maple line that really pops out.
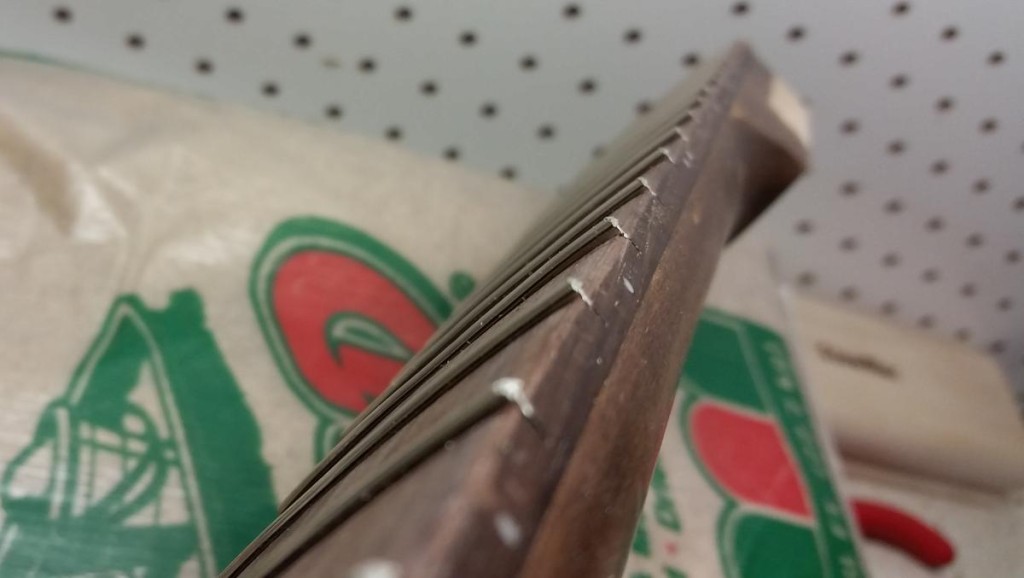
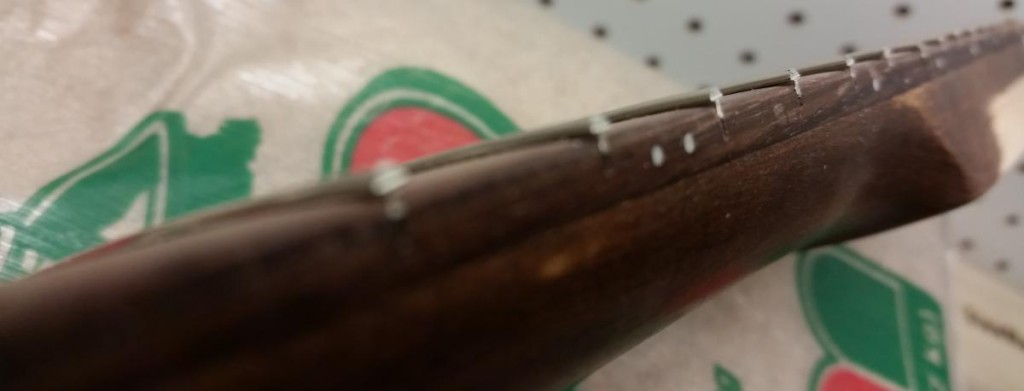
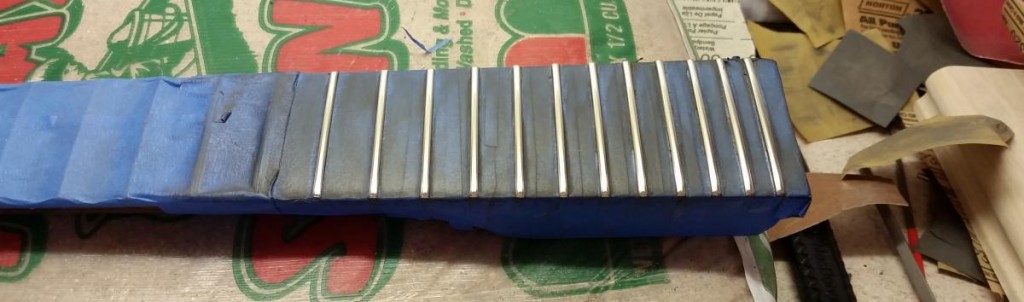
I opted for the Stewart McDonald “medium taller” fret wire, and I learned a lot when installing it. All of the tips online are basically correct. The pictures show what went wrong. Essentially I didn’t over-radius the fret wire, nor did I hammer in the fret ends first. YOU HAVE TO DO THIS WHEN INSTALLING FRETS WITH A HAMMER. Seriously, the picture below shows what happens at the fret ends when you don’t.
Frustrated, I pulled out the frets and prepped the board for another attempt. I watched more YouTube videos on the subject, and my guitar tech, who wasn’t interested in doing the refret, was kind enough to give me some pointers. The frets I was using fit the slots, but just barely. He recommended trying Jescar frets because they are a harder alloy and come in a lot of different sizes.
I took my time making sure I got the best size available for the job. Amazon sells the Jescar jumbo ones for ~$13. These have a longer tang which help with the deep slots and I wanted the wider fret wire to help cover up some of the scaring on the board from pulling the frets. They come pre-radiused which is nice and there was plenty of wire for the job. These frets are extremely hard. My fret nippers cut through the stemac frets like cheese, but these were much harder to cut. Clearly not as hard as stainless ones, but I imagine it’s close.
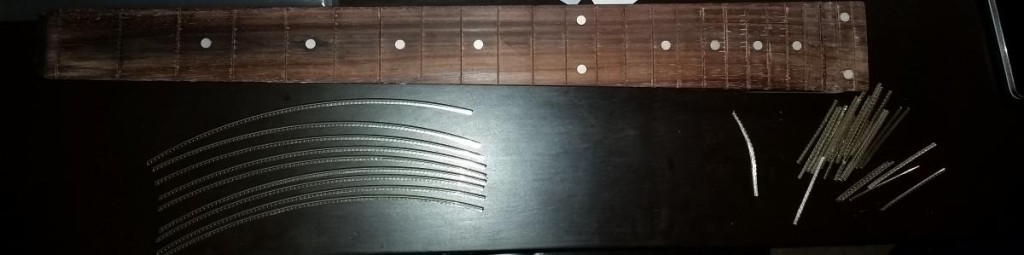
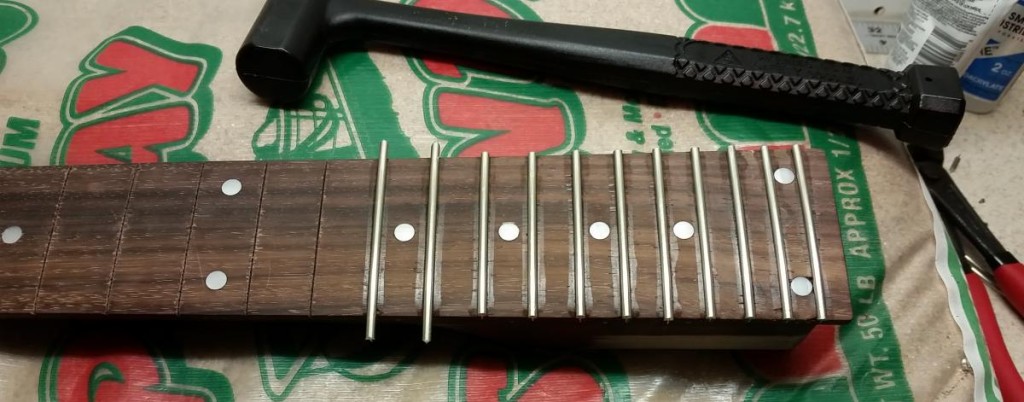
Gluing frets is controversial. It’s not necessary if the board is perfectly slotted for a fret size and everything is perfect. The conditions I was working with were about as far away from that scenario as possible. The picture below shows the glue lines before scraping it away with a razor blade.
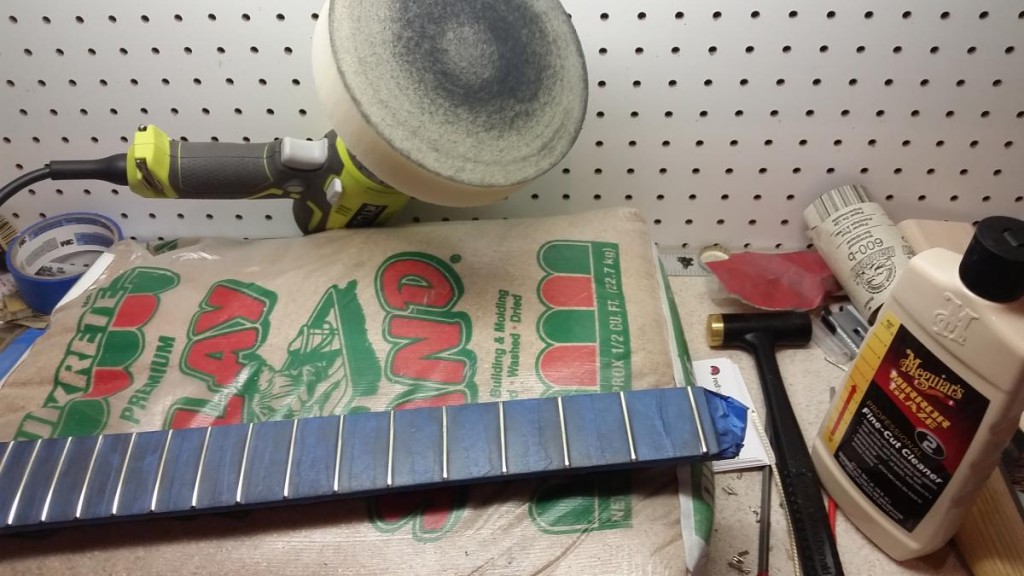
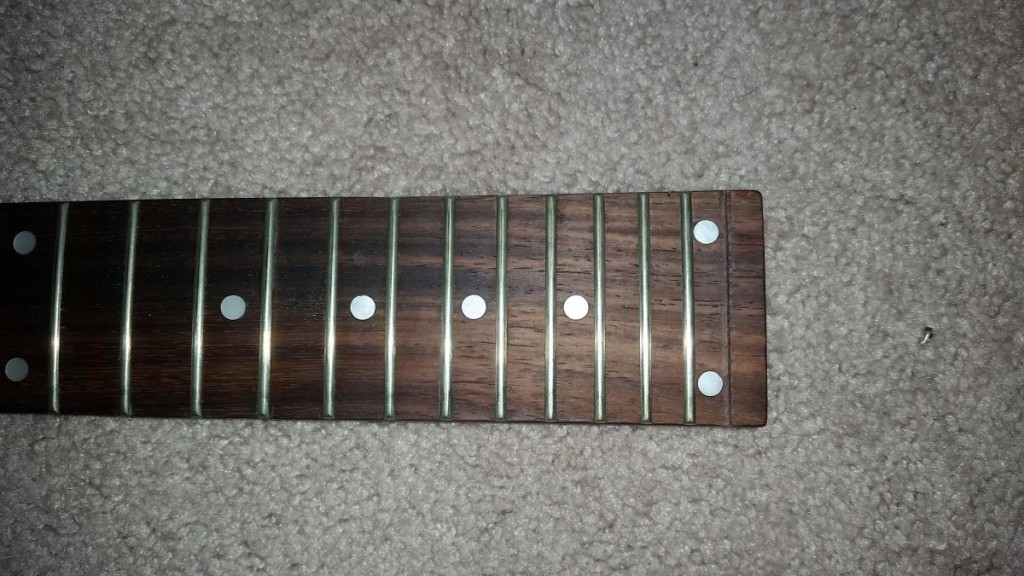
After I got the board done I reassembled the guitar. It was like a new instrument. What a difference! This was worth the time and effort. Unfortunately, I missed that the 17th fret was low. None of the notes on that fret were usable. <sigh> There were two options 1) replace that fret and spot level or 2) lower frets 18-24. I went with the second option because I didn’t feel comfortable spot leveling and I didn’t want to scar the board anymore by pulling the fret. It took me about 3 or 4 hours of leveling, crowning, and sanding/polishing to get it right. It takes a lot of strokes with the file to crown a fret this wide after it’s lowered this much (mainly frets 20 – 24). It turned out great and I’m glad I went with this option. Lesson learned. Spend as much time w/ the fret rocker to identify high/low frets. The slightest bit of rocking can be very problematic.
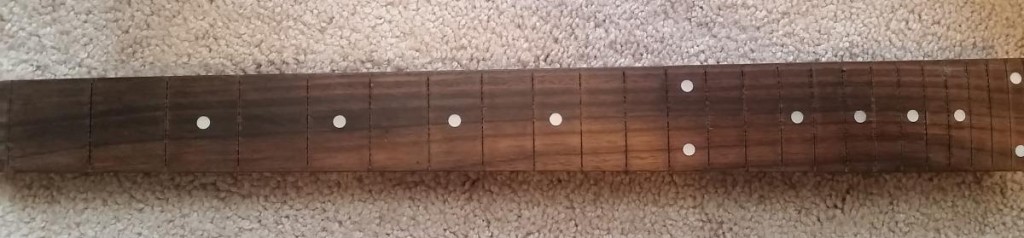
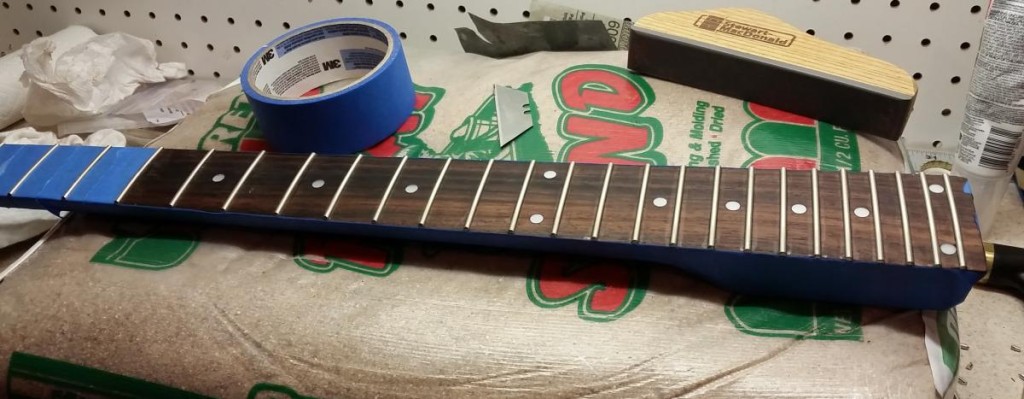
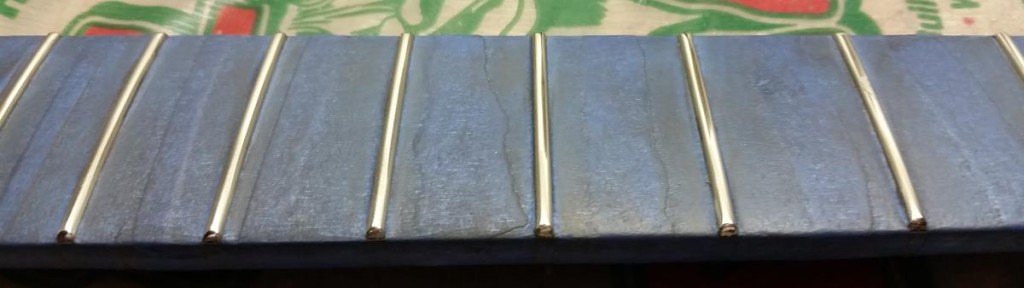
Also, I needed to fill the ends of the fret slots. I used rosewood shavings from sanding the fret board. I first tried super glue, but it was too thin and didn’t work well. I used my kids’ Elmer’s glue and that worked out like a champ. Simply place a dot a the edge of the slot. Then press it into the slot w/ a finger and wipe away all the excess. Next, just dab some rosewood dust on the end and it’s done.
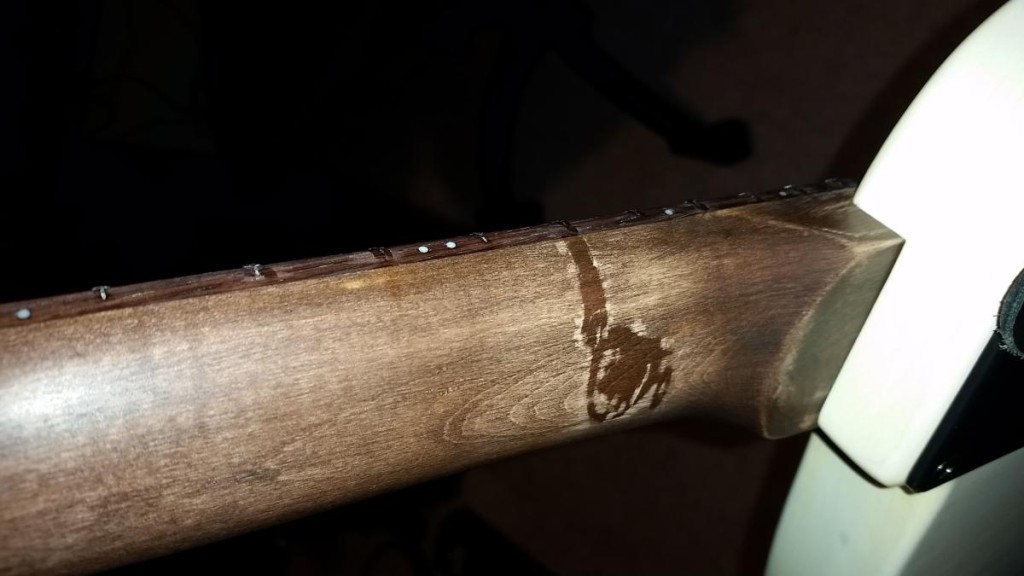
I’ve been playing the guitar for about a week and the tone is just incredible. I couldn’t be happier with the results. Aesthetically, there are some scratches and one bad glue overrun on the back of the neck. While I’m not super excited about that, I’m really glad I got this done and it turned out the way it did.
Ben, congratulations on your blog. I enjoyed reading many articles.
I’m interested in your experience with the Jcustom bridge. I’m considering to build a headless guitar, and this bridge is interesting (and the price is fair).
Would you recommend it? Is the ground an issue because of the black paint insulating the strings too much? Thanks!
Hey Emanuele,
Thanks for the kind words. It looks like there are more options on the market now, but some of them are really expensive. The Hipshot ones look great, but ~$350 is pretty hard to swallow for what these do. I’ve had the Jcustom for a few years and it’s held up great. I would definitely recommend these and the matching piece for the headstock. I just looked at headlessusa.com and see that they make a proper R-trem replacement for about the same cost. I’ve enjoyed the fixed bridge, but had this been available at the time I may have opted for this one. Anyway, it’s good stuff and I don’t think you’ll be disappointed. Good luck!
Oh and connecting the ground wire was difficult 1) due to the powder coating, and 2) probably the smoothness of the metal. Another option that would work pretty well here is feeding the wire through one of the screw holes and wrapping around the screw as you tighten it. I hope that makes sense. That’s probably what I would have done if I didn’t have the metal shim under it. This is definitely a solvable problem, the harder one is making sure the dimensions of the bridge will fit your guitar. I’d recommend calling the Headless USA guys. I asked for a discount and they gave it to me. Can hurt to ask right? :)
Hi there,
The Overlord Of Music is supposed to be a Chinese copy of the Steinberger R-Trem, but just very badly executed. I have a broken R-Trem on my GT-Pro that I would love to replace with the fixed bridge. The Headless USA only state that the FX is the replacement for the T-Trem and S-Trem, but not for the R-Trem perhaps because of the shim requirement. Will it FX work as the replacemt for the R-Trem if the shim form the http://www.headless-europe.eu/. The site owner says that it should work, but what’s your take? Thank you!
I believe that will work just fine. I trust the guy who runs that site and made the shims; they are fantastic. After looking at the price of the FX and JCustom r-trem replacement, you’ll end up paying more money for the FX+shim. Since the r-trem placement has a locking device, will ultimately cost less, and is a direct drop-in, why not go that route? Either way I think you’ll be happy. Good luck and let me know what you decide and how it turns out. Cheers.
This is a great article and has inspired me to try this myself. I have been working on guitars for 35 years but always sent them to a luthier for neck work outside of truss adjustments. Needless to say it is quite expensive, and I can see why. But you have given me some direction. My greatest need to accomplish this, however, is patience. Thanks!
Thanks Jim; so glad to hear that. Good luck and I hope you enjoy it.