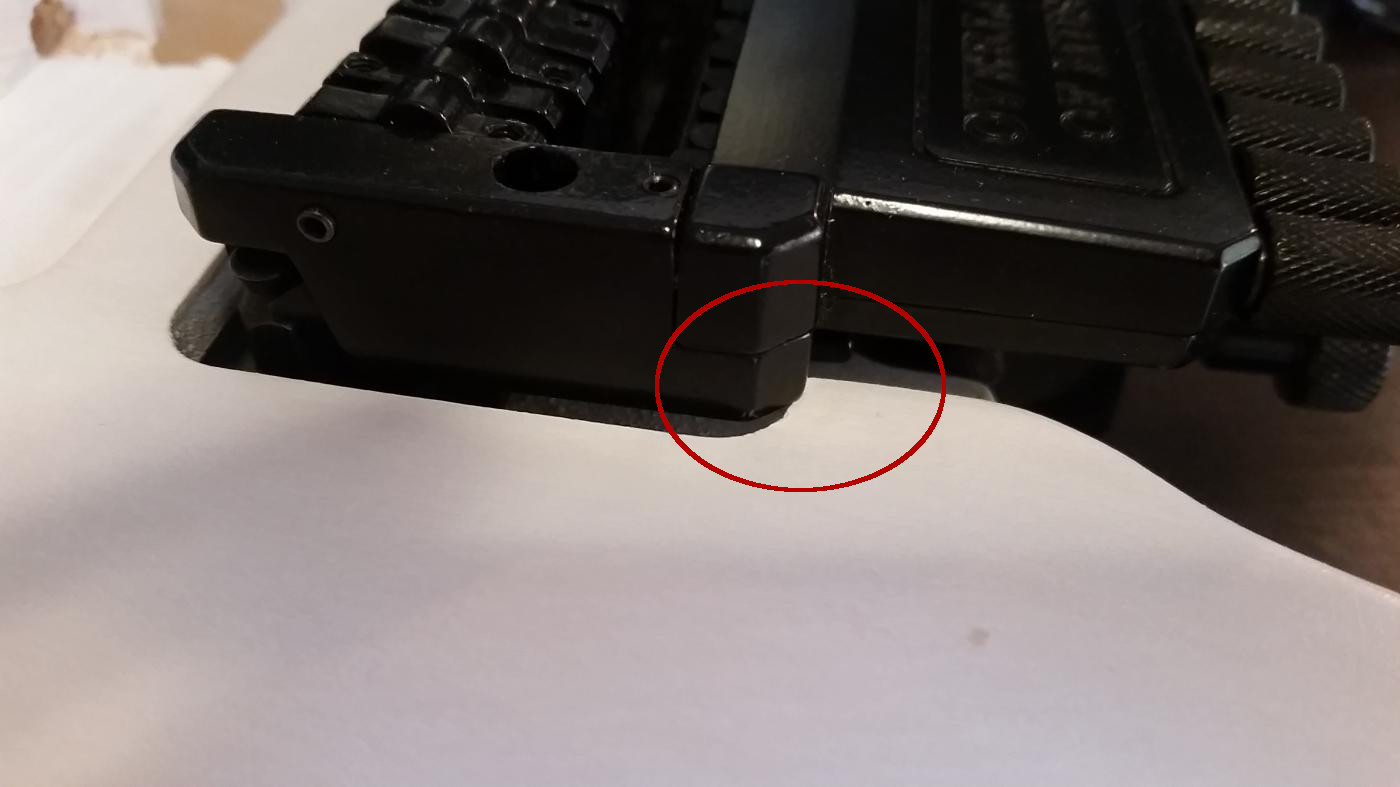
All of my hardware has arrived with the exception of the new pickguard. I took some time to make sure everything would install as expected. The main piece of the bridge fits in it’s route beautifully, but unfortunately once it’s fully assembled it overhangs on the top of the route.
 ……almost perfectly blocked tremolo by mistake.
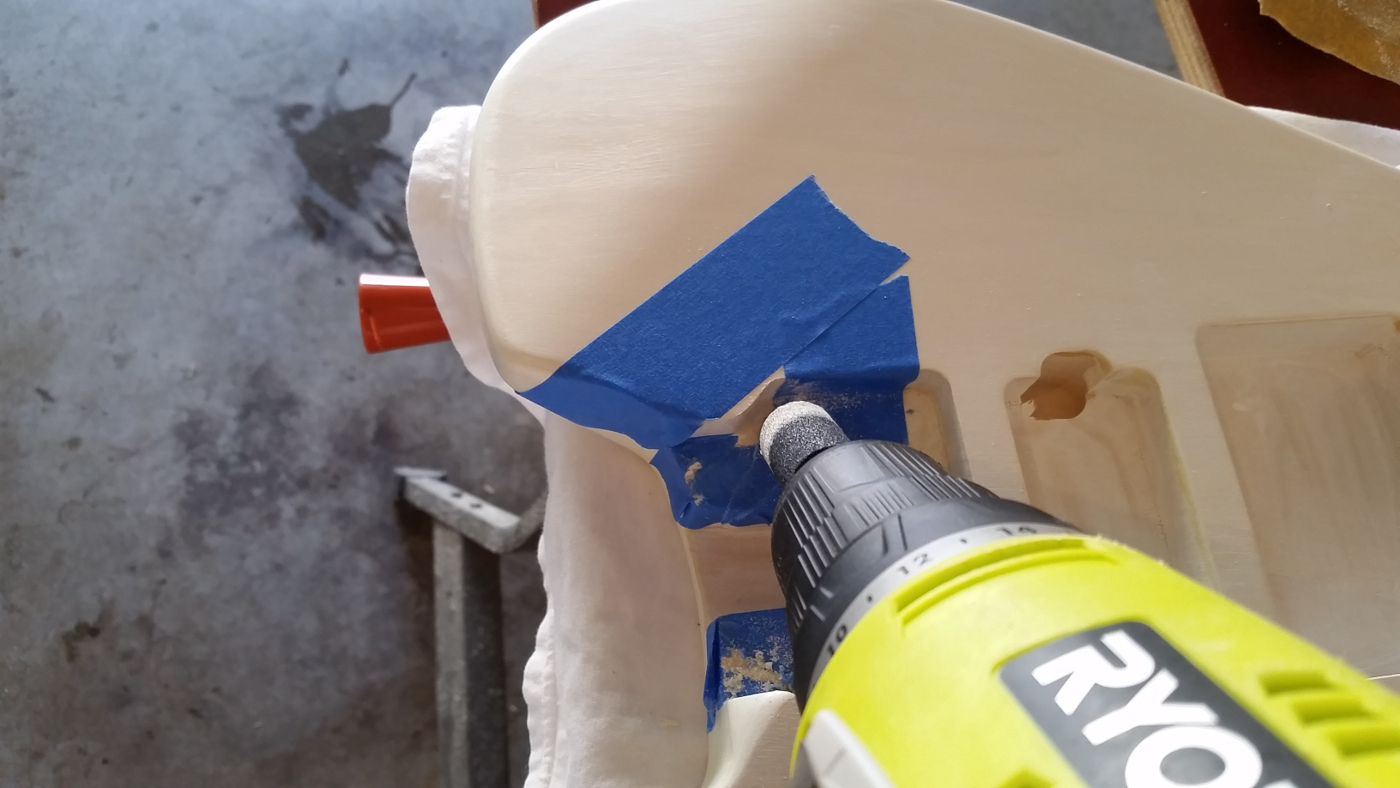
I spent a while filing this down by hand. I got frustrated with the small space to work in so I picked up a grinder bit for my drill. This was much more effective.
 Nothing can possibly go wrong with this
It took a while to reshape this part of the route. I was able to add more stain on the area and seal it w/ finish.
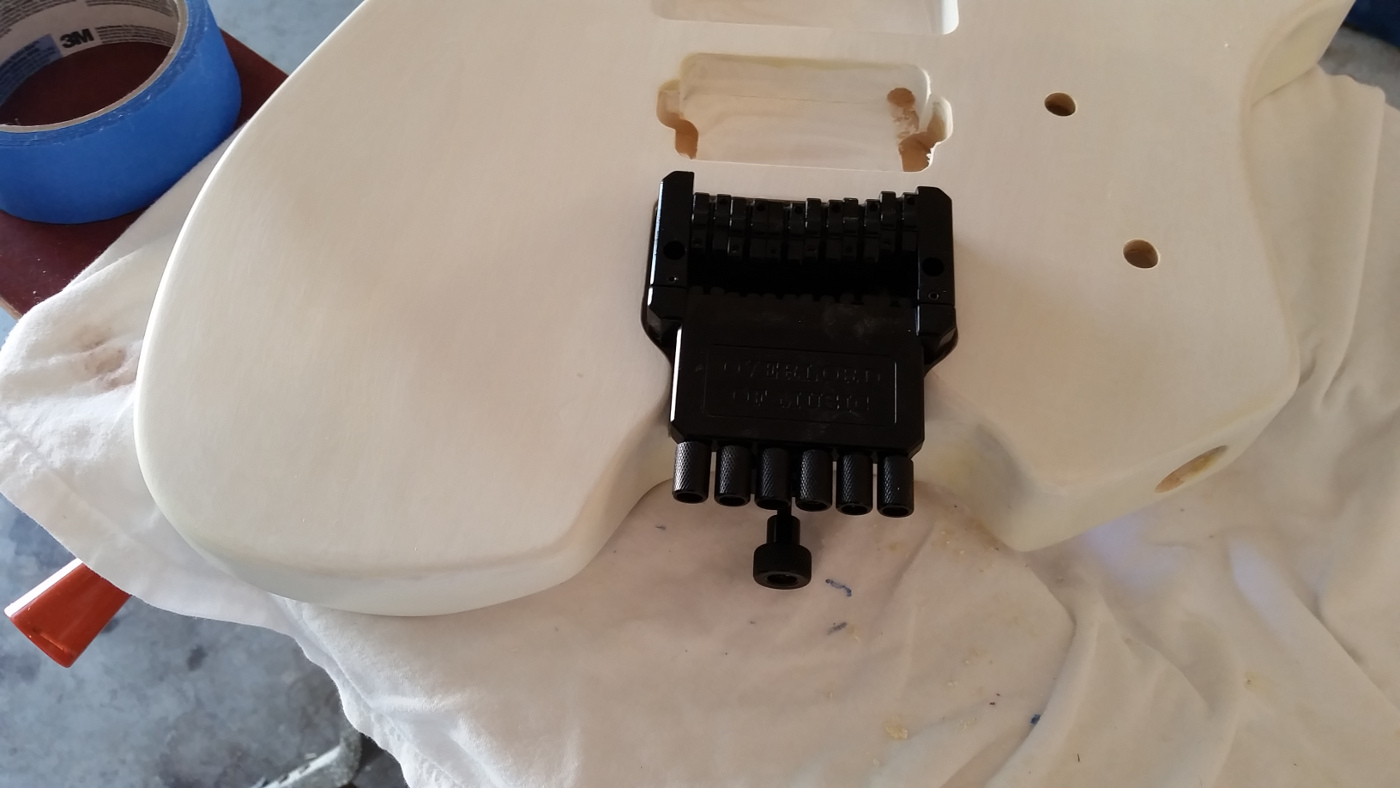 That’s a much better fit.
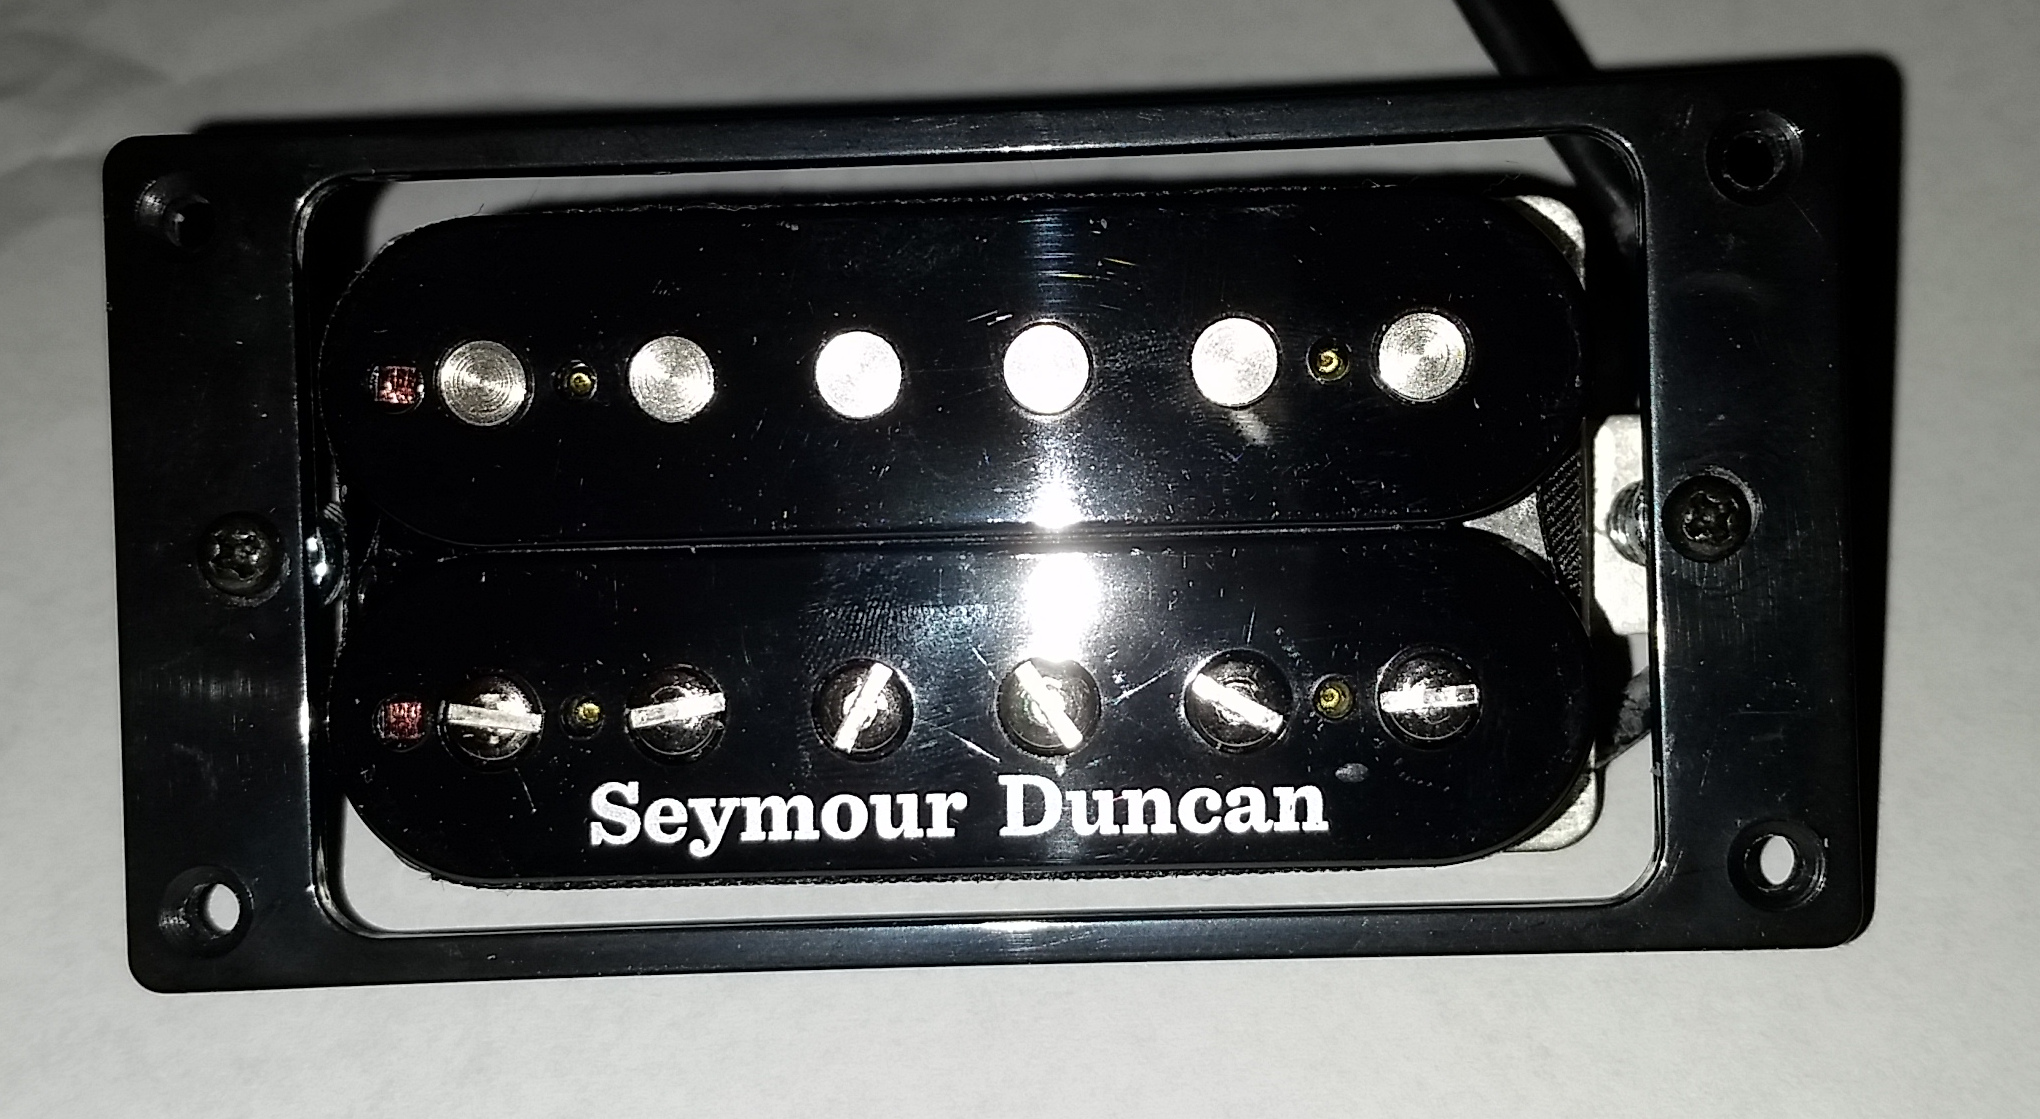
One challenge I don’t have a good answer for is the size of the bridge pickup route. It’s quite a bit larger than the standard size pickup I plan to use. Direct mounting to the body isn’t really an option with the size difference. I ordered pickup rings to get something higher quality than what the kit shipped with. They’re perfect, but …….they don’t cover the over-sized route all the way. At this point, I think my best option is to use the non-standard size ring the kit included w/ my pickup. Unfortunately, as shown below, there’s quite a bit of extra space around the pickup. I don’t think it will be very noticeable once installed, but I’m probably going to paint the cavity black to try and mask the problem. Things like this make me sad.
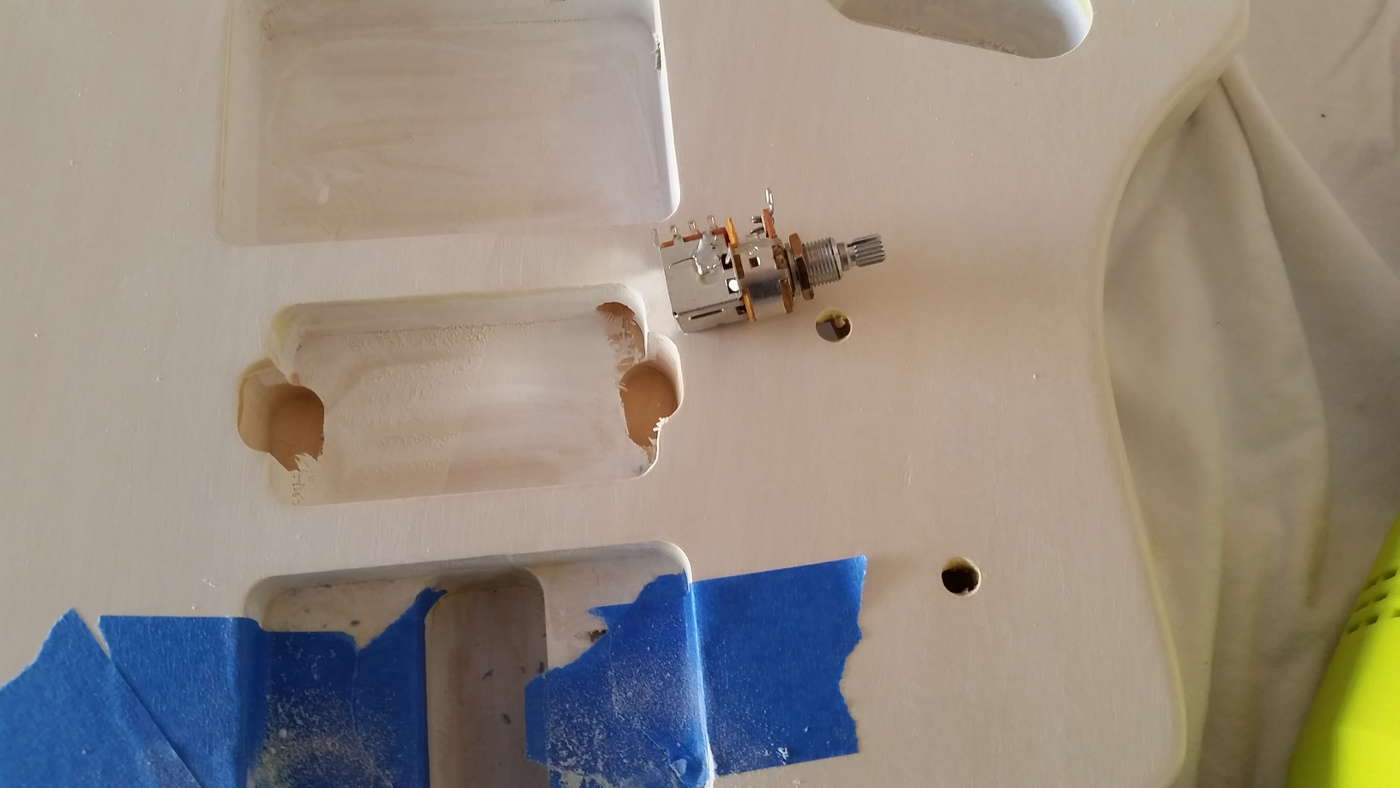
The next task was minor. The kit shipped w/ mini potentiometers, just like the ones found in a lot of pedals. There’s nothing spec-wise wrong w/ these small ones, but “feel” is not good. You don’t really notice on a pedal, but since I’m a heavy user of volume & tone knobs I knew they weren’t going to cut it.
 We’re going to need a bigger hole.
Drilling out larger holes is a simple task, but due to the size of the volume pot I have (not pictured) they would need to be perfectly centered or the rear route would need altering as well. Luckily, this bit I have makes that a lot easier to do by hand.
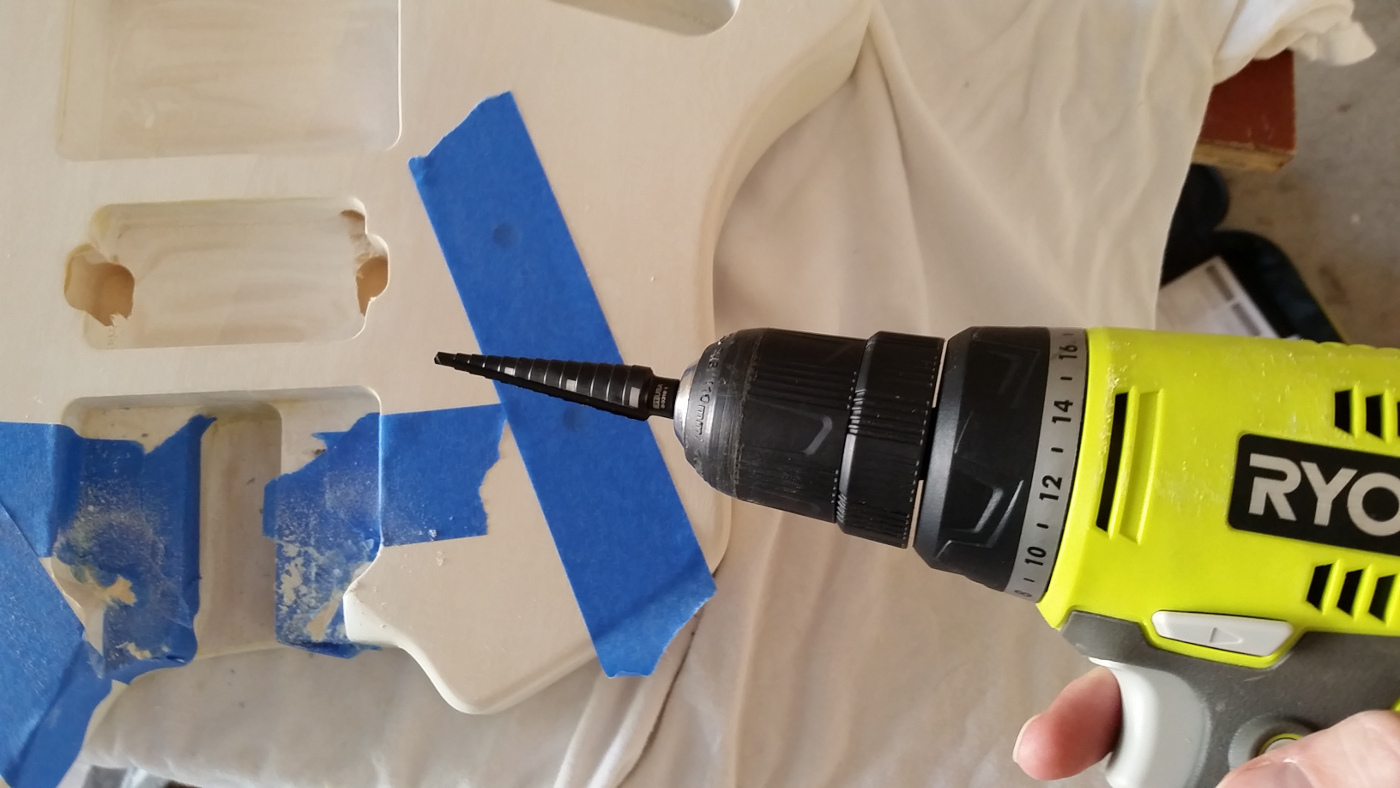 The tape protects the finish around the area I’m drilling. It’s a good practice to use.
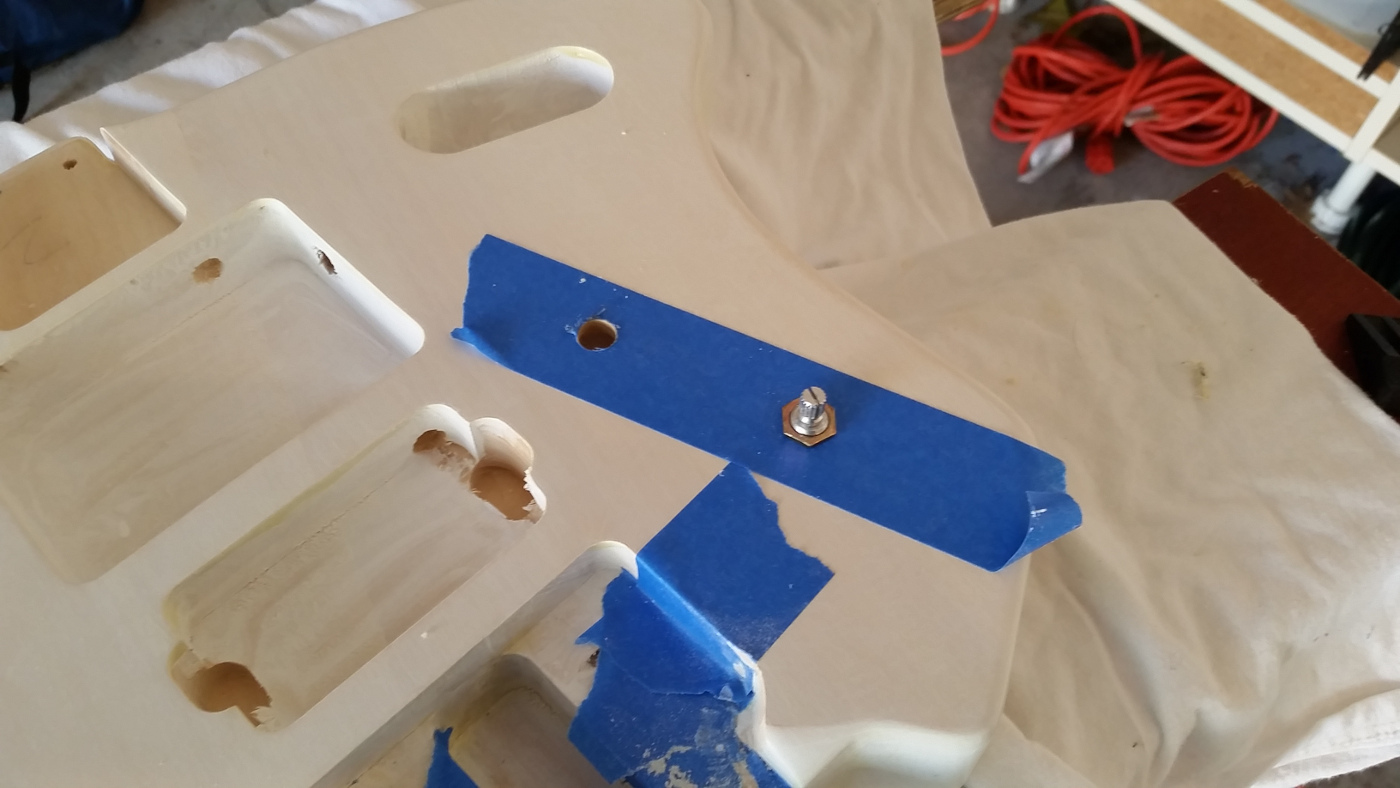 That’s more like it.
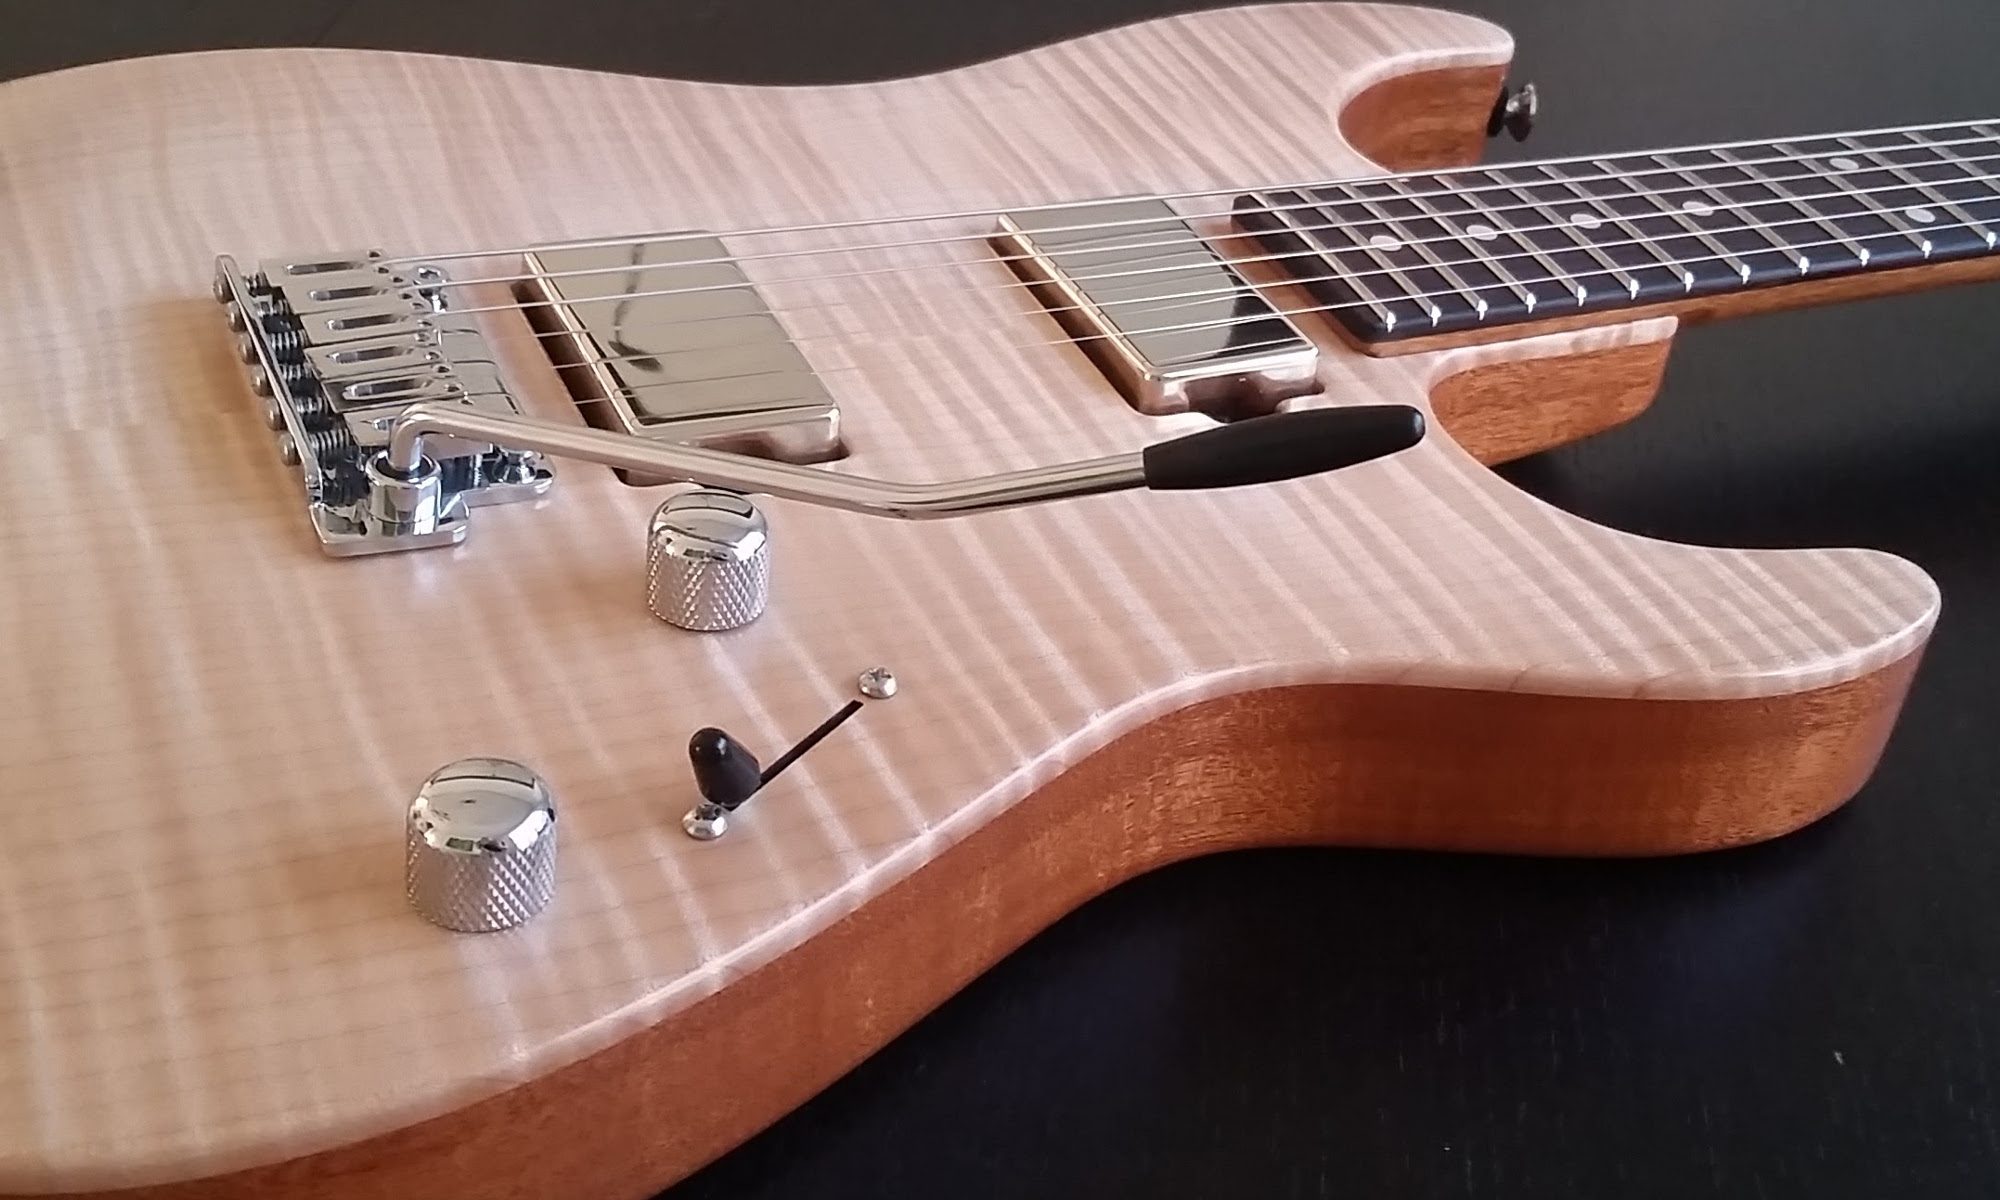
Here’s a quick shot with some of the hardware in place.
 It looks good with hardware. I was glad the tele jack fit perfectly.
At this point, I’m still adding layers of clear coat on the body and tung oil to the neck. Once the pickguard arrives, the finish should be complete, and the guitar ready to assemble.